How to Fix Code 38 Windows cannot Load the Device Driver?
This error is generally associated with an external device you have installed recently and the error message is accompanied with performance issues regarding the device. The error itself can be found in Device Manager when opening the properties for the problematic device.
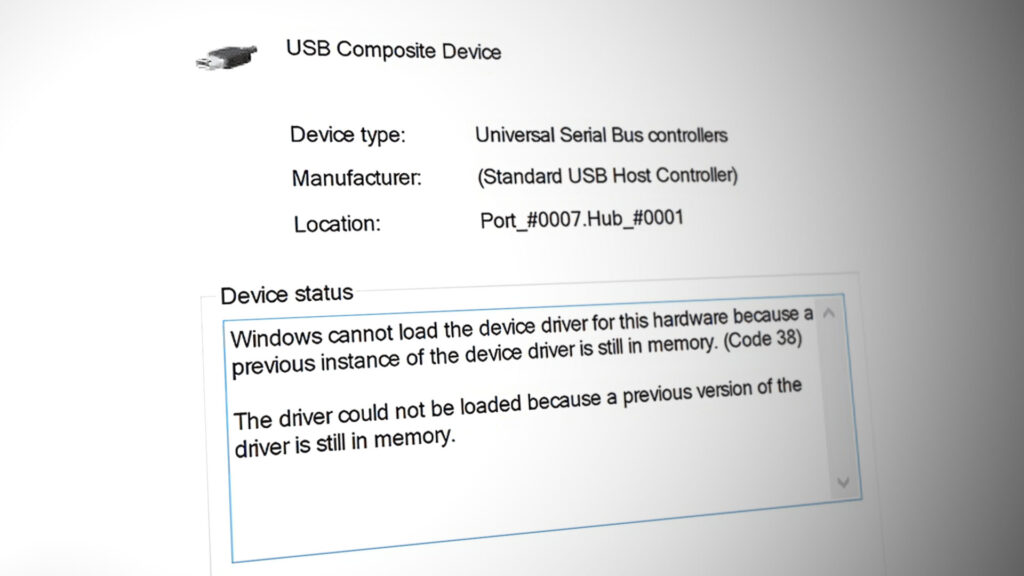
Usually, the problematic devices have been connected via USB and the problem can be resolved by managing those ports. We have prepared several useful methods which have worked for other users and we hope it will enable you to resolve the problem!
What Causes the ‘Windows cannot Load the Device Driver for this Hardware because a Previous Instance of the Device Driver is still in Memory (Code 38)’ Error?
The list of possible causes is not very long but it pretty much deduces which solution you are ought to use in order to resolve the problem. Let’s have a look!
- USB controller drivers may have been installed incorrectly and you should consider reinstalling them.
- Hard disk turning off when your computer is idle has reportedly caused this problem for plenty of people.
- The problem was often caused by installed third-party programs and services which have interfered with device drivers. A clean boot can help you figure out which program is causing the trouble.
Solution 1: Hold Shift While Shutting Down
This amazingly simple method definitely deserves its spot at the top of our list because of its sheer simplicity and because of the fact that it managed to help countless users who struggled with the “Windows cannot load the device driver for this hardware because a previous instance of the device driver is still in memory (Code 38)” error.
This method is the most useful for laptops. Simply hold the Shift button while clicking the Power Off option in the Start menu or the physical button. This will completely turn off your laptop and drain it of everything, making the next power up a sort of a new beginning. Check to see if this resolves your problem!
Solution 2: Reinstall USB Devices in Device Manager
This solution is generally easy even though it may take a few minutes more than other solutions depending on how many USB devices there is under Device Manager. This method has helped out the most users by far and we highly recommend you try out this method before the rest!
- First of all, you will need to uninstall the driver you currently have installed on your machine.
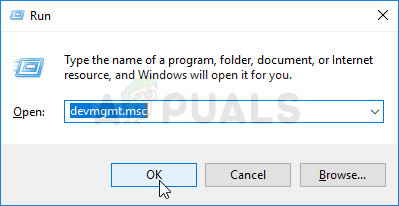
- Type “Device Manager” into the search field next to the Start menu button to open the device manager window. You can also use the Windows Key + R key combination in order to open the Run dialog box. Type devmgmt.msc in the box and click OK or Enter key.
- Expand the “Universal Serial Bus controllers” section. This will display all installed USB devices your machine currently has.
- Right-click on each entry on the list and choose the Uninstall device option from the context menu. Make sure you repeat the same process for all entries on the list.
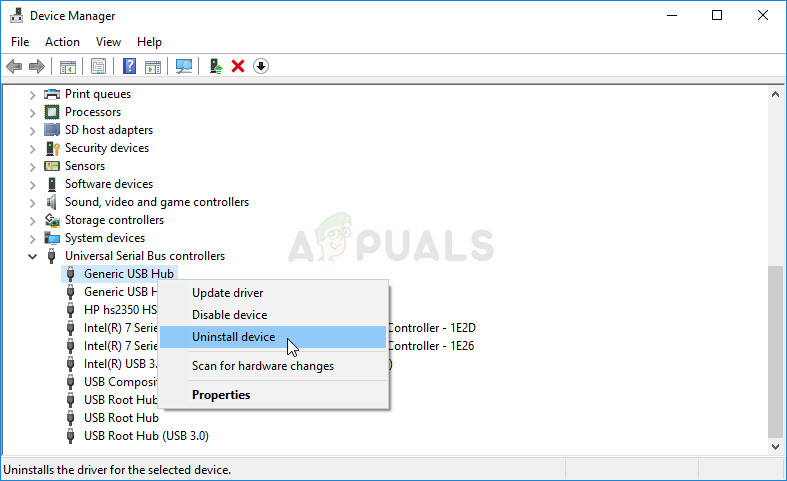
- Confirm any dialog prompts, close Device Manager and restart your computer. Windows will automatically reinstall the devices you have just uninstalled and the error should be gone by now!
Solution 3: Make sure Hard Disk is never Turned off
This is yet another amazing solution which can be performed easily and which has helped plenty of people who have struggled with the same problem. This method will make sure your hard disk is never turned off when your computer is idle. This may seem like a drastic change but it’s minor when compared to the fact that your device will finally start working properly!
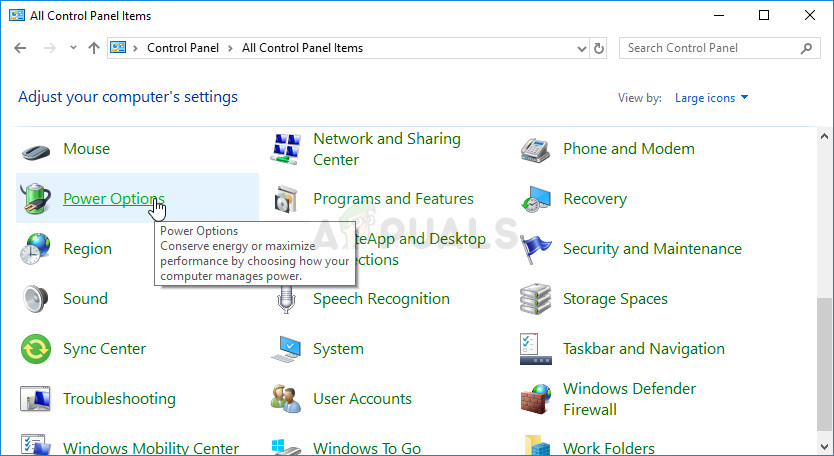
- Right-click on the battery icon located in the system tray and click on Power Options. If you are not using Windows 10, click on the Start menu and search for Control Panel. Change the View by option to Large icons and click on the Power Options
- Choose the power plan you are currently using (usually Balanced or Power saver) and click on the Change plan settings In the new window which opens, click on Change advanced power settings.
- In this window, click the small plus button next to the Hard disk entry on the list in order to expand it. Do the same for the Turn off hard disk after Change the Setting option to Never by clicking on it.
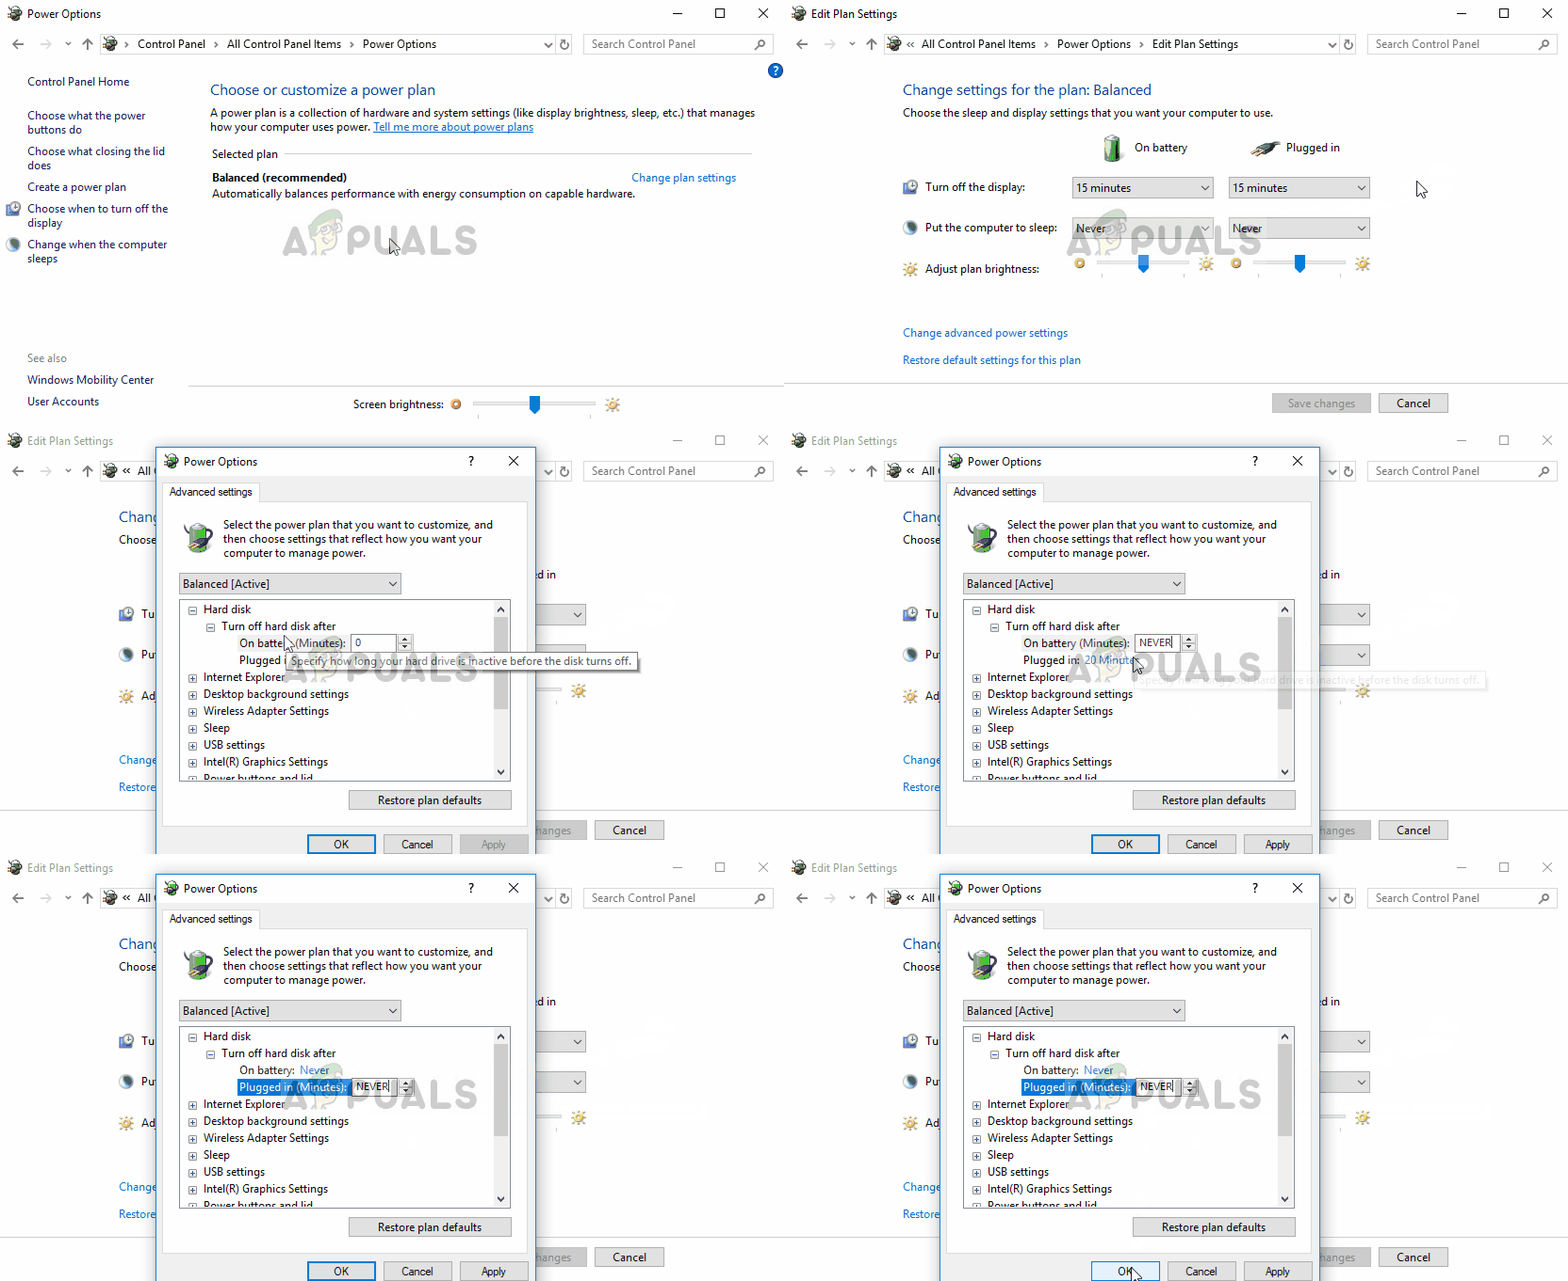
- Do the same for all active battery plans since your computer will sometimes switch between them automatically. Check to see if the code 38 still appears on your computer.
Solution 4: Run the Hardware & Devices Troubleshooter
This troubleshooter is the standard part of Windows troubleshooting suite inside Control Panel. Since Device Manager doesn’t offer the troubleshooter inside the device’s properties, this one is probably the most useful you can try out in order to get the job done. This has helped plenty of people and we hope it will help you as well.
- Start up Control Panel by searching for the utility in the Start button or by clicking the Search button (Cortana) button at the left part of your taskbar (bottom left part of your screen.
- You can also use the Windows Key + R key combo where you should type “control.exe” and click Run which will also open Control Panel directly.
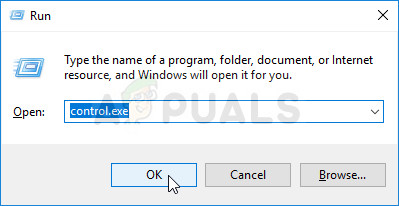
- After Control Panel opens, change the view to Category and click on View devices and printers under Hardware and Sound in order open this section.
- Under the central section, locate the problematic device, left-click on it once, and click the Troubleshoot button at the top menu. If you don’t find your problematic device, click on your computer’s icon.
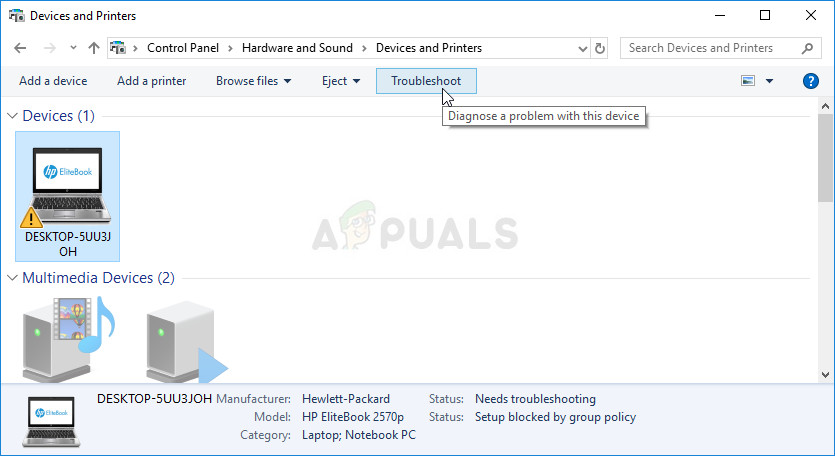
- Wait for the troubleshooter to finish trying to detect and solve the problem and follow the instructions on-screen to allow it to fix the problem. Check to see if the “Windows cannot load the device driver for this hardware because a previous instance of the device driver is still in memory (Code 38)” error still appears.
Solution 5: Clean Boot
Clean booting in order to successfully detect a service or a process which starts up with your computer is definitely the number one solution. Some other services or programs are simply problematic and this can help you pinpoint them out.
- Use the Windows + R key combination on your keyboard. In the ‘Run’ dialog box type ‘msconfig’ and click ‘OK’.
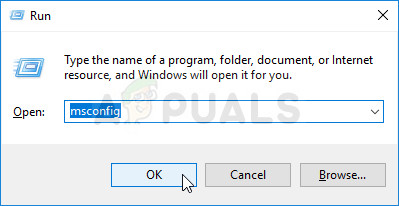
- Under the General tab in the same window, click to select the Selective startup option, and then click to clear the Load startup items check box to make sure it’s not checked.
- Under the Services tab, click to select the Hide all Microsoft services check box, and then click ‘Disable all’.
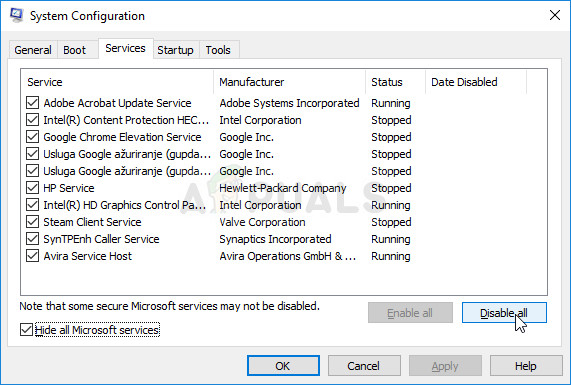
- On the Startup tab, click ‘Open Task Manager’. In the Task Manager window under the Startup tab, right click on each startup item which are enabled and select ‘Disable’.
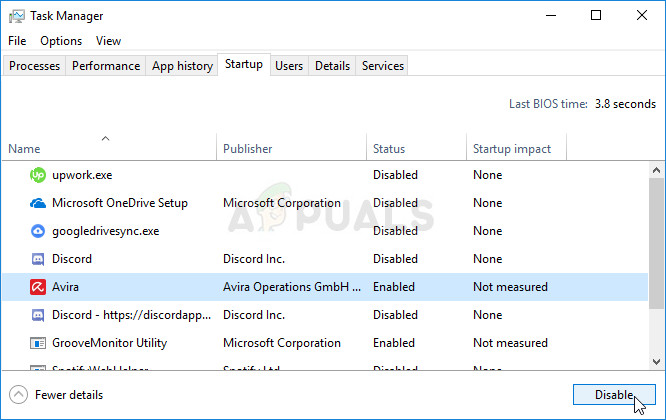
Disabling Startup Items in Task Manager - After this, you will need to enable the Startup items one by one and restarting your computer. After that, you need to check whether the error appears again.
- Once you locate the problematic startup item or service, you can undertake action in order to solve the problem. If it is a program, you can reinstall it or repair If it is a service, you can disable it, etc.


