Fix: Windows 8 Apps Not Working
Before Windows 10 came to light, Windows 8 dominated the market as the latest OEM operating system from Microsoft. Many users fell in love with the new interface and the metro apps (WinRT applications that replaced the win32 applications). Metro apps can be arranged in tabs hence making the touchscreen experience easier. These apps are typically downloadable from the Microsoft app store. This does not mean that Windows 8 does not support Win32 application; they still function as they do on a Windows 7 computer.
Despite the mileage Windows 8 gained, several users complained, and are still complaining, about the malfunctioning of preinstalled and downloaded Microsoft store (metro) applications. Whenever one tries to open an application (usually a metro app from the tiles) either they don’t open completely, or the screen flashes and then the app opens and closes immediately. Other users report a complete freezing of the screen forcing a restart. These applications include, weather, photos, maps, browsers and even the store app itself. In some cases, the store app might function, but when you try to install an application, or uninstall then reinstall the problematic applications, all you get is an error.
In order to give working solutions to this problem, this article will explain why this problem occurs, and follow up with solutions to the stated occurrences.
Why Windows 8 apps will not open
This problem is usually caused by corrupt files. This can be corrupt application files that are necessary to launch apps, or even a corrupt user account. Corrupt application files will terminate applications, while corrupt user accounts will not allow permission to launch apps.
Other than files being corrupt, the store application cache might be corrupt. Applications usually check for licenses from the store among other things through the cache. A corrupt store cache will force the apps to crash or even freeze.
Below are the solutions to this problem. If the first method does not work for you, move to the next and so on.
Method 1: Scan for and fix corrupt files using command prompt
Running a scan on your disk will find and fix corrupt files. To do this simply:
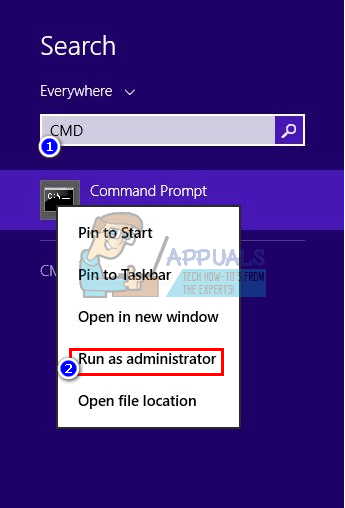
- Press “Windows Key + C” to open Charms Bar and click on search.

- Type “cmd” without quotes in the search box.
- On the left pane, right click on the “cmd” option and select “Run as Administrator”.
- Type ‘sfc /scannow’ without quotes and hit enter. Wait for the scan to complete and restart your computer.

Method 2: Reset the store app cache
All your metro apps are tied to your store app. To reset the store app cache, follow the steps below.
- Press Windows Key + R to open run
- In the text box type WSReset.exe and hit enter.
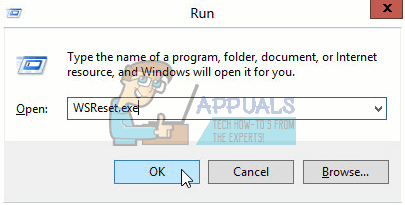
- That will reset your store app cache. You might have to restart your PC and check if it worked. Restart the store app to rebuild the cache and then check if your apps work.
Method 3: Log out and log back into your account
Windows 8 and 8.1 have a known bug where an account fails to initialize properly hence this problem. If you have not updated your OS, try logging out (not shut down or sleep) and then log back in to your PC.
- Press Ctrl + Alt + Del to bring up the user menu
- Click “sign out”
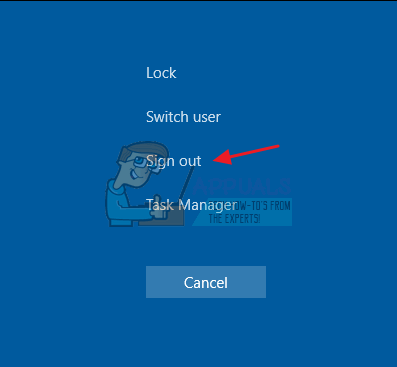
- Login back in with your username and password and check if the apps now work.
Method 4: Troubleshoot and Fix Store App Issues using ‘AppDiagnostic’ tool
The apps diagnostic tool finds and attempts to fix issues with your application. To attempt this fix:
- Download the apps.diagcab tool from here or here.
- Double click the downloaded application to run it
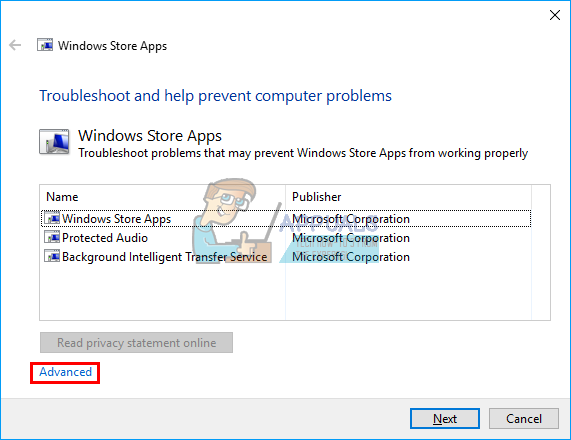
- In the Windows Store Apps troubleshooter, click/tap on the Advanced link.
- Click/tap on Run as administrator
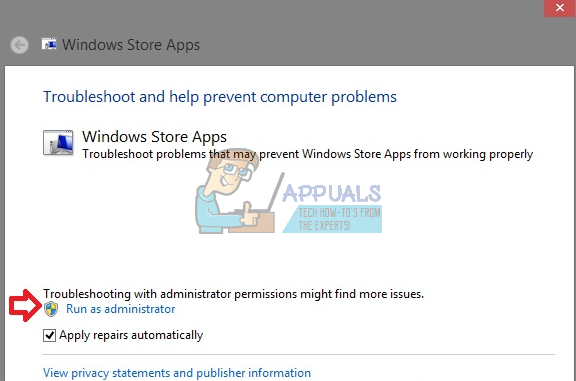
- If prompted by UAC, then click/tap on Yes.
- Click/tap on the ‘Advanced’ link again.
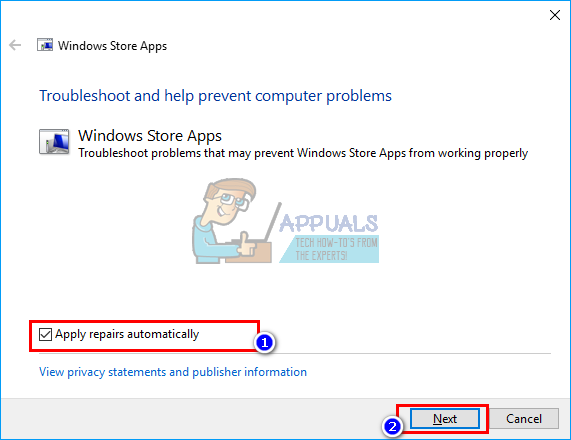
- To apply repairs automatically, check the ‘Apply repairs automatically’ box, and click/tap on Next. To choose which repairs to apply manually uncheck the ‘Apply repairs automatically’ box, and click/tap on Next
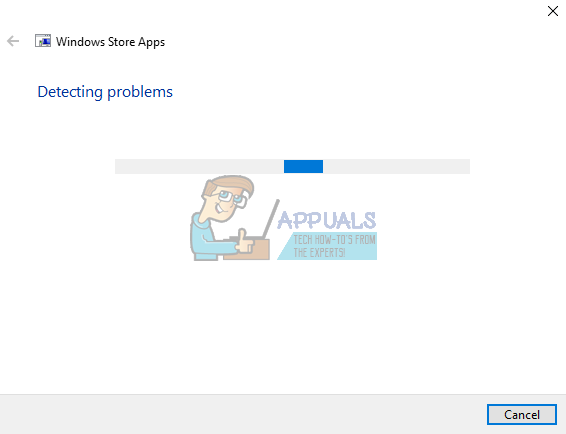
- Follow screen prompts to complete the scan and repair depending on your choice on step 7 above.
Method 5: Register and initialize AppxManifest.XML using PowerShell
- Press “Windows Key + C” to open Charms Bar and click on search.
- Type “cmd” without quotes in the search box.
- On the left pane, right click on the “cmd” option and select “Run as Administrator”.
- Copy-paste or type this (without the quotes) “powershell -ExecutionPolicy Unrestricted Add–AppxPackage –DisableDevelopmentMode –Register $Env:SystemRoot\WinStore\AppxManifest.XML”
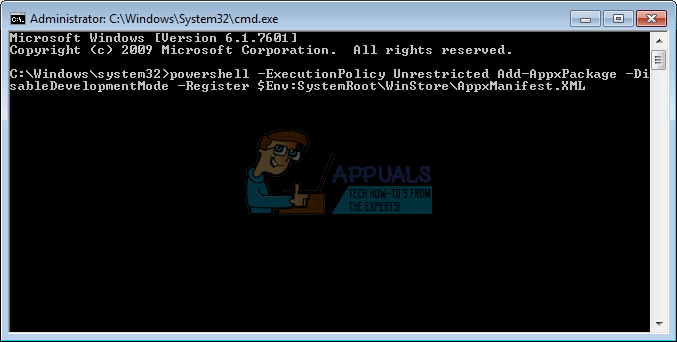
- Push Enter to the run the script. Restart your PC for effect to take place.
You can also run this script that works for others: “powershell -ExecutionPolicy Unrestricted Add-AppxPackage –DisableDevelopmentMode -Register $Env:SystemRoot\ImmersiveControlPanel\AppxManifest.xml”
Method 6: Allow all application packages permission to access windows apps
To allow permissions to all apps to run:
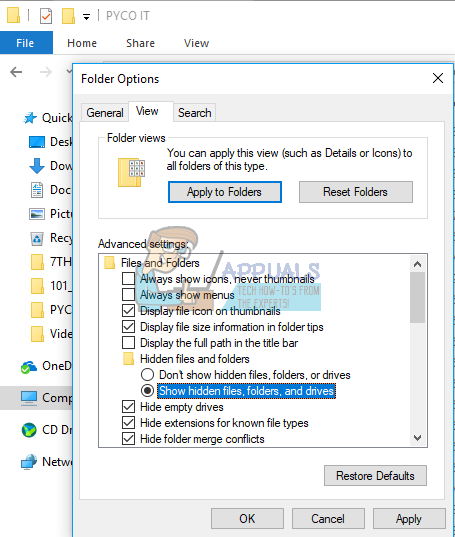
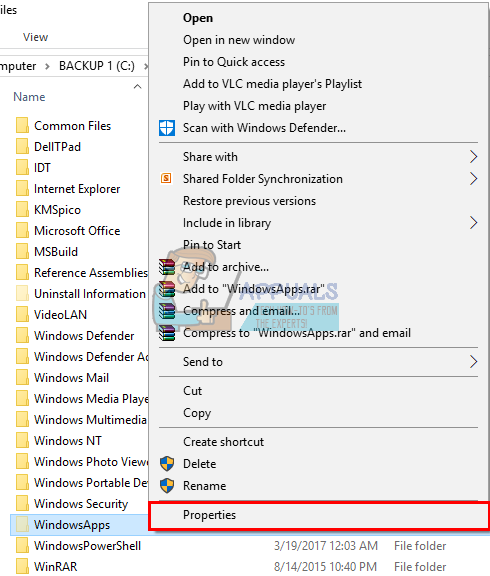
- Go to “C:\program files” (make sure “show hidden folders and files is on”: open any folder > view > options > Change folder and search options > View > Show hidden files, folders and drives > OK)
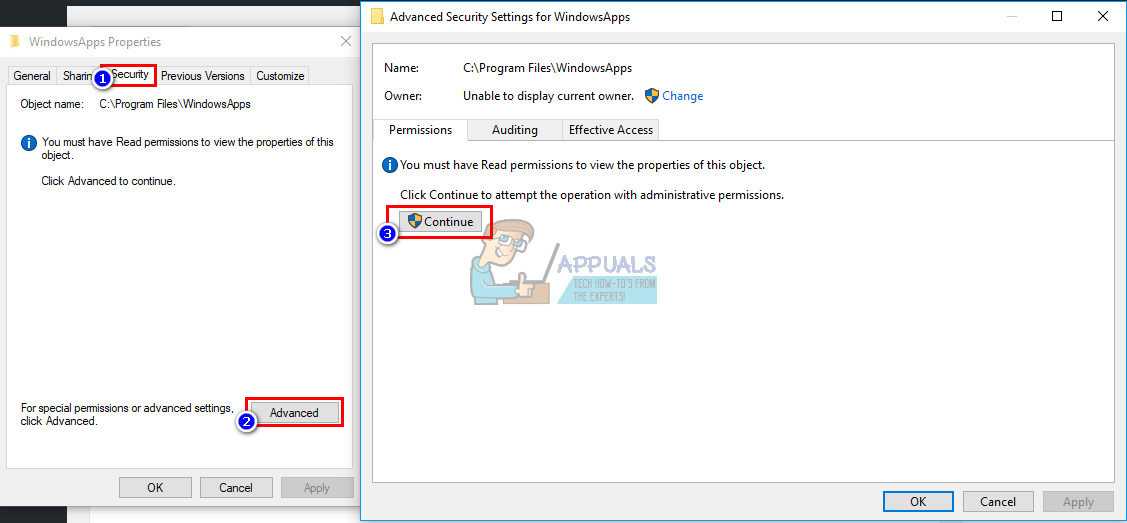
- Right click on ‘windowsapps’ and go to properties-> security tab->advanced
- Click on ‘continue’ to view the permissions of object
- For the owner it will show TrustedInstaller; click on ‘change’

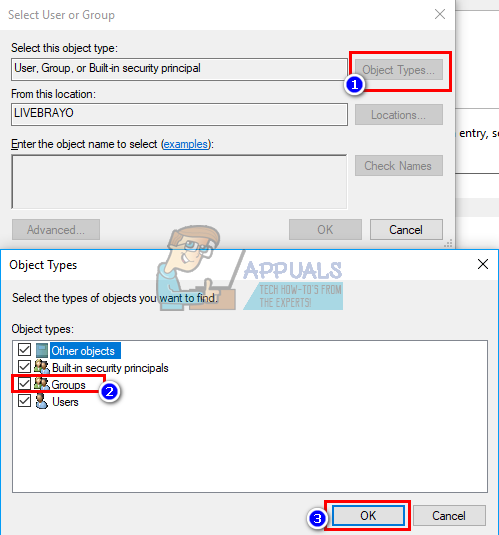
- A new window will open. Select object types -> select groups and then click on ok.
- In the space below “Enter the object Name”, type ALL APPLICATION PACKAGES
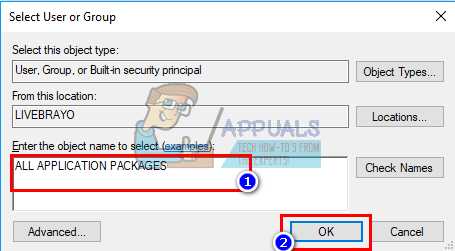
- Next press OK, it will take some time for the owner to change.
- Lastly restart your system.
Method 7: Create a new user account
In the case where your account is corrupt, this method will help you create a new account and move your data into the new account.
- Take note of the user’s libraries path under folder “Users” (usually similar to the user’s name, e.g. C:\Users\USERNAME1\);
Step 1: Change the problematic user account to local
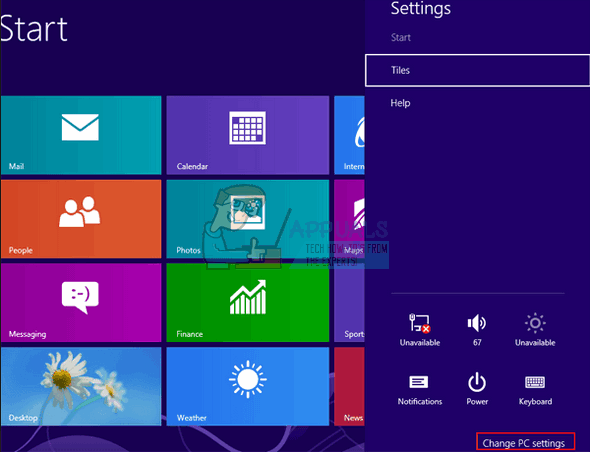
- Press Windows Key + C to open the charm bar and click on settings
- From the settings menu, click on “Change PC Settings “
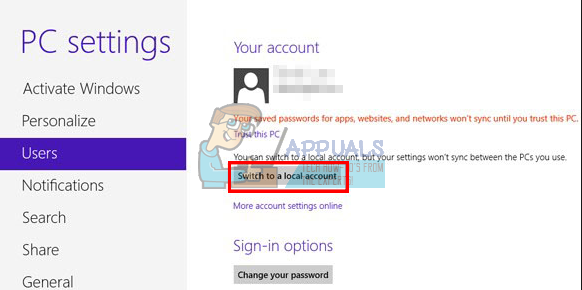
- Click on ‘users’ and then go to your username. If available, click on “switch to a local account”
Step 2: Rename the user
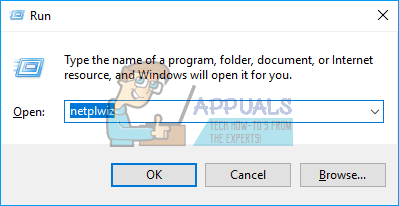
- Press Windows Key + R combination and then type netplwiz in the Run dialog box and then click OK.
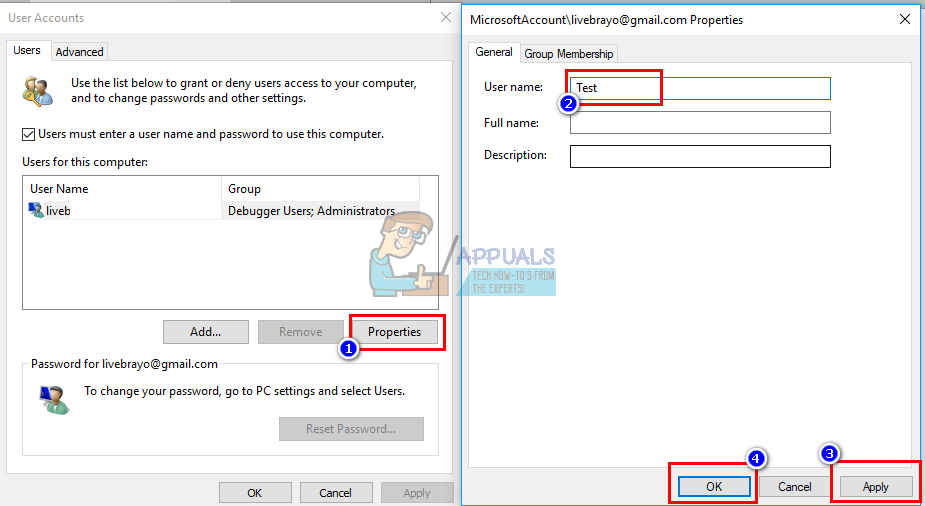
- Click on your username and click properties.
- Rename the user to, let’s say, “test” (it does not matter the name) and click OK.
Step 3: Create a new account
- Press Windows Key + C to open the charm bar and click on settings
- From the settings menu, click on “Change PC Settings “
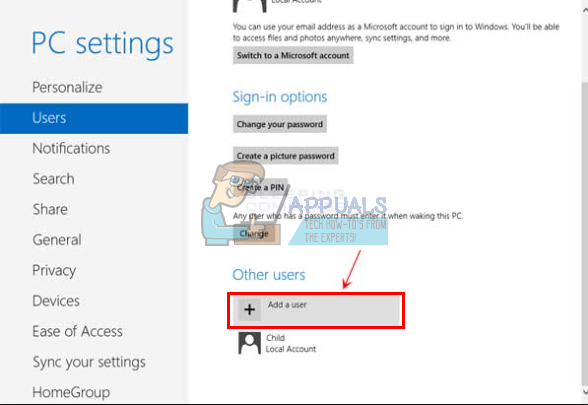
- Click on “Add a user” at the bottom
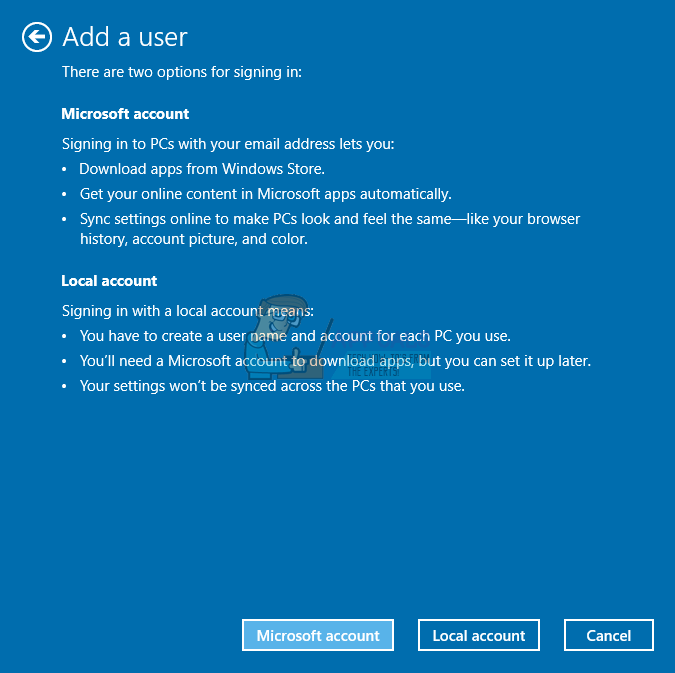
- Create a new Microsoft account with the original username and make it of Administrator type;

- Sign out user “test” (Ctrl + Alt + Del -> Sign Out) and sign in with the newly created Microsoft account so all the default configuration and folders are created;
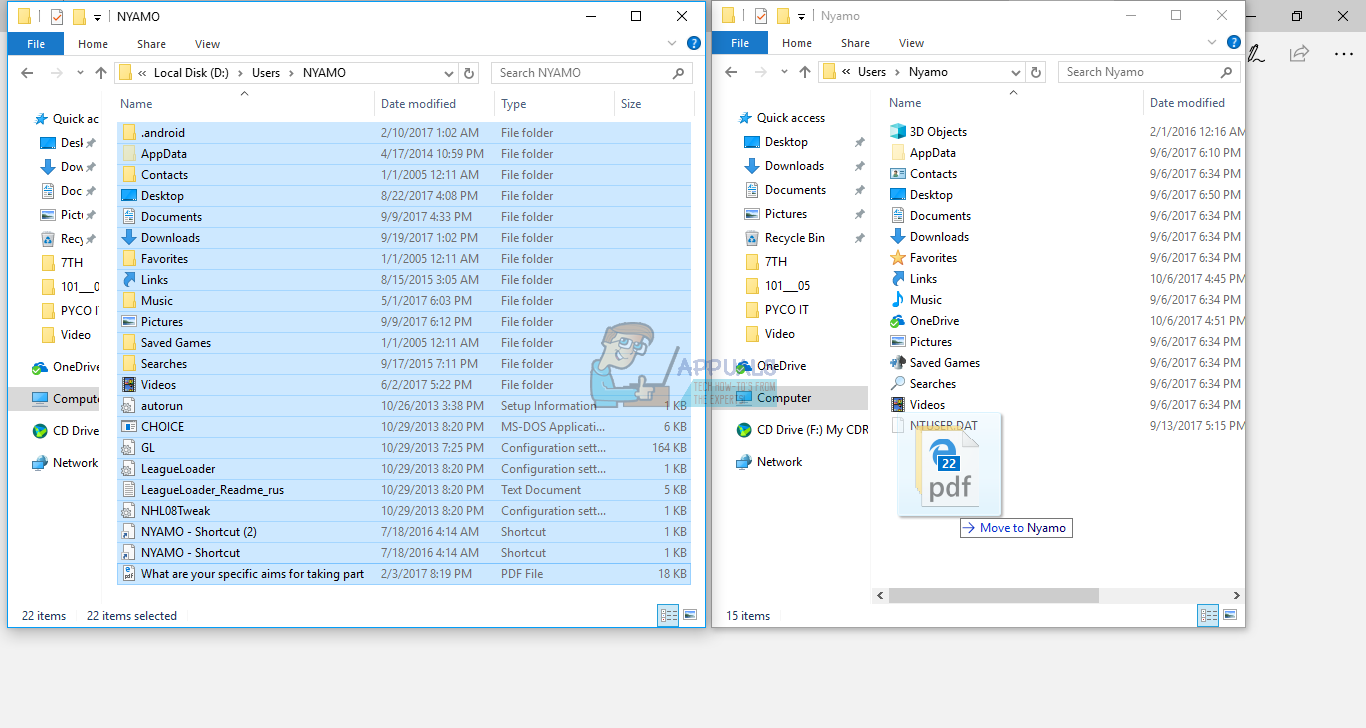
Step 4: Move files and delete old account
- Move all files under the path you took note to the newly created libraries (e.g. C:\Users\USERNAME1\Documents\ to MyDocuments, C:\Users\USERNAME1\Desktop\ to Desktop, so on and so forth);
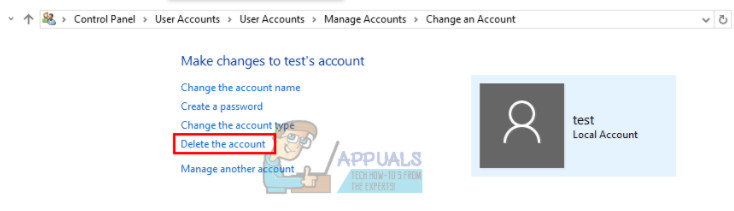
- Go to Windows + C > Settings > Control Panel > User Accounts > Manage another account, select user “test”, delete it and all files.
Method 8: Refresh Windows 8
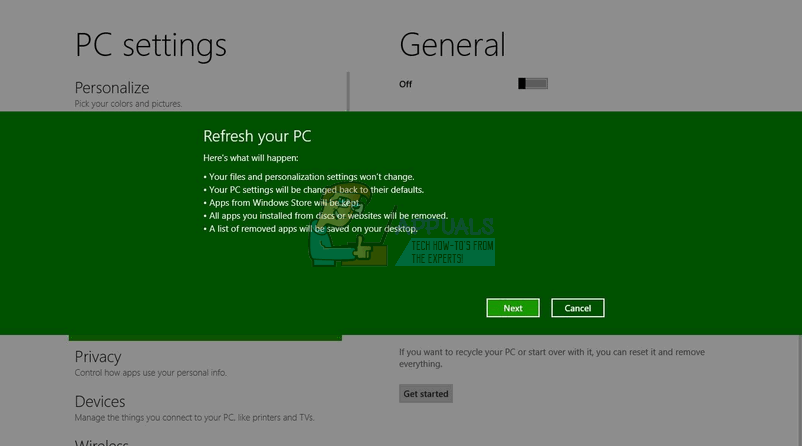
Refreshing Windows 8 will restore the OS back to its default settings and files. This will replace bad configurations and corrupt files. Before you refresh Windows 8, you must know this first; you will lose some installed programs but that is arguably better than your apps not functioning at all. Here is what will happen when you refresh your PC: 1. Your files and personalization settings won’t change, 2. Your PC settings will be changed back to their defaults, 3. Apps from Windows Store will be kept, 4. Apps you installed from discs or websites will be removed, 5. A list of removed apps will be saved on your desktop. To refresh windows 8:
- Press Windows key + C on your keyboard to show the Charms bar (If you are using a touchscreen: Touch the right edge of your screen and swipe your finger to the left)
- Click Settings
- Click Change PC Settings

- Click General in the left column
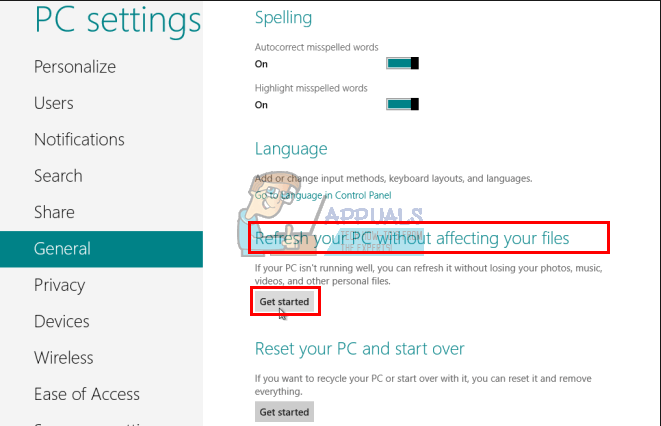
- Under Refresh your PC without affecting your files, click Get started (remember, this is not reset, but refresh)
- Press ‘Next’ and then follow the instructions that will be provided on the screen to refresh your PC.