Fix: Windows 10 Video Problems
If you are one of those users who can’t stream videos on YouTube or Netflix especially after upgrading to Windows 10 then you are at the right place. There are a lot of users who have experienced this issue with Windows 10. Your videos won’t stream and you will continually see the loading mark. Your video might also get stuck in the first frame. Your downloaded or local videos should be fine, though. The problem might be on all browsers or on some specific browser.
The problem can be caused by multiple things. Most of the cases revolve around the graphics and video player. You might have outdated or incompatible drivers. The problem might be caused by hardware acceleration. MS Silverlight can also be the culprit behind this video streaming issue. So, in short, either some settings are changed or your old drivers/applications aren’t compatible.
So, here is a list of methods that will help you solve your video streaming issue.
Method 1: Changing Power Options
This might seem odd but a lot of users have solved their video streaming issues by changing the power options of their systems. All you have to do is change the power settings from “high performance” to “balanced”
Follow the steps given below to change your power settings
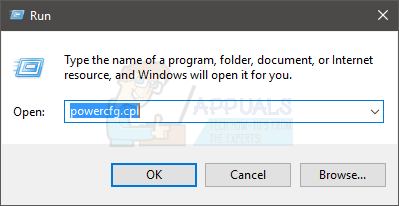
- Hold Windows key and press R
- Type powercfg.cpl and press Enter
- Select the options Balanced (recommended)
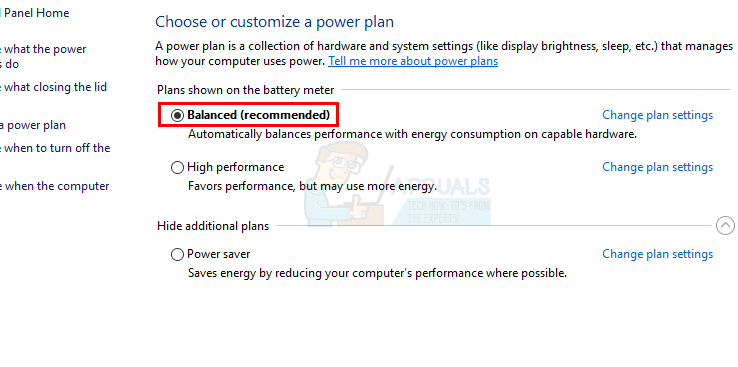
This should immediately solve the issue for you. Once done, close the window and check if the stream is working fine. If you don’t see or feel any change then reboot and check again.
Method 2: Upgrading Video Players
The problem might be caused by the outdated or incompatible versions of the video player you are using. These streaming products/tools have a direct effect on your streaming capabilities. So, simply download the latest versions of your video players to see if it resolves the issue.
Since there are a lot of video players or streaming products, we can’t really give you the steps for upgrading all of those programs. Whatever you are using, simply go to their official website and search for the latest drivers. Download the drivers and install them. Your video players should also have an option to check for updates.
Method 3: Disable Hardware Acceleration
Disabling hardware acceleration has solved to issue for a ton of users. So, try to disable the hardware acceleration and then check your stream.
Here are the steps for disabling hardware acceleration
Firefox:
The tricky thing about Firefox is that its Hardware Acceleration option isn’t visible normally. You have to change a setting in order to make the Hardware Acceleration option visible and then disable it. So, here are the steps for disabling hardware acceleration in Firefox.
- Open Firefox
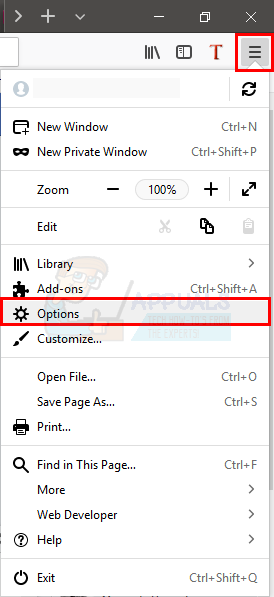
- Click the 3 lines on the top right corner to open the menu
- Select Options
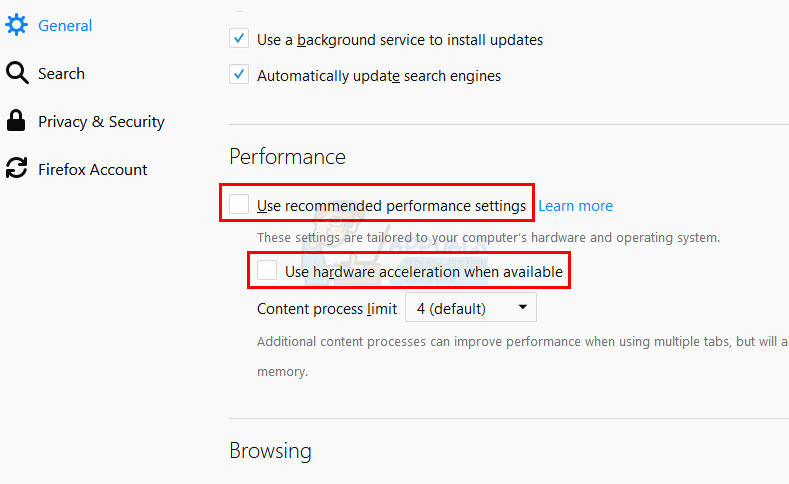
- Scroll down and uncheck the option Use recommended performance settings in the Performance section
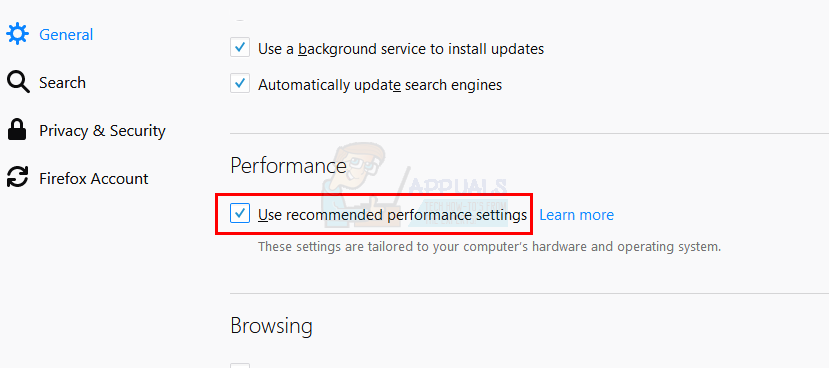
- A new option Use hardware acceleration when available will appear. Uncheck this option as well
Google Chrome:
- Open Google Chrome
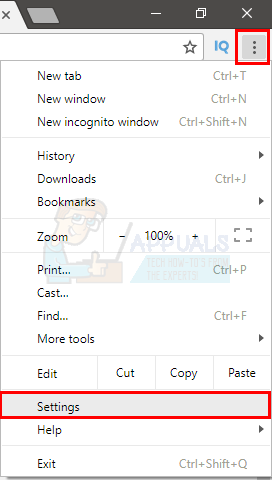
- Click the 3 dots on the top right corner to open the menu
- Select Settings
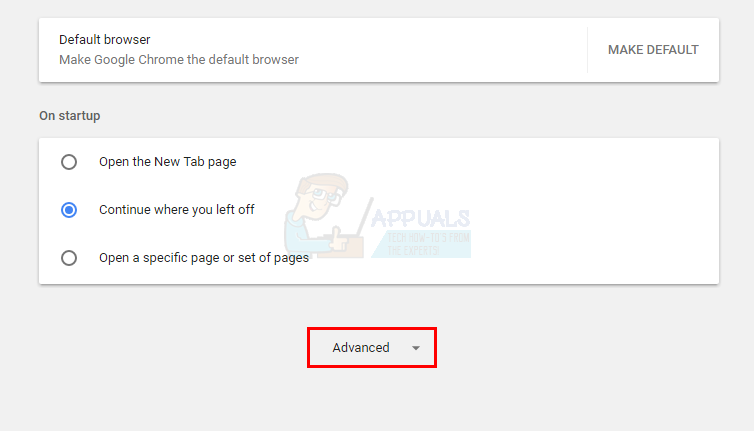
- Scroll down and click Advanced
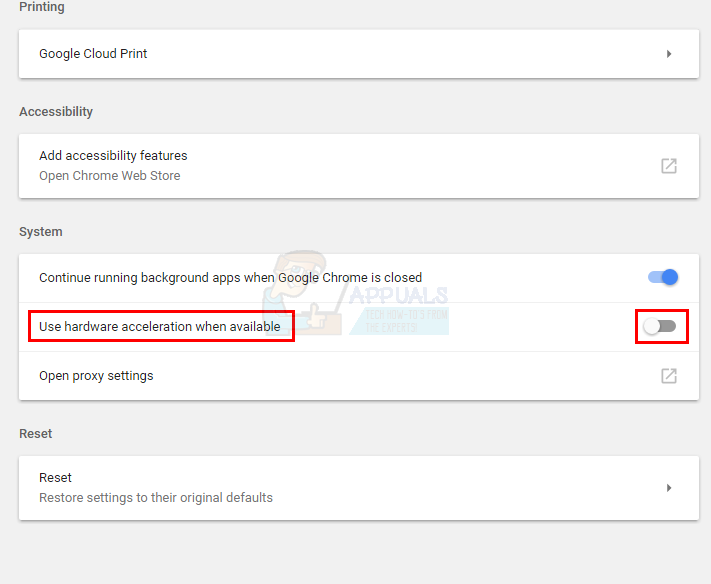
- Scroll down and toggle off the Use hardware acceleration when available option. This option should be under System section
Internet Explorer/Microsoft Edge:
- Hold Windows key and press R
- Type inetcpl.cpl and press Enter
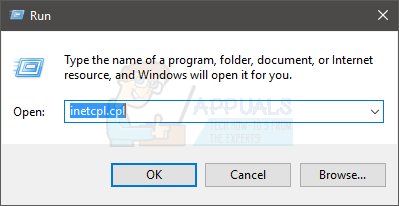
- Click Advanced
- Uncheck the option Use software rendering instead of GPU rendering. This option should be under Accelerated graphics in the Settings section
- Click Apply then select Ok

Once done, reboot your computer and check if it resolves your issue.
Method 4: Change Audio Playback Settings
Lowering the bit rate of the audio playback also resolves this streaming issue. So, here are the steps for lowering the audio playback settings
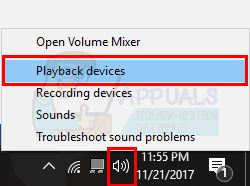
- Right-click the sound icon from the taskbar (bottom right corner) and select Playback Devices
- Select your default playback device. It should be marked with a green circle with a tick inside it.
- Select Properties (while your default playback device is selected)

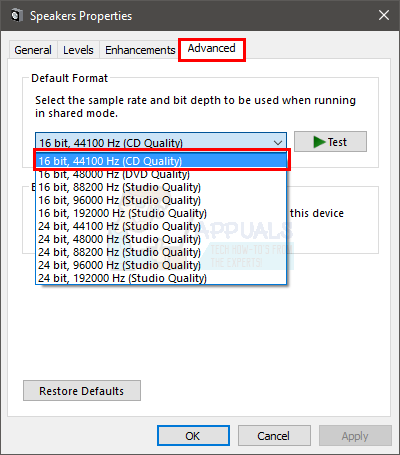
- Click Advanced tab
- Select 16 bit, 44100 Hz (CD Quality) from the drop down menu in Default Format
- Click Apply then select Ok
- Click Ok again
Once done, try to play the video again. It should be fine now.
Method 5: Update Drivers
Updating your graphics drivers will also help in rectifying this situation. If the problem started right after the Windows upgrade or update then it’s highly likely that your drivers aren’t compatible.
Here are the steps for updating your graphics drivers
Follow the steps given below to update your video drivers.
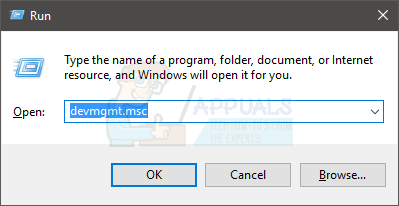
- Hold Windows key and press R
- Type devmgmt.msc and press Enter

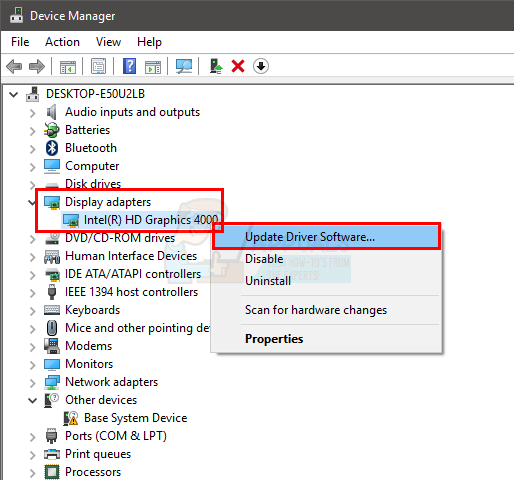
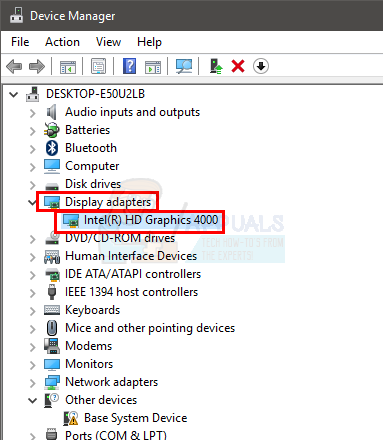
- Double click Display Adapters
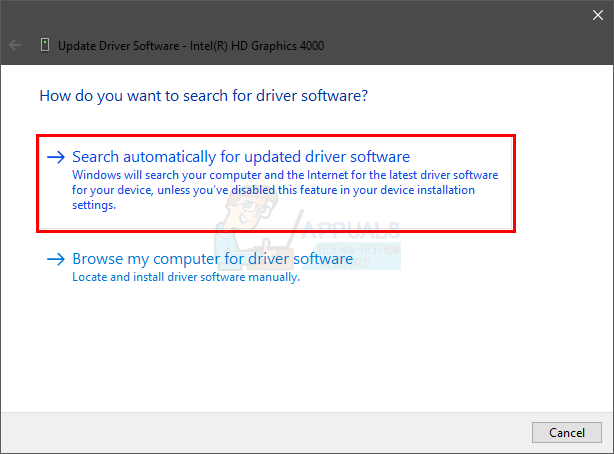
- Right-click your video device/card and select Update Driver Software…
- Click Search automatically for updated driver software and wait for the Windows to update your driver.
If the Windows doesn’t find any updated version, you can manually check for the latest version driver as well. Follow these steps to manually update your driver
- Hold Windows key and press R
- Type devmgmt.msc and press Enter
- Double click Display Adapters
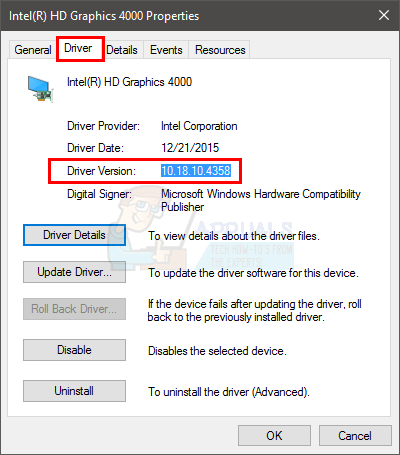
- Double click your video device/card
- Click Driver tab
- You should be able to see the driver version in this tab. Keep this window open and continue
- Open your internet browser and go to your video card manufacturer’s website. In this case, we would visit Intel’s official website.
- Next, search for the latest drivers for your device. Check if the latest driver version available at the website is the same as shown in the driver tab of your device. If you have the old version then download the newer version.
Note:If this solution doesn’t fix the issue for you, try downloading an older version of the driver that is at least 3 or 4 months old. Check to see if installing that fixes the issue. - Once the driver is downloaded, double click the setup file to install the driver or follow the steps 1-4 in the Update driver section above and select Browse my computer for driver software > Browse > Select driver file > Open > Next .
Method 5: Tweaking GPU Configuration
In some cases, if you have multiple GPUs running on the computer i.e, a dedicated one and an integrated one, this issue can be raised because only the iGPU might be configured to run the videos which it might not be able to. Therefore, in this step, we will try first disabling the iGPU and if that doesn’t work we will try uninstalling Sound Drivers and then reinstall them. For that:
- Press “Windows” + “R” to open the Run prompt.
- Type in “Devmgmt.msc” and press “Enter”.
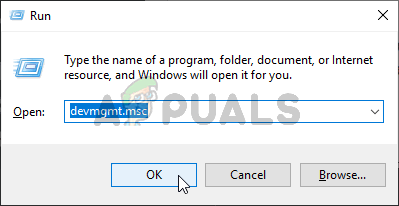
Running the Device Manager - Inside the device manager, expand the “Display Adapters” tab and right-click on the driver for the integrated GPU.
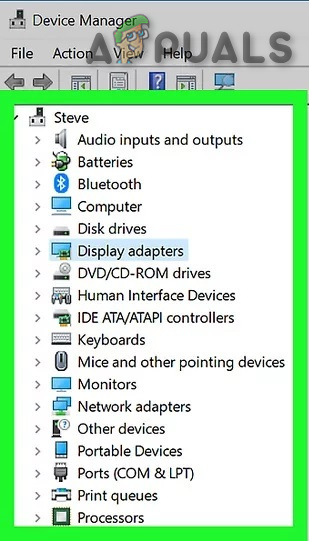
Display Adapters in Device Manager - Select “Disable” and check to see if the issue persists.
- If it does, go back to the device manager and expand the “Sound, game and video controllers” dropdown and disable all drivers inside it.
- You will now see a “line” across the “Speaker” icon in the system tray.
- Now, press “Windows” + “I” to open the Windows settings and click on “Update and Security”.
- In Update and Security, click on the “Check for Updates” option and let it install any updates that are available.
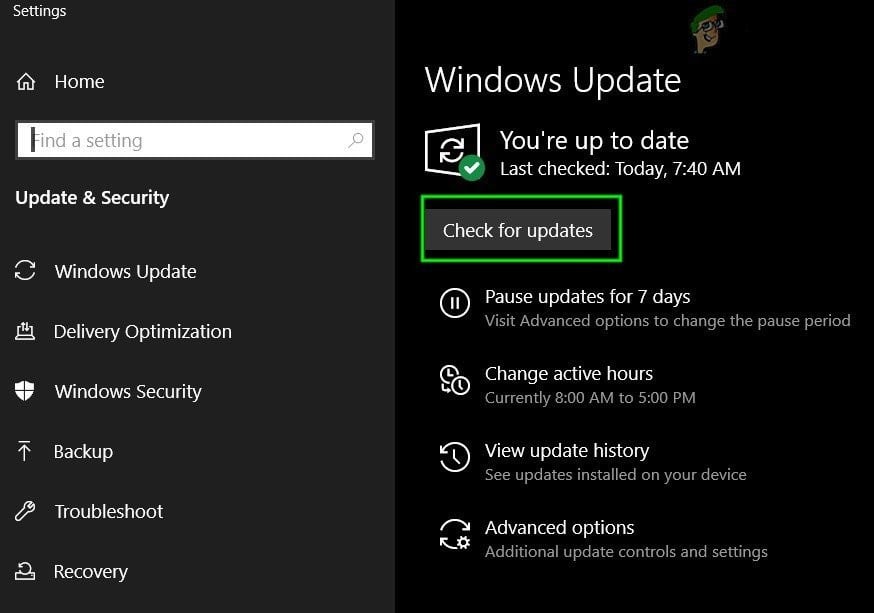
Check For Updates in Windows Update - Now it should reinstall the drivers automatically.
- Check to see if the issue still persists.
Method 6: Reinstalling Display Driver from Windows Update
In some cases, the issue might persist until you reinstall the Display Driver from Windows Update instead of the manufacturers’ website. Therefore, in this step, we will be checking for any available drivers and then install them from the update. For that:
- Press “Windows” + “R” to open the Run prompt.
- Type in “Devmgmt.msc” and press “Enter” to open the device manager.
Running the Device Manager - In the device manager, expand the “Display Adapters” tab and right-click on the dedicated GPU driver.
- Click on “Uninstall” and it should go back to Microsoft Basic driver.
- Check to see if videos play on it.
- If you wanna go back to the dedicated driver, press “Windows’ + “I” to open the settings and click on the “Update and Security” option.
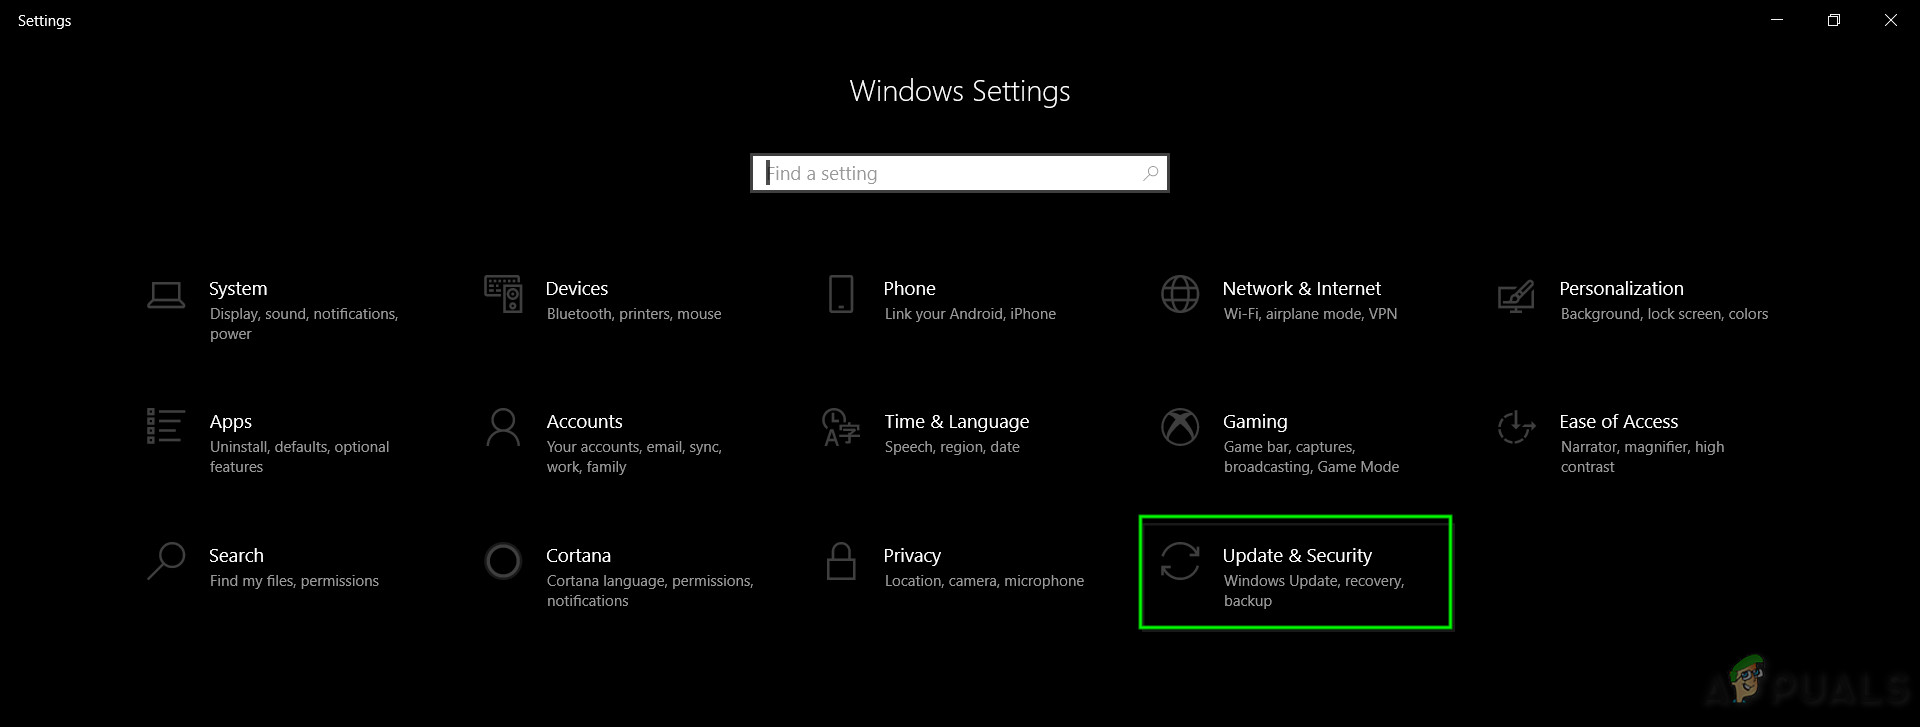
Update & Security.in Windows Settings - Check for updates and let the computer download and install the update.
- The driver will be installed along with the update.
- Restart your computer and check to see if the issue persists.
- Confirm that the computer actually uses your dedicated GPU for playing videos.
Method 7: Installing Media Codec Packs
If you are still unable to fix the Video problems, a simple workaround could be to just install the latest media codec packs from Microsoft. This has reportedly fixed this issue for a lot of people. In order to do that:
- Download this pack for KB3010081 and this for the KB3099229 version.
- Furthermore, you can also search for your particular version on Microsoft’s website here.
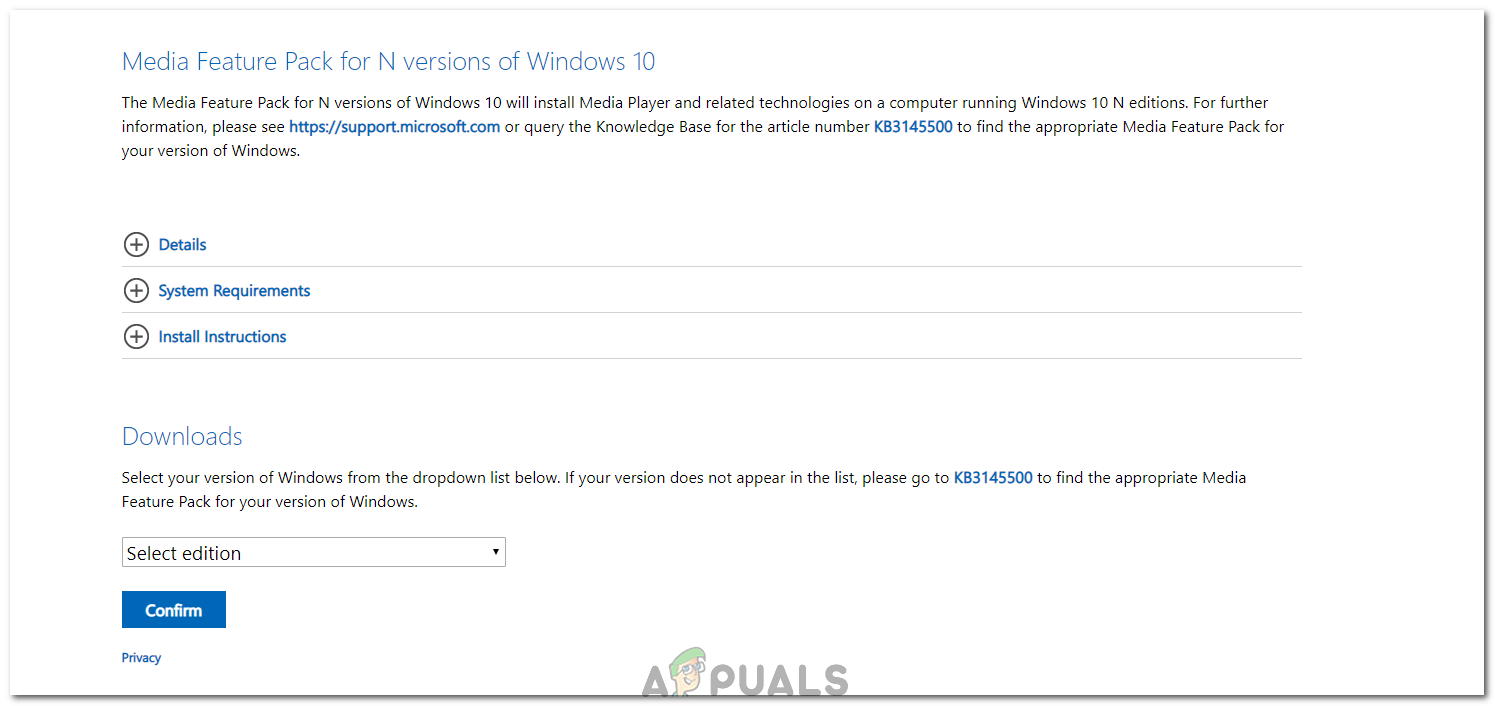
Downloading the Feature pack for Windows - Download this executable, run it and follow the on-screen instructions to install it on your computer.
- Check to see if the issue persists.
Method 8: Disabling Fast Boot at Startup
In some cases, if the fastboot option is enabled for you the error might be triggered. Therefore, in this step, we will be disabling Fast boot and then check to see if that fixes our problem. In order to do so:
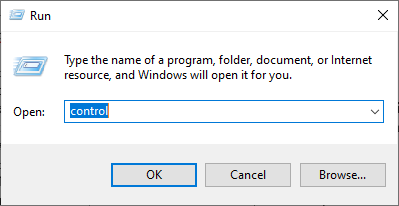
- Press “Windows” + “R” to open the Run prompt.
- Type in “Control panel” and press “Enter” to open it.
Accessing the Classic Control Panel interface - Click on the “Hardware and Sound” option and then select “Power Options”.
- From there, click on “System Settings” and then select “Choose what the power buttons do” option.
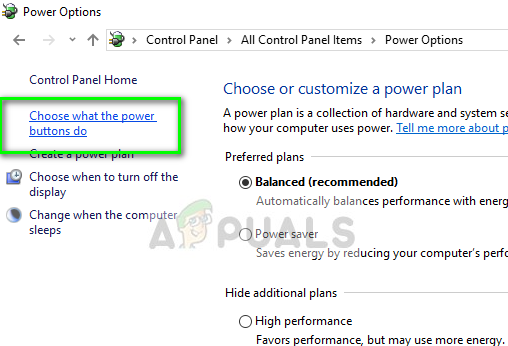
Choose what Power Buttons do – Control Panel - Uncheck the “FastBoot” option on the bottom and then save your settings.
- Check to see if the issue persists.
Once done, reboot your computer and your problem should be solved. Although, if you are unable to play videos on Youtube, check this guide in regards to that. If that isn’t an option, try going back to the previous build of Windows. You can also try resetting your PC completely if none of the solutions work for you, this is sure to fix the issue.