Fix: Windows Mail Error 0x8000000b
Windows 10 has a built-in Mail app that lets you sync your Gmail, Yahoo or any other accounts. When you try to log in, the Mail application tries to connect with your respective email server to get the server settings, however, recently users have been experiencing the ‘Error 0x8000000b’ error which stops you from syncing your email.
Although the core of the problem is the same, you might get a different error code like 0x80070425, 0x8007042b, 0x8000ffff. Since the heart of the problem is the same, the solutions are identical too. If you are looking for solutions regarding this error, you’ve come to the right place. We’ve made sure to mention the solutions for this specific error that were shared by Microsoft itself and other tech gurus.
What causes the Mail Error 0x8000000b?
For such an error, the causes could depend on various factors that include:
- POP or IMAP is not enabled. You are likely to face this issue if your Post Office Protocol (POP) and Internet Message Access Protocol (IMAP) settings are not enabled in the email server.
- Windows Firewall blocking the request. According to Microsoft, this can happen if your firewall is blocking the request sent by Mail application.
- Third-party Antivirus or Windows Defender. If you are using a third-party antivirus or your Windows Defender is enabled, these softwares could potentially be the cause of the error.
Let us get into the real reason of us being here and jump into the solutions:
Solution 1: Turning Off Antivirus or Windows Defender
If you are not able to sync your email, this could possible be due to your antivirus or windows defender blocking the request sent by Windows Mail application. In such a case, you should try to disable your antivirus and give it a go again. To disable your Windows Defender, do the following:
- Open Start and type in Windows Defender Security Center.
- Click on Windows Defender Security Center from the results.
- In Windows Defender Center, go to ‘Firewall and network protection’.
- Choose a network profile and turn off Windows firewall for it. Do this step for each profile present.
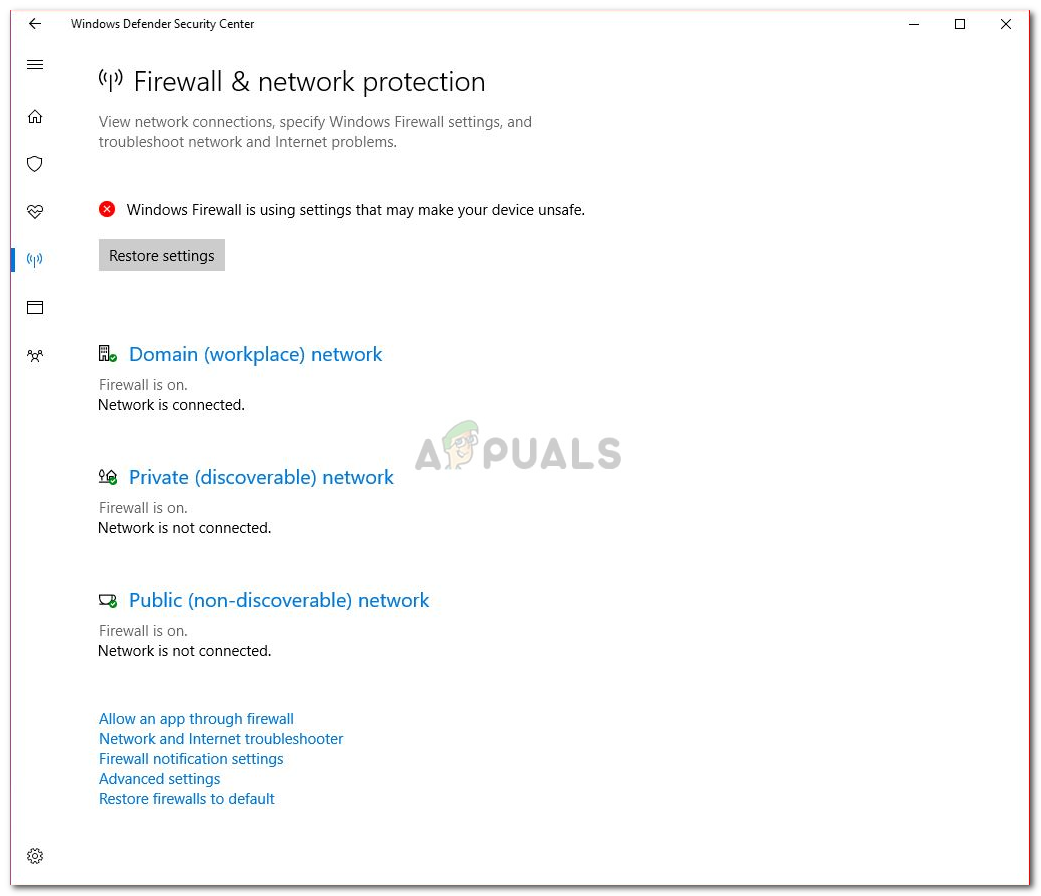
Choose a profile and disable firewall - See if you are able to sync your email again.
Solution 2: Allow Mail through Windows Firewall
If turning off Windows defender allowed you to sync your email then you must follow this step as well. For those whose problem wasn’t resolved by solution 1, this could help in solving your problem. To allow your Mail application through Windows firewall, do the following:
- Go to Windows Defender Security Center again.
- Click on ‘Firewall and network protection’.
- Choose ‘Allow an app through firewall’ and then select ‘Change settings’.
- In the list of allowed applications, make sure to select and check the both Private and Public boxes for Mail.
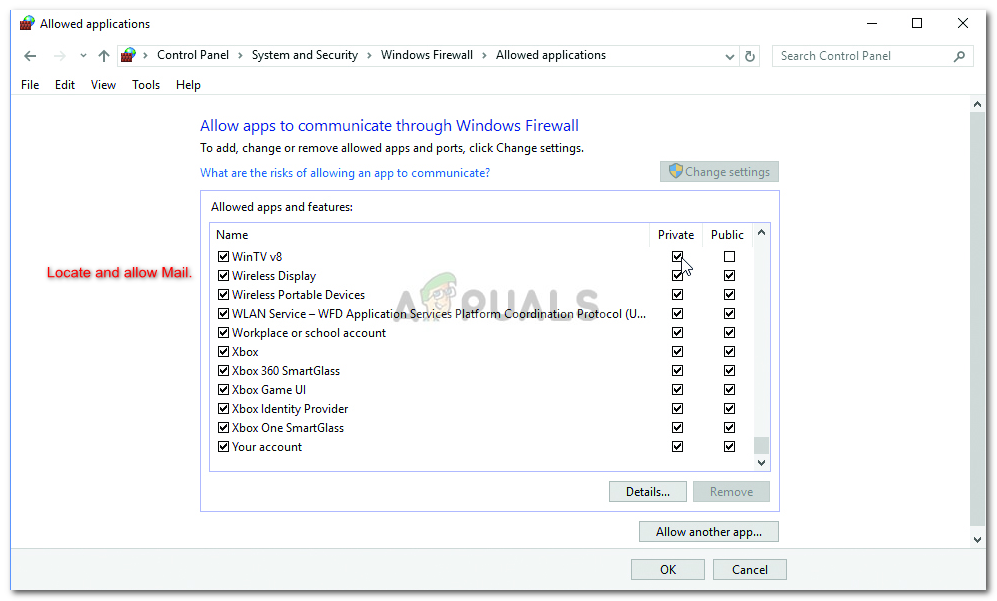
Locate and allow Mail. - Hit OK.
Solution 3: Removing and Adding your Account
If your account has stopped syncing recently, occasionally, the problem can be fixed quite easily by removing and adding your account again. To do this:
- Open Start Menu and type in Mail.
- You’ll see a ‘Settings’ icon at the bottom of the Mail navigation pane, click it.
Click settings - Choose the account you to remove and select ‘Delete account’.
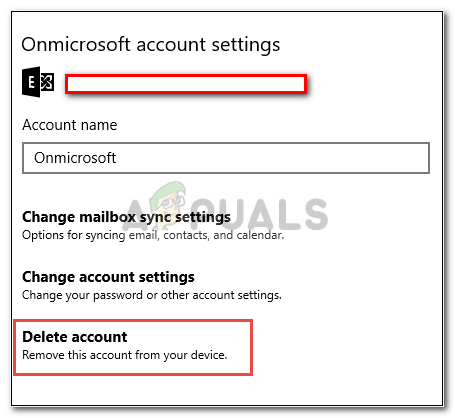
Click Delete account - After you’ve done that, add your account and see if it syncs.
Solution 4: Sign in using Advanced Settings
If all the solutions mentioned above don’t work for you, this is your last resort. Here, you’ll be signing into your account through advanced settings.
For Google:
If you have a Gmail address, go through the following instructions. First and foremost, you are going to have to enable some settings in your Gmail account settings.
- Log in to your Gmail account via browser.
- After you’ve logged, enable IMAP which can be found here.
- Lastly, you’ll have to turn ON the ‘Allow less secure apps’ option in your Gmail account settings; found here.
After you’ve followed the above instructions, it is time to log in.
- Go to Start and open Mail.
- Open Mail settings.
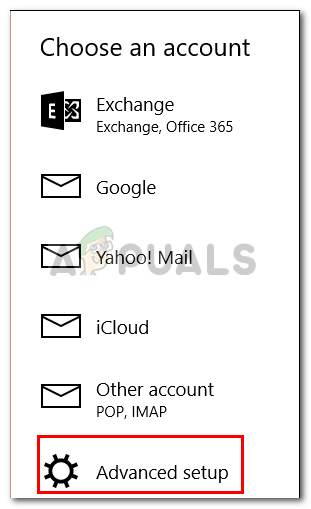
Click settings - Select Accounts and then click ‘Add Account’.
- Click ‘Advanced setup’.
- You’ll be asked to select your email account type, choose ‘Internet email‘.
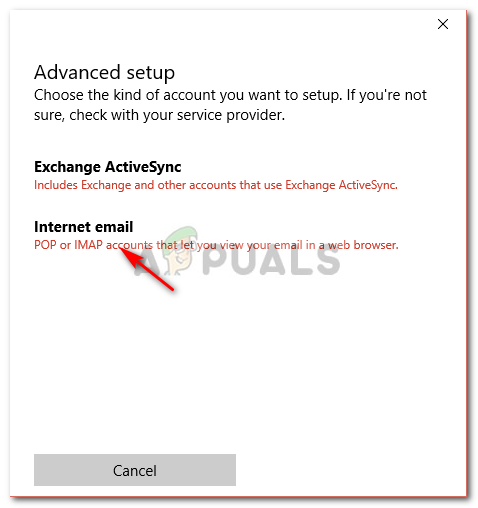
Choose Internet email - Enter your account details. In the ‘Incoming email server’ box, type in:
imap.gmail.com:993
- Select IMAP4 as ‘Account type’ and enter the following in ‘Outgoing email server’:
smtp.gmail.com:46

- After you’ve entered all of the details, click ‘Sign in’.
For Outlook:
If you have an Outlook email, do the following:
- Open Mail and go to Settings.
Click settings - Select Accounts and then click ‘Add Account’.
- Instead of choosing Outlook, choose ‘Exchange‘.
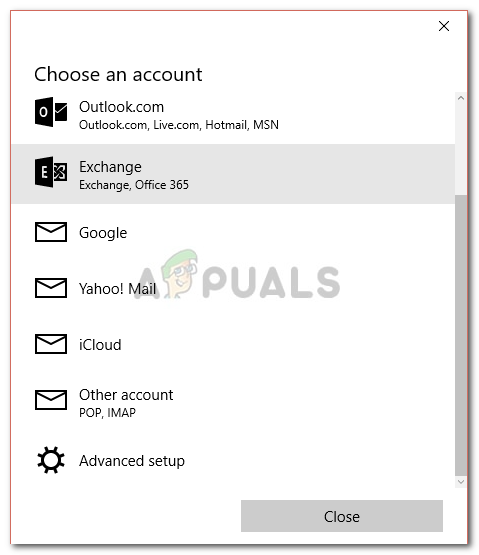
Choose Exchange. - Enter your email address, click Next. You’ll be asked to enter your password.
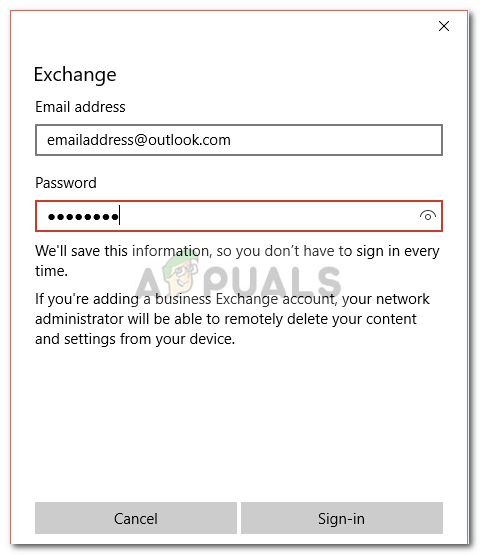
Enter your email and password. - Click ‘Sign in’.
- Done! Check if your issue is solved.


Thanks a lot…It worked for me