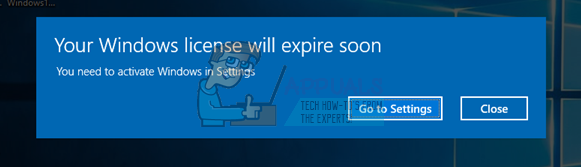
Fix: Windows 10 Deactivated Itself
A lot of people come across the case where their version of Windows automatically gets deactivated. This case occurs on various situations such as when you upgrade your version from 8.1 to 10, when you make modifications to your computer, when you install a recent update, or if you are using KMS software.
It is well known that Windows rolls out frequent updates to target bug fixes and enhance the user experience but, it also rolls out security updates which check if your version of Windows is legit and there are no discrepancies. The workarounds for this problem differ as each case is different and cannot be replicated here. With that being said, all KMS users should scroll to the bottom of the article and see the solution targeting them.
Note: If you have an email from Microsoft which shows details about the purchase of Windows, it will most probably have a license key already. Use it to activate Windows.
Solution 1: Talk to a Live Microsoft Agent
If you are unable to activate Windows even if you have officially purchased the license in the past, you can contact a Microsoft Live agent to solve the problem for you. There were numerous cases present all around where this problem was not solvable by any workaround whatsoever.
Note: Make sure you have the order ID or reference number giving proof of purchase of your official version of Windows.
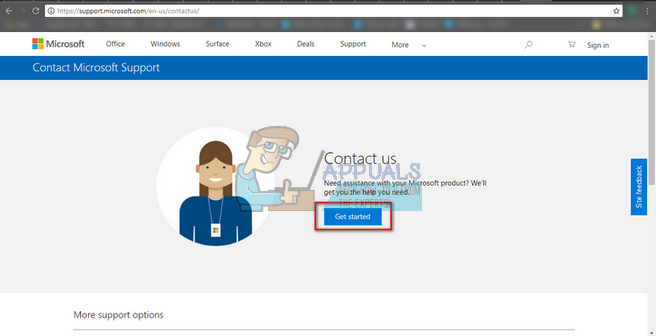
- You should over to Microsoft’s official support website and click on “Get started” to start the process to talk to a live agent.
- Initially, you will not able to talk directly to a live agent. You have to go through the process of troubleshooting until you reach a point where the virtual assistant asks you if you want to speak to a live agent.
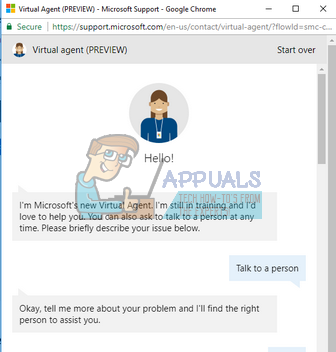
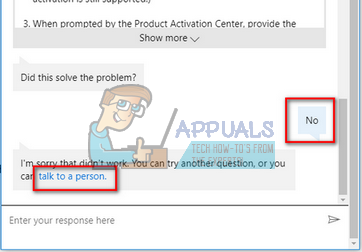
- Start the conversation by stating “Talk to a person”. You will be asked to elaborate your problem a little. Start by describing the error message until the virtual assistant asks you if the problem is solved. Click/type “No”. Now you will be given an option to talk to a real person. Click on the link.
- You should primarily click on “Chat” but you can also select “Call me back” (if it is available) and the Microsoft officials will respond back to you by calling your number.

- Before you can start chatting, you will be required to enter your Microsoft account credentials. Input the required data and follow the onscreen instructions.
Solution 2: Make sure you have a Working Internet Connection
Windows now use digital licenses to implement the authentic redistribution of its operating system and software. It is possible that you don’t have a working internet connection due to which Window cannot communicate with the servers properly. Make sure you have an active internet connection and wait a few days and see if the problem goes away.
There were numerous cases where people just left the error like it was and the error message automatically went away. Carry on with your work for a few days. But if the error has been there for quite some time, it means it is here to stay and you can go ahead with the other solutions listed below.
Solution 3: Using Command Prompt
If you are using a licensed version of Windows but still facing the error, we can try executing a command on the command prompt to show the product key. Once the product key is revealed, you can copy and paste it in the Settings for Windows to activate. Do note that you require a working internet connection to carry out this solution.
- Press Windows + S, type “command prompt”, right-click on the application and select “Run as administrator”.
- Once in elevated command prompt, execute the following command:
wmic path SoftwareLicensingService get OA3xOriginalProductKey
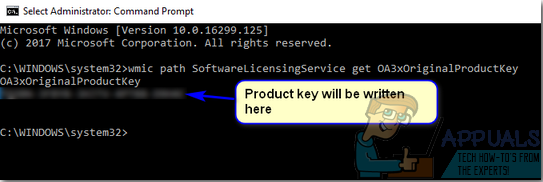
- Copy the product key so we can use it later on. Now press Windows + S, type “settings“ in the dialogue box and open the application.
- Click on “Activation” present in the left navigation pane and click on “Change product key”.
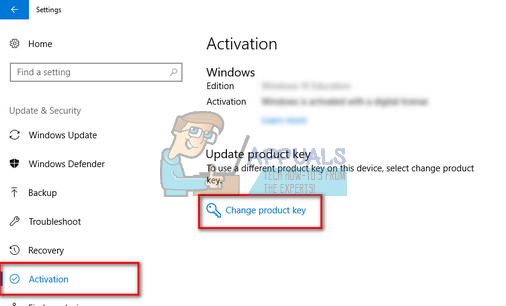
- Enter the product key we just found out using the command prompt and press Enter. Make sure you have an active internet connection and let Windows verify the key.
Solution 4: Using Windows Software Licensing Management Tool
Windows comes preloaded with a Software Licensing Management Tool to help the users check if their version of Windows is activated permanently or temporarily. Furthermore, we can also force the tool to re-evaluate Windows and check if it is activated or not. If you came across this error randomly, we can try forcing the computer into verifying the status of activation again.
- Press Windows + S, type “command prompt” in the dialogue box, right-click on the application and select “Run as administrator”.
- Once in elevated command prompt, execute the following command:
slmgr –rearm
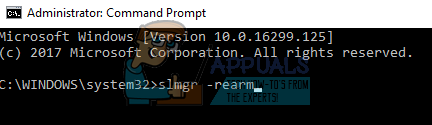
- Wait for the process to complete and the acknowledgment message. Restart your computer and check if the problem at hand got solved.
Solution 5: Using a Microsoft Account
Sometimes the error message also arises if you are using a local account on your Windows rather than a Microsoft account. A local account is an account which isn’t associated with a Microsoft account. You can create a Microsoft account using their official website for free without any implications. If you already have a Microsoft account, follow the instructions to add it to your computer.
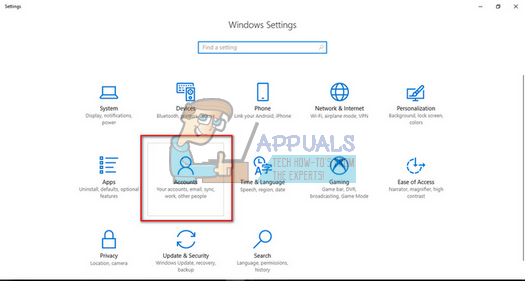
- Press Windows + S, type “settings” in the dialogue box, and open the application.
- Once in Settings, click on the subcategory of “Accounts”.
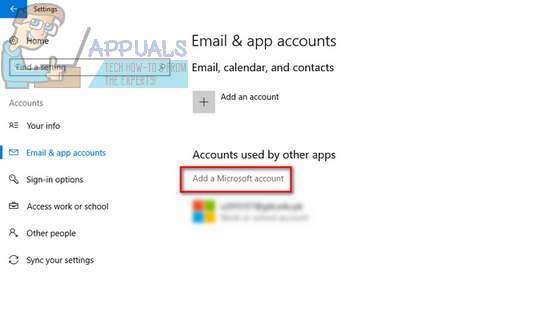
- Click on “Email and app accounts”. Now select “Add a Microsoft account” so we can add the account accordingly.
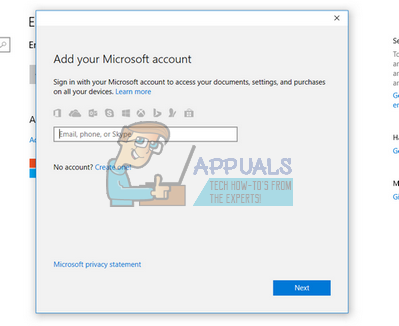
- A new window will pop up asking you to enter your credentials. Follow the on-screen instructions to add your Microsoft Account.
- After you are done associating the account, sign out from the current account, restart your computer and log in to the Microsoft account. Now check if the problem at hand got solved.
Solution 6: Deleting Windows VM and Reinstalling (For Mac users)
If you are using Windows on your Mac device using the official virtual machine software (Bootcamp), you can try uninstalling the Windows. You might want to consider installing Windows from Bootcamp again using a fresh installation media as the old media can sometimes induce errors.
Note: Backup all your data before uninstalling this version of Windows from your Mac device. All your stored information/data will be lost as you will have to reinstall Windows again on your device.
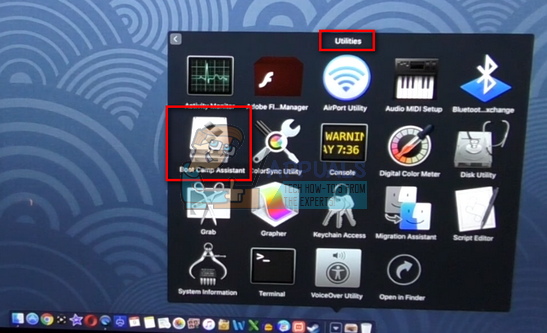
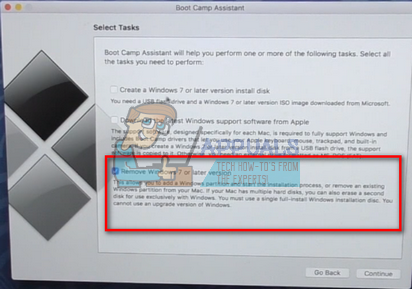
- Open the “Utilities” folder and click on “Boot Camp Assistant”.
- Click on “Remove Windows 7 or later version”.
- Follow the on-screen instructions to complete the process. Now Mac will start erasing your data and will uninstall Windows in the end.
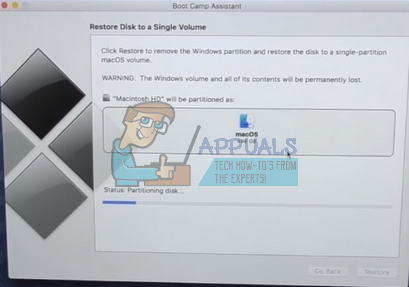
- After Windows is successfully installed, you can it reinstall it properly.
Solution 7: For KMS Users (Post 1709 Update)
You will be using KMS software if you don’t have an authentic version of Windows installed on your computer. In the past KMS worked flawlessly, not giving you any trouble and making it look like that you are indeed running a genuine copy of Windows. However, recently after the 1709 update, you will be observing weird symptoms like high CPU usage by Software Protection and the error message that your Windows isn’t activated. Furthermore, your computer might be taking much more time in rebooting and some of the functions would not be running.
It seems that Microsoft eventually caught up to the software and developed a breaking point. In this case, there is no alternative (at this moment) than to either restore your version of Windows and keep the updates disabled so you don’t get past the 1709 update or purchase an official copy of Windows.
Note: In some rare cases, you might be able to suppress the error message but the high CPU/Disk usage of Software Protection will not go away. To make solve this, head over to the event viewer and disable the KMS event permanently by either disabling the entry or deleting them. This way the error message will still persist but you won’t have to deal with the problem of high disk usage or some functionalities not working.
Solution 8: Restoring from last Restore Point
If all the above methods don’t work, we are left with no choice but to restore Windows to the last restore point. We can only restore Windows if you have a restore point made in the past. By restoring, we will roll back to a point where there wasn’t any problem with your operating system. This method is only effective if installing an update triggered the error message.
Note: Make sure to back up your data before performing this solution. Use an external hard drive or USB to save all your important files just in case.
Here is the method on how to restore Windows from the last restore point.
- Press Windows + S to launch the start menu’s search bar. Type “restore” in the dialogue box and select the first program which comes in the result.

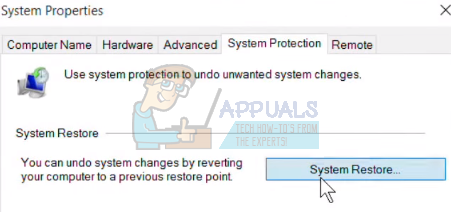
- Once in the restore settings, press System Restore present at the beginning of the window under the tab of System Protection.
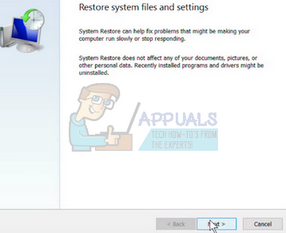
- Now a wizard will open navigating you through all the steps to restore your system. Press Next and proceed with all the further instructions.
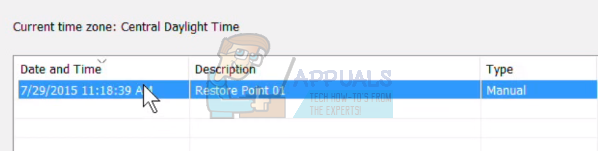
- Now select the restore point from the list of options available. If you have more than one system restore points, they will be listed here.
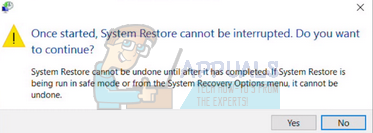
- Now windows will confirm your actions for the last time before it starts the system restore process. Save all your work and backup important files just in case and proceed with the process.
- Once you have restored successfully, log into the system and check if the error at hand got fixed.
Note: If you have the license key at hand, and still cannot activate windows using the methods listed above, you should consider doing a clean install of Windows and enter the license key at the start. You check our article on how to create a bootable media. There are two ways: by using media creation tool by Microsoft and by using Rufus. You can use the utility “Belarc” to get all your licenses saved, backup your data using external storage and then perform a clean install. Make sure you have a valid license key before moving on to the solution or it wouldn’t be worth anything and we will be back at step one.
Great article, but there’s a much quicker and simpler way to fix this.
I recently had this happen to a computer I built about six years ago,
originally with Win 7 Pro, but upgraded to 10 when it was released. It
had been running with no activation issues both before and after 10
upgrade…until this week, when it suddenly notified me that it had been
deactivated. Along with that, I also started getting User Protection
errors with things that I never had before, like opening Services, or
mmc.
I spent the better part of a day trying to troubleshoot, but none of
the “solutions” I found helped. Finally, did a repair install which
restored activation by digital license and all functionality. Save
yourself a lot of time, make and keep a Windows 10 install flash drive,
and when it just seems like everything has taken a turn for the worse,
do a repair install.