Fix: Windows Create Pin Prompt at Startup
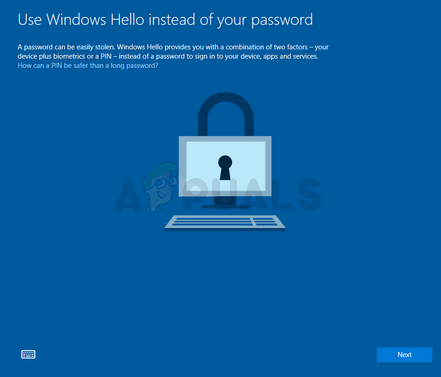
If you are one of those people who installed the recent Windows 10 update then you might be a victim of this unfortunate bug. The latest Windows 10 updates have introduced a bug that causes this issue. Windows 10 pin login is one of the options to login to your windows. Usually, you create the pin when selecting Windows pin login. You can then use the pin, instead of the password to login to your Windows. But, some users don’t want to set up a pin as their login authentication method. So, this bug in the latest Windows 10 update will ask you to create a pin at every startup. Specifically, you’ll see a Use Windows Hello instead of your password screen with just a Next button. You can click Next and then click cancel to set up the pin later on but all of this will waste a lot of your time. You will see this screen on every startup.

As mentioned above, this started with the latest Windows 10 updates. So, this is most likely a bug introduced by the latest update. But this can also be caused by some settings problem as well. So, it might not be considered a bug but rather an inconvenient default settings. The good thing is that there are a couple of solutions that you can try. Simply go through each of the methods listed below and apply the solution that seems the most suitable for your machine.
Method 1: Change Windows Defender Settings
This might seem odd but the solution of this problem is in the Windows Defender Settings. Simply follow the steps given below
- If you are logging in to your computer, click Next when you see the Use Windows Hello instead of your password screen
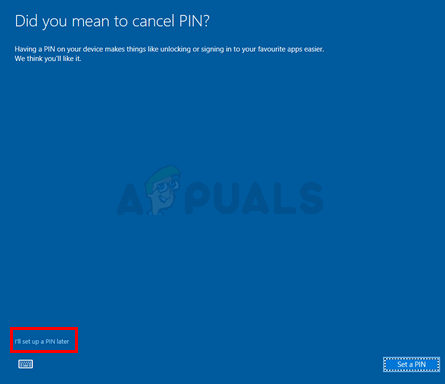
- Click Cancel
- You’ll see a screen with a Did you mean to cancel PIN? Click on I’ll set up a PIN later to get around this issue

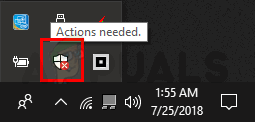
- Once you are logged in, click on the Windows Defender icon from the icon tray (right bottom corner on your Desktop)

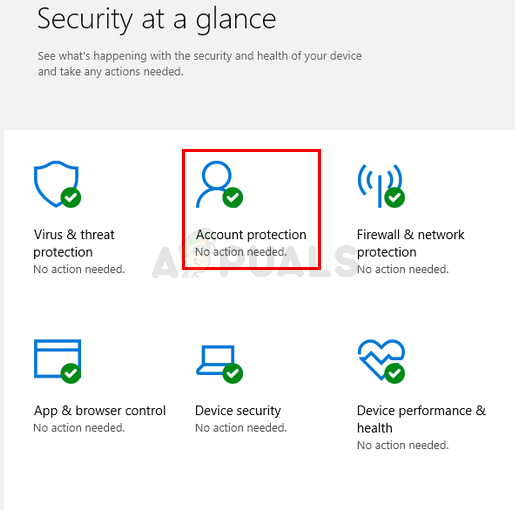
- Go to the Account Protection settings

- Click Set up
- Now click Dismiss
Once done, you won’t see any create a pin prompt at every startup.
Method 2: Edit Group Policy
Making some changes in the group policy editor has also resolved the issue for plenty of users. There is a setting named Turn on convenience PIN sign-in in the group policy editor. Disabling this option will stop this prompt.
So, follow the steps given below to disable the Turn on convenience PIN sign-in option
- Hold Windows key and press R
- Type gpedit.msc and press Enter

- Navigate to this location in the group policy editor Computer Configuration -> Administrative Templates -> System -> Logon. If you don’t know how to navigate to this location then follow the steps given below
- Locate and double click Administrative Templates from the left pane
- Locate and double click System from the left pane
- Locate and select Logon from the left pane

- Look for an entry named Turn on convenience PIN sign-in in the right pane. Double click it

- Select Disabled from the newly opened window

- Click Apply then select Ok
Close the group policy editor and you should be good to go
Method 3: Select Appropriate Option on Login Screen
For some users, the problem was simply that they had selected the wrong option for sign in. On your login screen, you’ll notice that there are two icons under the location where you enter your password/pin. If you can’t see these icons then try click Sign-in options. You should be able to see 2 icons now. Make sure the right icon is selected. The right icon is for password login whereas the left icon is for PIN login. Most of the users who were experiencing this problem had the left icon selected which is why Windows was always asking them to create a pin.
Method 4: Other methods
There are a couple of other things that you can do to get around this problem. These are for people who can’t get rid of the PIN prompt despite applying all the solutions.
Turn off Passwords
The first option is to simply turn off the passwords. This is, of course, not a very desirable solution but if you really want to get rid of the create pin prompt then turning off the passwords will do the job for you. Follow the step given below to turn off your login password.
- Hold Windows key and press R
- Type netplwiz and press Enter

- Uncheck the box that says User must enter a username and password to use this computer

- Click Apply then select Ok
Keep in mind that this will make your account public and anyone with access to your computer will be able to login. So, do this at your own risk
Create a local account
This problem occurs when you sign in with your Microsoft account. Switching to a local account has resolved the problem for a lot of users. If you are really frustrated by this problem and don’t mind using a local account then follow the steps given below
- Hold Windows key and press I
- Select Accounts

- Click Sign in with a local account instead and follow the on-screen instructions.

You should be good to go once your local account is set up.
Create a PIN
If you really don’t want to use a PIN but don’t mind using a password as your sign in option then there is a workaround for you. You can agree to set a PIN and then set your PIN to be the same as your password. When Windows asks you to enter a new PIN, check the option Include letters and symbols. You can now set your password as the new PIN.


