Fix: Windows Activation Error 0x803fa067
Windows Activation Error 0x803fa067 stops users from activating Windows, leaving the system with limited features. This error indicates a failure in license validation, usually due to an invalid or reused product key. Common causes include hardware changes, such as a new motherboard, and mismatches between the Windows edition and the product key.
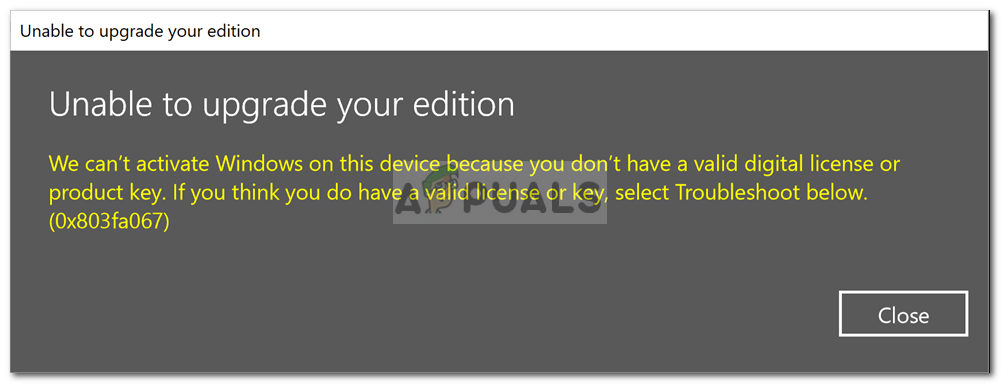
Additional causes can be trying to upgrade with a generic key, and using Volume License Keys or shared keys from unauthorized sources.
In this article, we will discuss different ways to solve this error.
Disconnect Internet Before Updating
Before you start, disconnect from the internet to stop Windows from checking your product key online during the update.
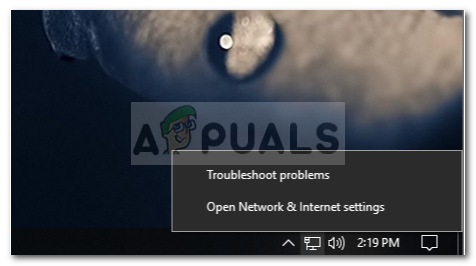
- Right-click on the Network icon on the bottom right of the taskbar.
- Click ‘Open Network and Internet settings‘.
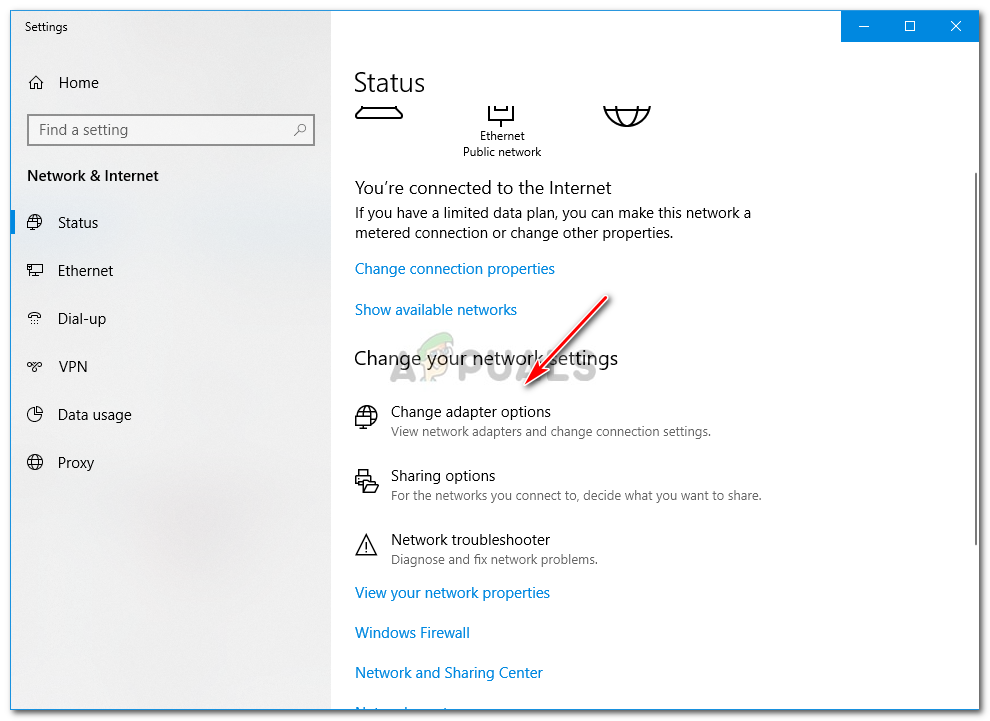
- Under ‘Change your Network settings‘, double-click ‘Change adapter options‘.
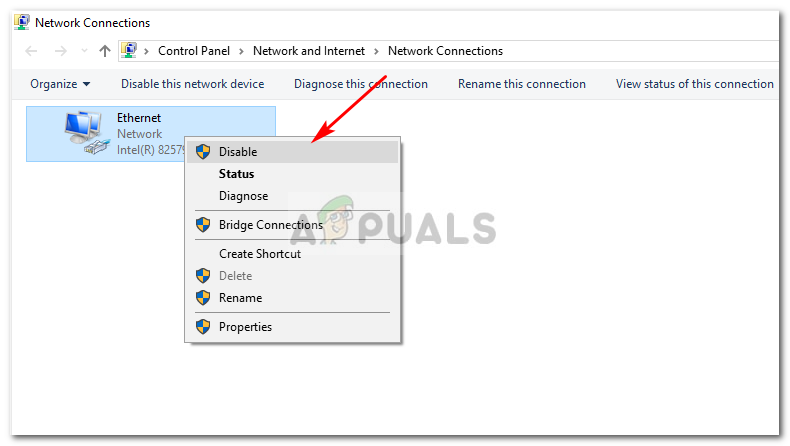
- Right-click on Ethernet and click ‘Disable‘.
Activate Windows
- Boot up your system.
- Press Winkey + I to open the Settings window.
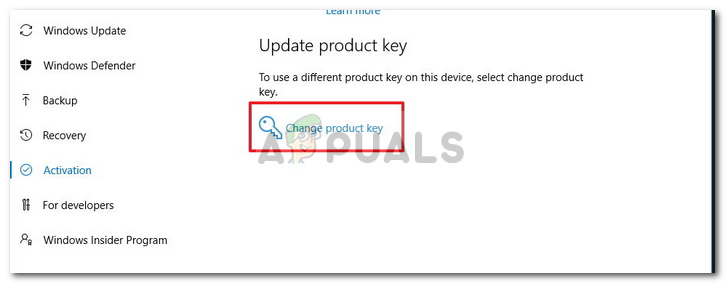
- In the search box, type Activation.
- Change the product key to the following (default key from Microsoft):
VK7JG-NPHTM-C97JM-9MPGT-3V66T
- Once you’ve entered the key, disable your internet connectivity.


Thanks for the article! I got this error on a brand new ASUS laptop, which came with Windows 10, but wouldn’t let me upgrade to pro. Something about a “digital license”? bunch of gobbledygook that made no sense to me. This fixed the issue.
The Reimage Repair Tool is offered in 3 different ways on this page…
Has anyone tried this?