How to Fix Apple ID “Verification failed” Error?
The error message Verification failed: There was an error connecting to the Apple ID Server indicates an issue connecting to Apple’s servers, preventing the device from verifying the Apple ID credentials. The most common cause is a poor internet connection, although server-side problems at Apple or issues with the Apple ID itself can also be responsible.

A thorough investigation reveals several scenarios that may be the direct or indirect cause of the this error in iOS:
- Inconsistent date & time – It is essential to note that restoring from a cloud backup or creating a new one requires your phone to cross-verify the device’s date & time with that of the Cloud servers. A mismatch can result in failure and the error message stated above. To resolve this, make sure to set the correct date and time on your iOS device.
- iTunes Auth token glitch – An Auth token glitch may occur if the phone remains idle for a prolonged period while connected to iTunes. Resolving this requires signing out of both iTunes and the App Store.
- The iPhone is using mobile data – Reports from numerous users suggest that switching from cellular data (3G, 4G, or 5G) to a Wi-Fi network before performing a backup operation resolves the issue, implying that the transfer protocol may be disrupted over mobile data.
- Wi-Fi Network glitch – Some older iPhone models may experience a backup protocol issue after being connected to a Wi-Fi network for an extended time. Logging out and back into your Wi-Fi network can resolve this.
- Network Settings Inconsistency – Corrupted or invalid cached data from network usage, or an incompatible network setting, could cause this problem. Clearing current Network settings may address the issue.
- Incorrect Apple ID password – Although you may be certain that you are entering the correct password, it is worth double-checking. Change the password if necessary to overcome the error.
- iOS glitch – Some users have successfully fixed the issue by force-restarting their devices. It’s worth trying if you haven’t already.
- Missing Verification code – Depending on your iOS security level, restoring from an iCloud backup may require a verification code. Make sure you have this code and follow the instructions to proceed.
With every potential cause examined, let’s discuss verified solutions that other affected iOS users have implemented successfully.
1. Update the Time & Date to Correct Values
Synchronizing your iOS device’s date and time settings with the global standard is a fundamental step because Apple’s servers check these details for security reasons. An incorrect time setting can lead to communication errors with iCloud, resulting in failed verifications.
By making sure your device’s clock matches that of Apple’s servers, you eliminate a potential mismatch that could be interpreted as a security threat, thus preventing you from signing in or restoring backups.
- Unlock your iOS device and tap the Settings icon from your home screen.
Accessing the Settings menu on iOS - In Settings, tap on General.
- Within General, tap on Date & Time.
- Scroll through the options and toggle Set Automatically to ON.
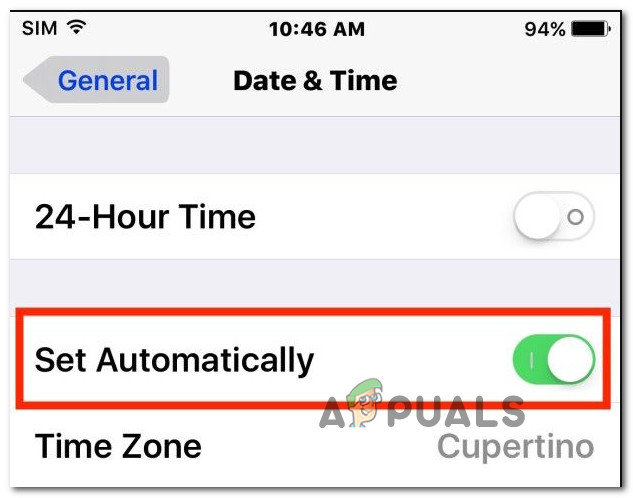
Setting the Date & Time automatically - After changing this setting, restart your phone and try restoring from the iCloud backup again.
2. Sign Out from iTunes & App Store
Signing out of iTunes & App Store effectively refreshes your device’s authentication tokens. These tokens are digital keys that grant access to your Apple services. Over time or after an update, they can become outdated or corrupted, preventing successful logins. By signing out, you clear these tokens. When you sign back in, new authentication tokens are generated, potentially fixing any sign-in issues you were experiencing.
- Open the Settings app and navigate to iTunes & App Store.
- In iTunes, tap your Apple ID at the top to prompt a pop-up window.
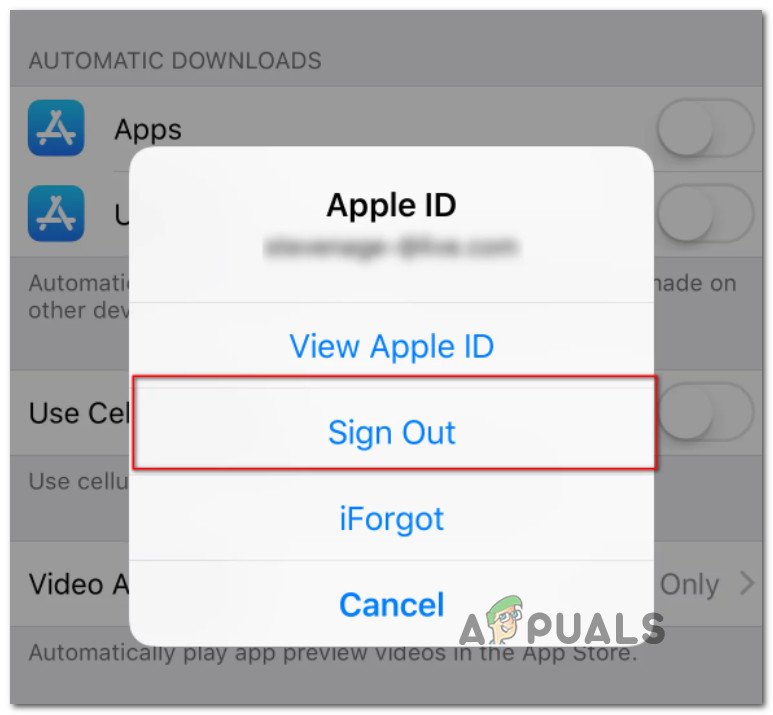
Signing out of your Apple ID from iTunes and App Store - Tap Sign Out in the pop-up window.
- Repeat the process with the App Store.
- Sign back in with your Apple ID, then retry the backup operation to see if the problem is resolved.
3. Use a Wi-Fi connection
Switching to a reliable Wi-Fi network can make all the difference when addressing iCloud connectivity issues. Cellular connections can sometimes be unstable or slow, causing interruptions during data transfer processes.
Wi-Fi usually provides a more stable and faster internet connection, which can help ensure a smooth communication pathway between your device and Apple’s servers, reducing the likelihood of encountering verification errors during iCloud backups or restorations.
- From the Home screen, navigate to Settings > Wi-Fi and turn on Wi-Fi.
Note: Your device will automatically search for available networks.

- Tap the name of the desired network. If prompted, you may need to enter the password or agree to terms and conditions.
- Once connected, attempt the backup once again.
4. Reconnect to Wi-Fi Network
By instructing your iPhone to forget the current network and then reconnecting to it, any minor connectivity issues or glitches that have developed over time are cleared. This action refreshes the network settings associated with that particular Wi-Fi, potentially resolving persistent problems that might be blocking your iCloud sign-in or backup restoration processes.
- Go to Settings > Wi-Fi to access your Wi-Fi settings.
- To forget a network, tap the info button next to its name and select Forget This Network.
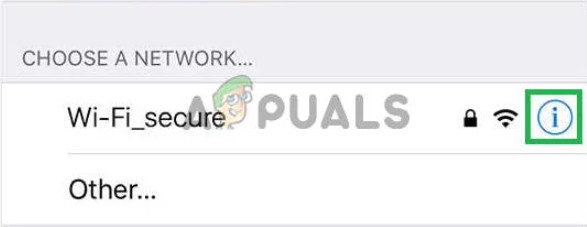
Accessing the info button - Confirm your desire to forget the network when prompted.
- Toggle Wi-Fi off and on, wait for networks to appear, then reconnect to the original network.
- If the network is secure, input the password and tap Join or Log in.
5. Reset the Network settings
By clearing any saved Wi-Fi networks, passwords, and cellular settings, as well as VPN and APN settings, this process eliminates potential errors coming from previous configurations. It’s a fresh start for your device to re-establish connections, often resolving persistent connection-related issues with Apple ID servers and other network-dependent services.
Note: You might have to enter your passcode if prompted.
- Open Settings from the home screen and go to General.

- Scroll to the end and tap on Reset.
- Select Reset Network Settings from the list.
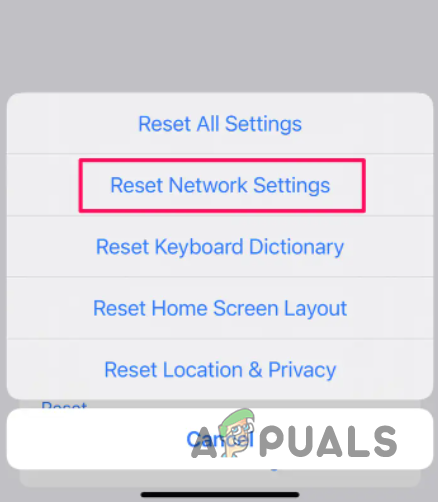
Resetting the Network settings - Confirm the reset by tapping Reset Network Settings in the pop-up.
- After the reset completes, restart your iOS device to see if the issue is resolved.
6. Change Your Apple ID Password
At times, your Apple ID might become locked for security reasons, especially if there have been multiple unsuccessful login attempts or unusual activity. By resetting your password, you not only refresh your login credentials but also fulfil any security mechanisms Apple has in place.
This action makes sure your account meets security standards and restores integrity between your device and Apple’s services, potentially resolving the sign-in or restoration issues you’re facing with iCloud.
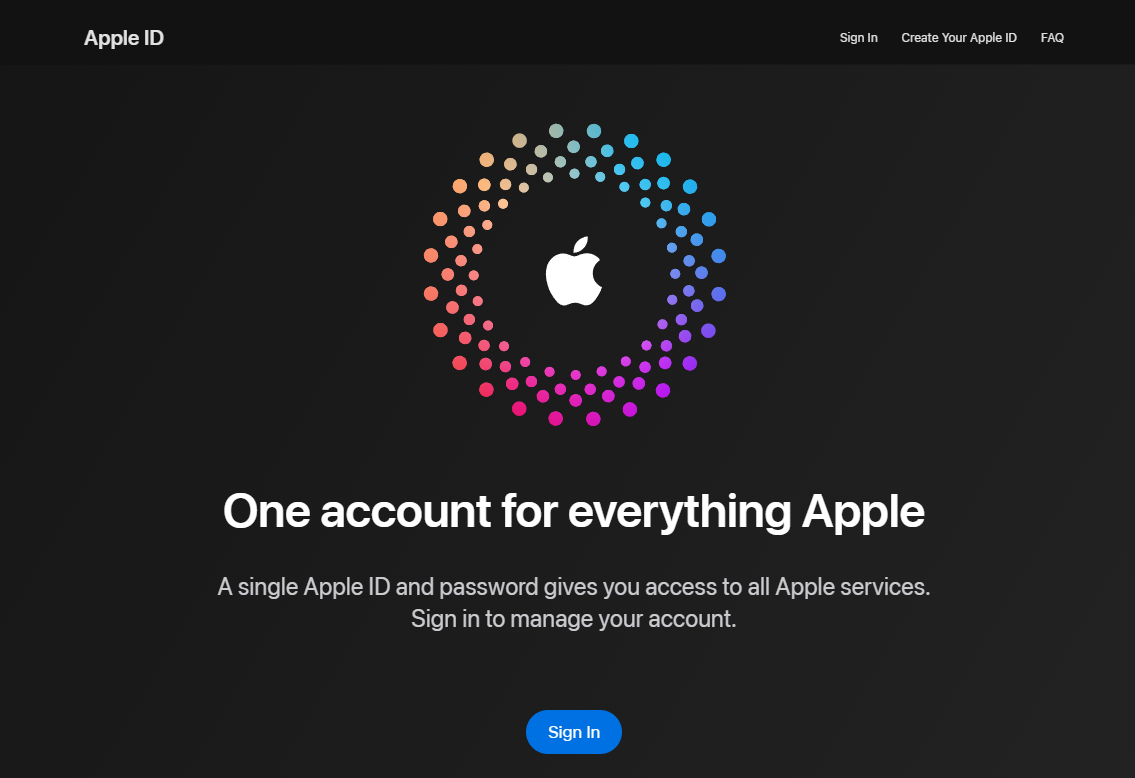
- Visit the official Apple ID website and sign in with your Apple ID.
- Click Manage your Apple ID, then go to Password and Security in the sidebar.
- Verify your identity by answering security questions or entering the code sent to your device.
- Click Change Password, enter your current password, and set a new one.
- Update the password on all your devices after acceptance.
-
7. Force Restart
Force restarting your device can help troubleshoot stubborn glitches, including login and backup errors, by forcibly shutting down and rebooting the phone’s operating system. It refreshes the memory and can clear out temporary errors that might be causing the Apple ID Server connection issue. Basically, it gives your device a fresh start, which may eliminate persistent problems that a standard restart wouldn’t fix.
- Press and hold both the volume button and the side button until the power-off slider appears.

Press Volume + Power button on iPhone - Drag the slider to turn off the device.
- Wait 30 seconds for the device to fully power down, which makes sure the capacitors are drained.
- Press and hold the side button to turn your device back on.
- Try to restore the iCloud backup once again.
-
8. Use a Verification Code
Basically, when other efforts fail, a verification code acts as an extra layer of authentication, confirming to Apple’s servers your identity and authority to access iCloud. This method is not commonly needed, but in certain security situations, it legitimizes your login attempt, effectively clearing the barriers that may lead to the error.
By employing a verification code, you reinforce your credentials and allow the iCloud restoration process to proceed smoothly.
- Sign in using your Apple ID on another iPhone.
- Go to Settings, then tap on iCloud.
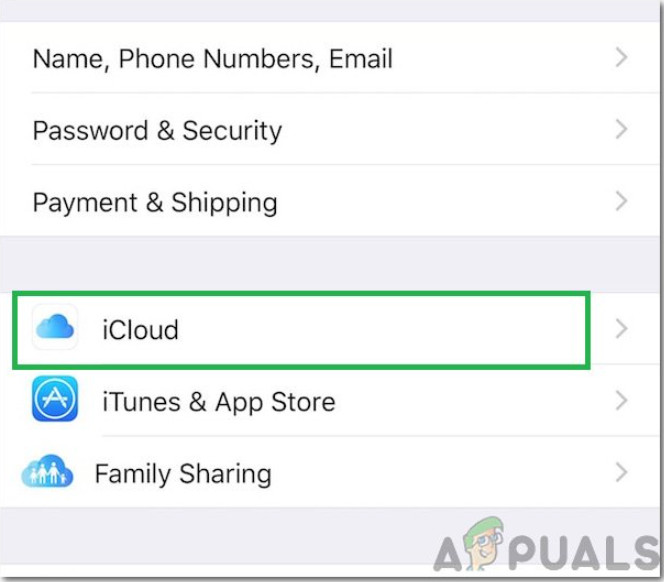
Accessing the iCloud - Choose Password and Security and tap on Generate Verification Code.
- Enter the provided verification code into the problematic iPhone.
-
NOTE: Additionally, you may need to disable any VPNs, OpenDNS, or Cisco Umbrella from your device as these services can interfere with connections to Apple servers on iOS.
Hi i am struggling with “there was an error…” problem in 3 days and i am still not able to solve that problem.Besides,I am even not able to go to apple id vebsite or apple status vebsite.I am just stuck here with this problem and none of other solutions work with m yphone.Pls help me