4 Verified Solutions for ‘Uplay has detected an unrecoverable error’
Uplay is a digital distribution, digital rights management, multiplayer and communications service developed by Massive Entertainment to try and use a single app to manage your achievements which can be taken over to other games. The service is provided across various platforms and it’s used primarily by Ubisoft games.
After users have tried and run one of the games they have downloaded and installed on their computer, they received the “Uplay has detected an unrecoverable error and must shut down” error message which can be caused by various different causes but all of them can be solved using the solutions we have prepared below.
What Causes “Uplay has detected an unrecoverable error and must shut down” Error?
The most common cause for this problem is a new update being released for the Uplay service, leaving the old versions without support. The real problem occurs because of the fact that the Uplay client is unable to update automatically.
Other causes include too strict security settings such as the firewall you have installed on your computer. One of the most popular causes was definitely a corrupt hosts file which may have been altered by the user or by a Windows update.
Solution 1: Update Uplay
This is usually a clean sign that the Uplay client is outdated and the Ubisoft company has probably released a new version. However, a different problem occurs as the client can’t be updates (as it can’t be opened) and you will have to perform the updating process manually; by uninstalling the current version of the client and installing the new one.
- First of all, make sure you have logged in with an admin account since you won’t be able to uninstall programs using any other account privileges.
- Don’t worry about losing your achievements or any other data related to Uplay as this data is tied exclusively to your Uplay account and not the installation on your computer.
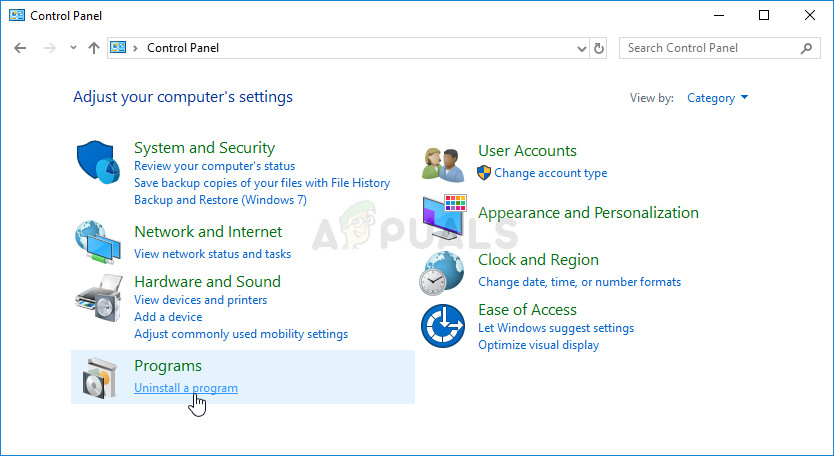
- Click on the Start menu and open Control Panel by searching for it. If you are using Windows 10 as your operating system of choice, you can click on the gear icon in order to open the Settings app.
- In Control Panel, switch the View as option to Category at the top right corner and click on Uninstall a Program under the Programs section.
- If you are using the Settings app, clicking on Apps should immediately open a list of all installed programs on your PC.
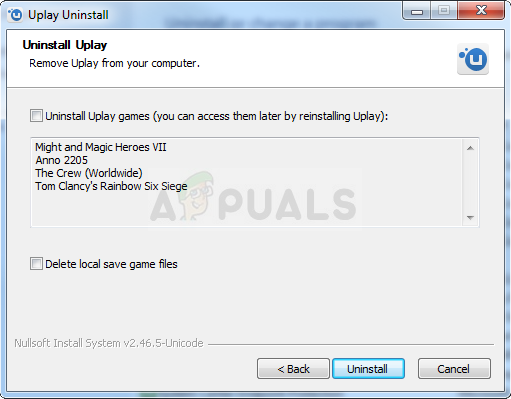
- Locate the Uplay entry on the list and click on it once. Click on the Uninstall button above the list and confirm any dialog boxes which may appear. Follow the instructions on-screen in order to uninstall Uplay and restart your computer afterwards.
- Navigate to the folder where you have installed Uplay in the first place. By default, it should be either C >> Program Files or C >> Program Files (x86). Locate the Uplay folder located in these folders and delete any files you may encounter by right-clicking on them and choosing Delete from the context menu.
Visit this link and click the Download Uplay for PC button in order to download the latest version of the Uplay client. Double-click the downloaded file in the Downloads folder in order to initiate the downloading and installing process and follow the instructions on screen in order to install this tool properly.
Relaunch the game and check to see if the “Uplay has detected an unrecoverable error and must shut down” still appears when running the problematic Ubisoft game.
Solution 2: Change the Way Your Connect to the Internet
Sometimes you will need to connect to a more reliable source of Internet connection to launch the Uplay updating service. Sometimes when your wireless connection is not that strong on your computer, it will display the “Uplay has detected an unrecoverable error and must shut down” error so try switching to Ethernet just to launch Uplay properly the first time.
If you want to get rid of this problem, make sure you do the following:
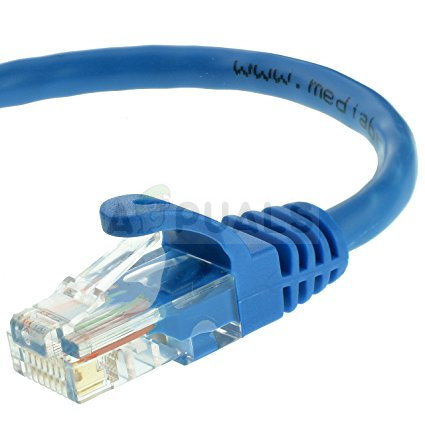
- If you are using a wireless connection via a router, make sure you locate or purchase an Ethernet cable. If you are not sure how it looks, check the image below or just ask a vendor if you don’t own one in your home.
- Plug one end of the cable into your PC or laptop and plug the other end into the modem you used for the Internet connection if you are able to locate one. The other method would be to plug the Ethernet cable directly into the router if you fail to find a modem or if you are simply not using one.
- Try running the problematic Ubisoft game to see if Uplay will now launch properly.
Solution 3: Reset Your Hosts File
If you have tried to solve other issues on your computer besides this problem, you may have edited the hosts file located deep into the System32 folder in various subfolders. The Hosts file, is used to map host names to IP addresses. If for some reason, you find that your Hosts file has been compromised or if you start experiencing this problem with Uplay, you can reset Hosts file back to default by following the steps below.
- Navigate to the location C >> Windows >> System32 >> Drivers >> Etc by navigating to it after opening the File Explorer. Firstly click This PC or My Computer from the left side pane in order to locate and open your Local Disk C.
- If you are unable to see the Windows folder, you may need to turn on the option which enables you to see hidden files and folders. Click the “View” tab in File Explorer’s top menu and click on the “Hidden items” checkbox in the Show/hide section. File Explorer will show the hidden files and will remember this settings until you change it again.

- Locate the hosts file in the Etc folder, right-click on it, click Properties, and then click the Security tab. Click the Advanced button. The “Advanced Security Settings” window will appear. Here you need to change the Owner of the key.
- Click the Change link next to the “Owner:” label The Select User or Group window will appear.

- Select the user account via the Advanced button or just type your user account in the area which says ‘Enter the object name to select’ and click OK. Add your user account and the TrustedInstaller account just in case.
- Optionally, to change the owner of all subfolders and files inside the folder, select the check box “Replace owner on subcontainers and objects” in the “Advanced Security Settings” window. Click OK to change the ownership.
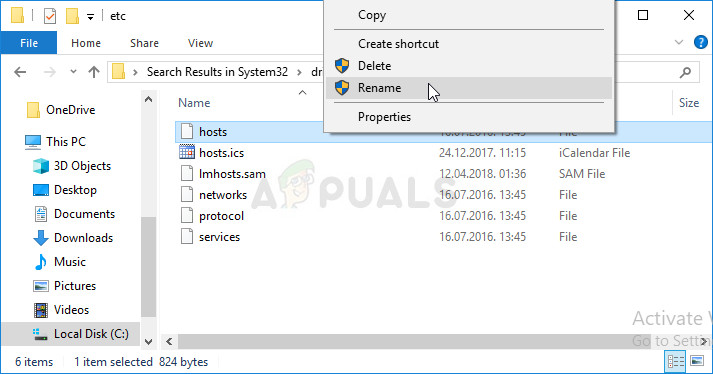
- After taking ownership of the hosts file, right-click on It and choose the Rename option from the context menu. Change its name to hosts.old and apply the changes.
Now it’s time to create a new hosts file in the same folder but using the template we will provide for you. This is the easier part of this solution and the problem is now almost solved as creating the file is quite easy.
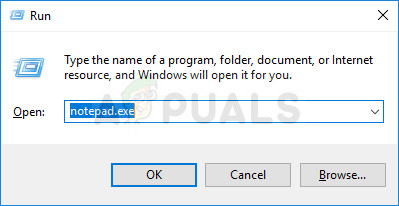
- Open Notepad by searching for it after clicking the Start menu button or the search bar right next to it. You can also use the Windows Key + R key combination and type “notepad.exe” in the Run box in order to open Notepad.
- Leave the file blank and click the File option from the top menu at the top left part of the Notepad window. Choose Save as from the dropdown list and navigate to C >> Windows >> System32 >> Drivers >> Etc folder using the File Explorer.
- Under the Save as type option, keep it as a Text Document and set the File name option to “hosts ” without the quotation marks.
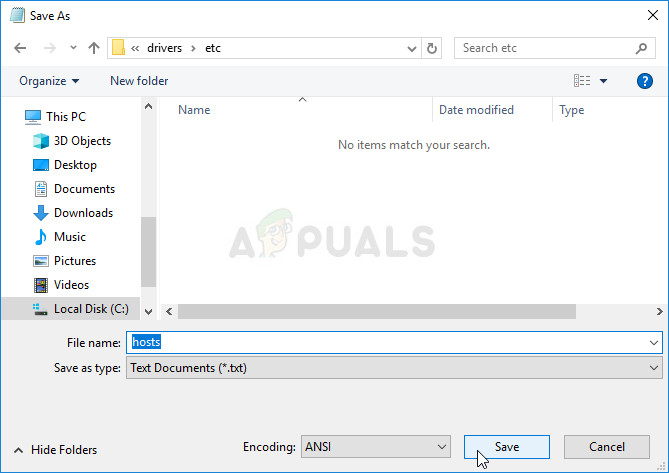
- Click OK in order to save the file in the same folder where the old hosts file was located and restart your computer in order to save the changes and check to see if the same problem still appears on your computer.
Solution 4: Disable Your Firewalls Completely
Firewall tools are one of the most important parts of your whole security since they prevent programs from connecting to the Internet freely as each program needs to be allowed through before it can simply connect online and do as it pleases.
However, it appears that disabling your firewalls for a while actually solved the problem as Uplay then proceeded to open and the error stopped appearing even after the firewall has been turned back on. In order to ensure this, you should also make an exception for Uplay in your firewall. The steps below are related to the Windows Firewall which comes built into each Windows PC.
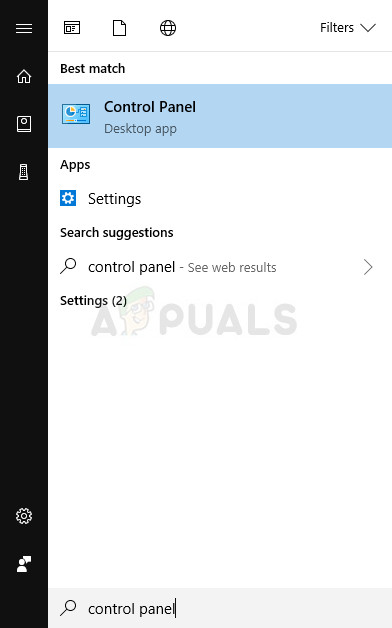
- Open Control Panel by searching for its entry in the Start button or by clicking the Search magnifying glass or the circular Cortana button at the left part of your taskbar.
- After Control Panel opens, change the view to Large or Small icons and navigate to the bottom of it in order to locate Windows Firewall option.
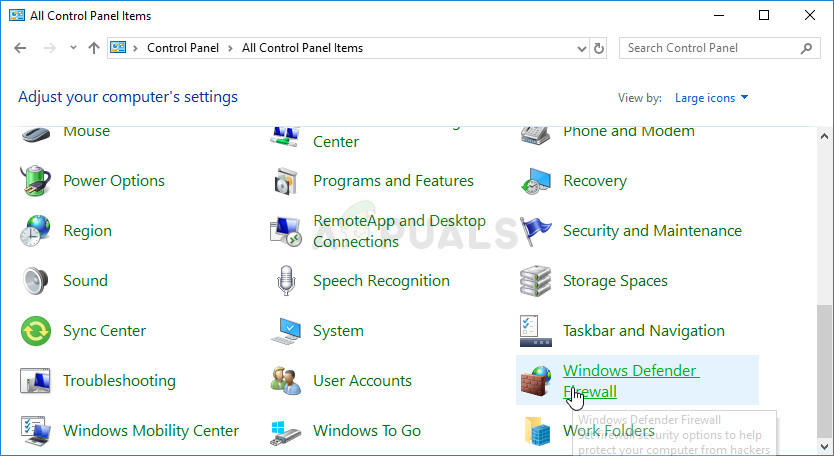
- Click on Windows Firewall and click on the Allow and app or feature through Windows Firewall option from the left side list of options. A list of apps should open. Locate the Uplay entry on the list and check the boxes next to both Private and Public networks.
- Click OK and restart your computer before relaunching the problematic game and checking if it will now run without displaying the “Uplay has detected an unrecoverable error and must shut down” error message.


Solution 1 should be (which worked for me) was to simply run Uplay as administrator… This started the Uplay update which is the problem actually in some cases as you rightfully described…