Fix: Unsupported 16-bit Application Error
This is probably one of the weirdest errors you can receive on your Windows PC and you might never find out just what causes it if you don’t troubleshoot the problem as soon as you start receiving it. There are various causes to this issue and one of them even involves your computer being infected by malicious applications.
On the other hand, the program or the application you are trying to run may simply be incompatible with your operating system. There are other things to it as well so make sure you follow the instructions below in order to try out all possible scenarios.
Solution 1: Check to See if Your Computer Has Been Infected
This solution is number one on your list because it’s the most dangerous cause to the issue which should be taken care off as soon as possible. There are many ways in which this error can be manifested. Sometimes users receive continuous pop-ups saying:
The program or feature (name or location of the file) cannot start or run due to incompatibility with 64-bit versions of Windows. Please contact the software vendor to ask if a 64-bit Windows compatible version is available.
If the location of the file appears suspicious such as C >> Windows or C >> Windows >> System32, you should proceed with troubleshooting immediately. Even if the location appears normal but you don’t remember installing or downloading anything similar, you should still scan your computer immediately by following the steps below:
The best bet is to get rid of malicious software by using Malwarebytes Anti-Malware which is a great antivirus tool with a free trial version. Fortunately, you won’t need the program after you solve this issue so make sure you download the free version from here.
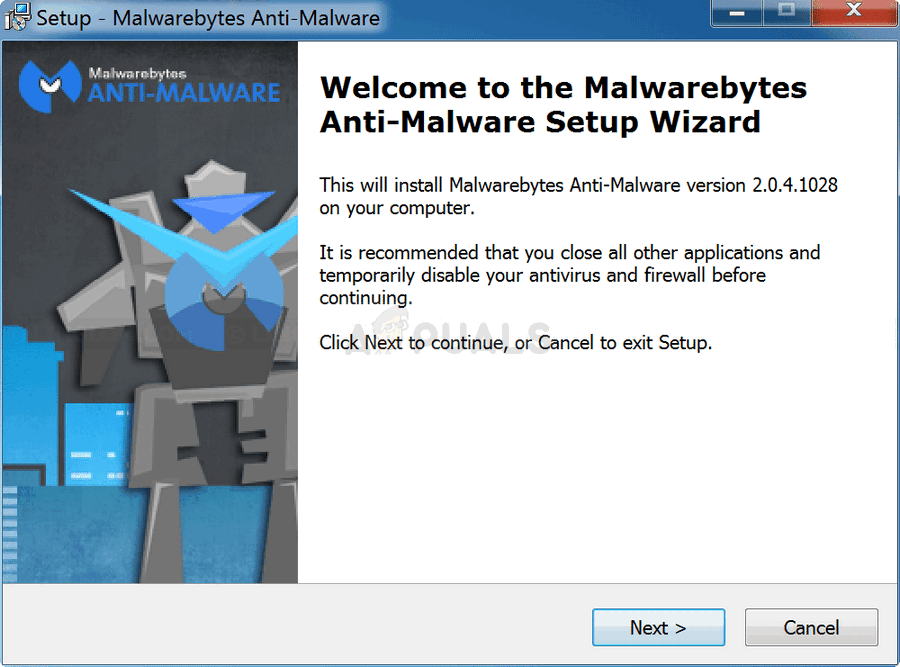
- Locate the executable file you just downloaded and double-click on it in order to open it.
- Select where you want to install MBAM and follow the instructions which will appear on screen in order to complete the installation process.
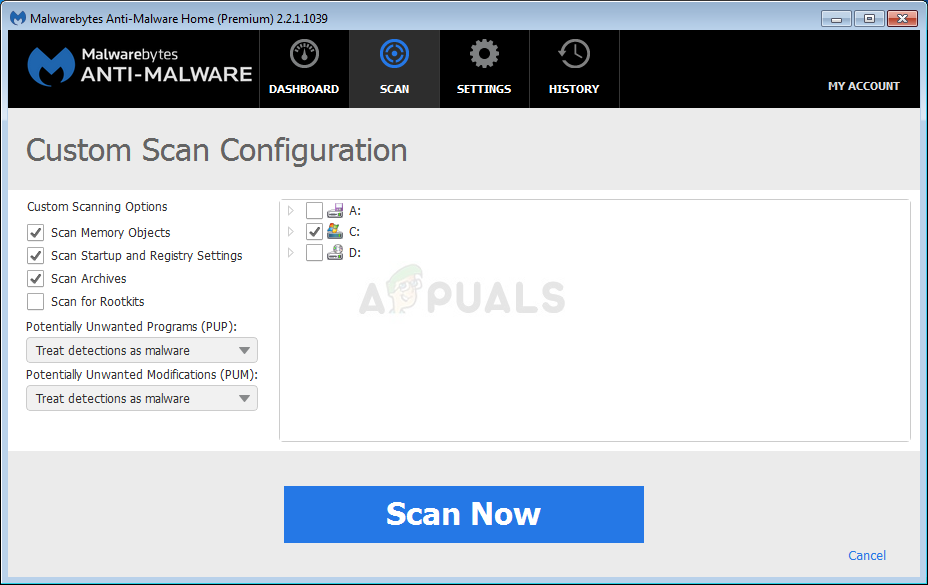
- Open MBAM and select the Scan option available at the home screen of the scanner.
- The tool will launch its update service in order to update its virus database and then it will proceed with the scan. Please be patient until it finishes.
- Restart your computer after the process is over and check to see if you still receive the pop-up
Note: You should also use other tools if you can surely tell the type of malware you have on your PC (ransomware, junkware, etc.) since one tool won’t register all types of malicious apps. If all of them produce nothing, follow the steps below:
- Navigate to the location where the error message refers to and enable the view of hidden files. Click on the “View” tab on File Explorer’s menu and click on the “Hidden items” checkbox in the Show/hide section. File Explorer will show the hidden files and will remember this option until you change it again.

- Delete the suspicious file and everything around it which may seem suspicious as well. You can google both the file and other files in the same folder in order to check their integrity.
- Next, Use the ‘Windows + R’ key combination on your keyboard. In the ‘Run’ dialog box type ’MSCONFIG’ and click ‘OK’. On the Startup tab, click ‘Open Task Manager’. In the Task Manager window under the Startup tab, locate anything suspicious (usually a script file), right-click on it, and choose Open file location. Delete the file from there.
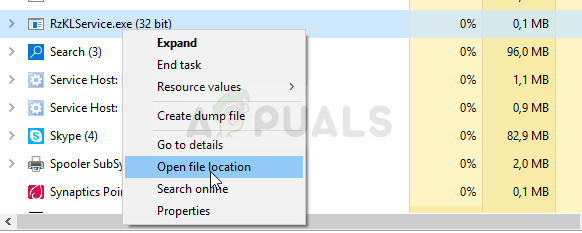
- If an error appears saying that the file you are trying to delete is currently open, if you are still in Task Manager, try searching for it or anything suspicious and end the process by right-clicking on it and choosing the End task option. Repeat the deleting process after that.
The reason you are unable to get rid of the virus simply by deleting it is that a script is also being run in the background which executes every time you boot your computer. Hopefully, the error should be solved now. Since the error message appeared in the first place, it appears that the virus was developed for a different PC architecture and it probably wasn’t able to infect your PC.
Solution 2: Error Occurring with an Important System File
If this error appears with a legit system file (which you can check by googling the file’s name and location), it may be the problem of a corrupt system file which will also (in most cases) prevent your PC from booting properly at all. Since SFC will usually fail to solve the problem properly, you may need to copy the corrupt file manually. There are several things you will need before proceeding with this method:
- The bootable DVD or USB drive of your operating system (usually the DVD you used to install the OS in the first place). If you are using Windows 10, you can even create it yourself which will be explained below.
- Another flash drive containing a working system file at the root folder (not located in any other subfolder).
If you are a Windows 10 user, you can easily create a bootable recovery DVD or USB by following the steps below:
- Download the Media Creation Tool from Microsoft’s official website. Double-click on the downloaded file called MediaCreationTool.exe in order to launch the wizard. Tap Accept.
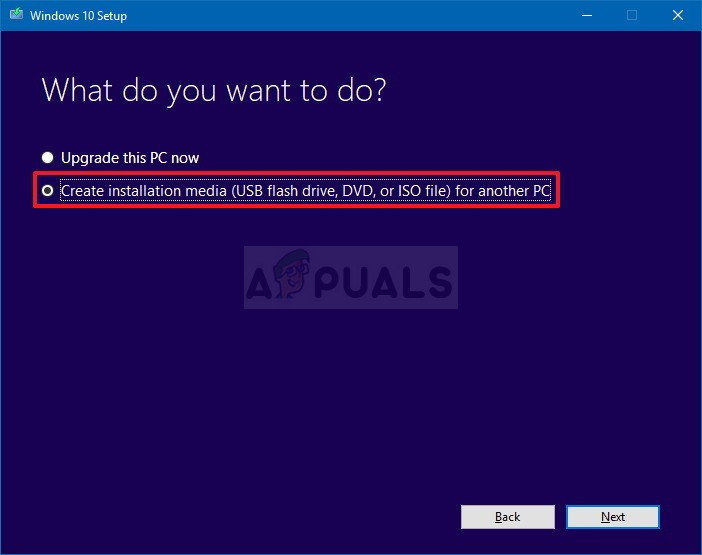
- Select the Create installation media (USB flash drive, DVD, or ISO file) for another PC option from the initial screen.
- The language, architecture, and edition of the bootable drive will be selected based on your computer’s configuration, but you should clear the Use the recommended options for this PC setting in order to select the correct settings for your broken PC (you are probably creating this on a different PC).
- Click Next and click on the USB flash drive or DVD option when prompted to choose between USB or DVD, depending on which device you want to use.
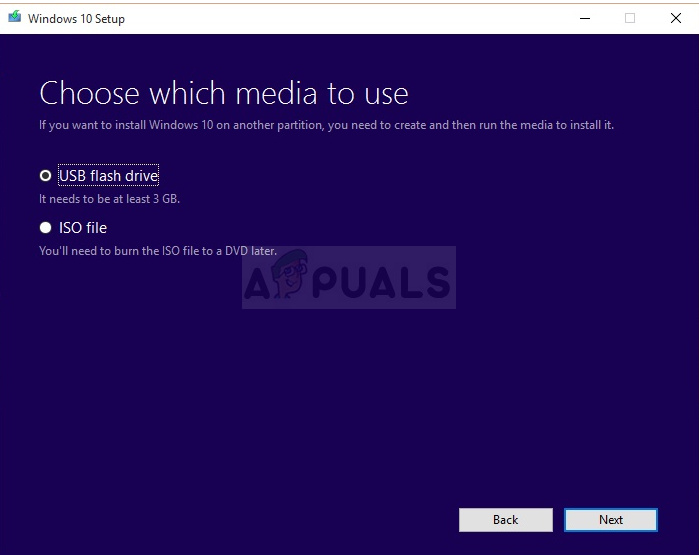
- Click Next and choose the drive from the list which displays the storage devices connected to your computer.
- Click Next and the Media Creation Tool will proceed to download the files necessary to install Windows 10.
In order to acquire the corrupt system file, you can either copy it from a working PC using the flash drive or you can download it from here. In either case, note that you will need to acquire the version for the same operating system with the same architecture.
For the sake of simplicity, let’s say that the name of the file is BrokenFile.exe and that it’s located in C >> Windows >> System32. This may differ so make sure you adjust your process accordingly by replacing the real file name and its real location while troubleshooting the problem.
- Insert the flash drive with the BrokenFile.exe file in the root folder and also insert the recovery drive you own or which you created for your operating system and start your computer.
WINDOWS XP, VISTA, 7: Windows Setup windows should open prompting you to enter the language and time and date settings. Enter them and choose the Repair your computer option at the bottom after proceeding. Keep the first radio button checked when prompted with Use recovery tools or Restore your computer and click on Next. Choose Command Prompt when presented with the Choose a recovery tool screen.
WINDOWS 8, 8.1, 10: You will see a Choose your keyboard layout screen so choose your preferred one. The Choose an option screen will appear so click on Troubleshoot >> Advanced Options >> Command Prompt.
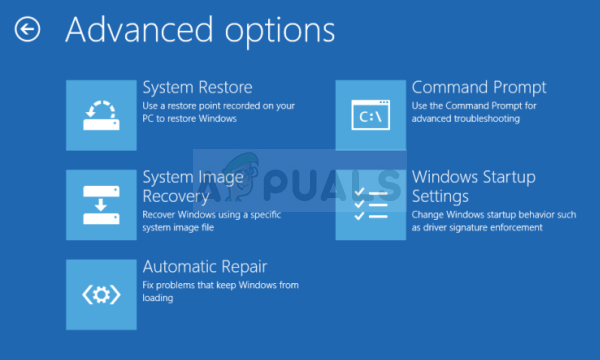
- Use the following two commands in order to both delete the current BrokenFile.exe file on your computer and to copy the working one at the same time. Note that the name of the file is different and that the location may differ which you should correct accordingly:
C:\Windows\System32> del LogonUI.exe
F:> copy LogonUI.exe C:\Windows\System32
- Exit Command Prompt and proceed to boot your computer. The problem should be taken care of now.
Solution 3: Receiving the Error with a Regular Program
This cause is probably the mildest one since you are able to boot into your operating system and work normally but something just prevents you from running a certain program normally. If the error occurs while trying to run a program, it’s quite possible that one of its file has gotten corrupted and it’s safe to say that the only solution is to reinstall it.
- Click on the Start menu and open your Control Panel by searching for it simply by typing with the Start menu poen. Alternatively, you can click the gear icon in the lower left part of the Start menu in order to open the Settings app if you are using Windows 10.
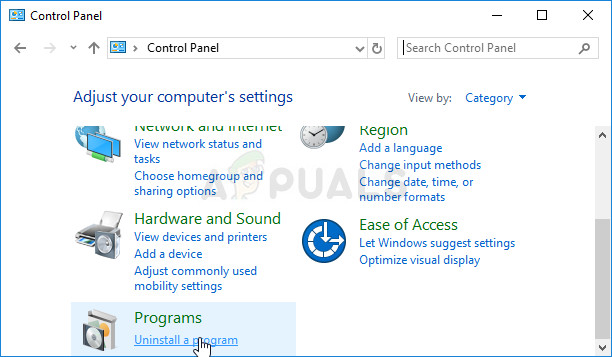
- In Control Panel, select to View as: Category option at the top right corner and click on Uninstall a Program under the Programs section.
- If you are using the Settings app, clicking on Apps should immediately open a list of all installed programs on your PC so wait for a while in order for it to load
- Locate the program you want to fix in Control Panel or Settings and click on Uninstall/Repair. Follow any instructions which appear afterwards in order to install it completely.
- After the process is over, download the program again from the Internet or from a storage device you used to install it in the first place and check to see if the problem still appears.


