Fix: Unable to Update The Minecraft Native Launcher
Minecraft is a very popular game that a lot of people really like to play. Recently, a lot of users are complaining about the issue that prevents them from updating and/or playing the game. This problem occurs when trying to install the latest Minecraft updates via the Minecraft launcher. Users are seeing the error message (given below) during or at the end of the update. Once this error appears, their update either restarts or gets stuck. On the other hand, some users are
What causes the unable to update the Minecraft native launcher error?
The list of things that can cause this issue is given below
- New Launcher: The main issue that causes this problem is the new launcher. The recent Minecraft Launcher have a hard time downloading the files from the internet. There is a bug in the launcher that prevents it from downloading the files. This glitch also gets worse with slow internet speed. The usual solution for this is to just manually download the Minecraft.exe file from the website instead of waiting for the launcher to do it for you.
- Antivirus: Antivirus applications can prevent applications from getting started and Epic Games Launcher is no exception. So if you have an antivirus application installed then that might be preventing your launcher from getting started.
Method 1: Repair Minecraft
Sometimes applications start giving an error because of some corrupt or broken files. It’s pretty common for files to go corrupt with the passage of time. Luckily, there is an option in the Uninstall programs list of Windows that allows you to repair the application. So, follow the steps given below to repair Minecraft and everything should work fine afterward.
- Hold Windows key and press R
- Type appwiz.cpl and press Enter
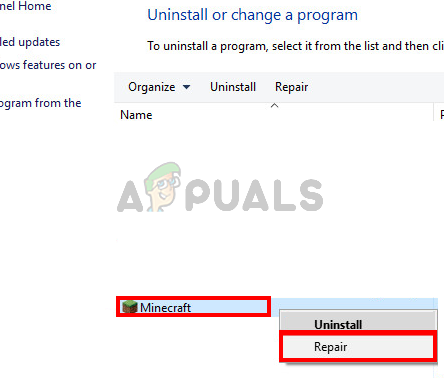
- Locate Minecraft from the programs list
- Now right click Minecraft and select repair. Follow any additional on-screen instructions and that’s it
Method 2: Download Minecraft from Minecraft.net
Downloading a new copy directly from the Minecraft.net has helped resolve the issue for a lot of users. This is because the new launcher may have some problems in downloading the files for you especially if your internet is slow. So, all you have to do is download the file yourself. Follow the steps given below for detailed instructions on how to download from the website
- Click here to go to the minecraft.net’s download page
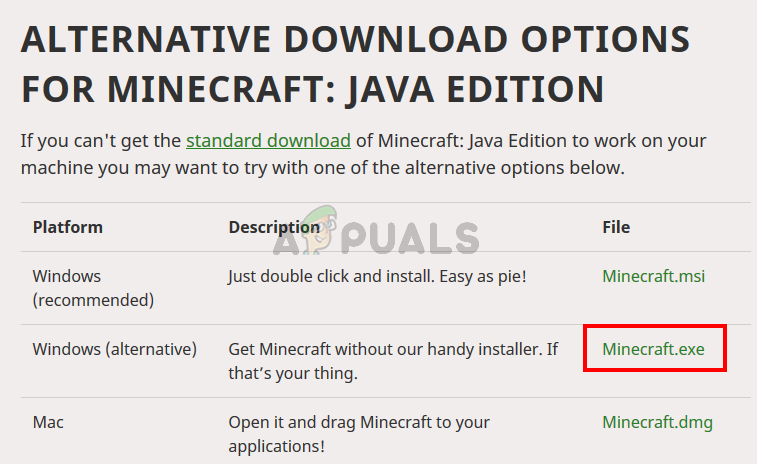
- Click the Try an alternative download This link should be just below the big Download button.
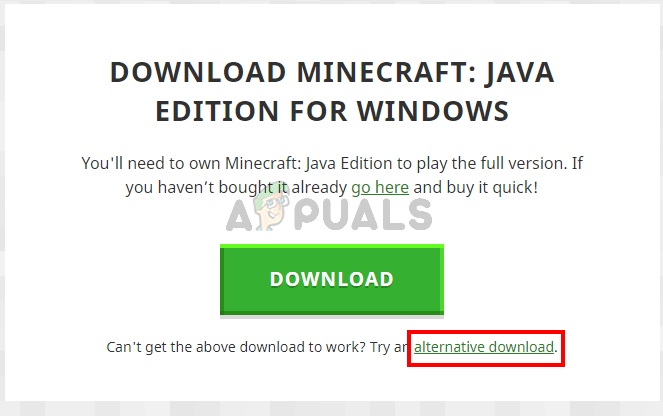
- Now download the minecraft.exe from this page and run the file
This should fix the issue.
Note: If the issue isn’t resolved then follow the steps given below
- Hold Windows key and press E to open the File Explorer
- Type %Appdata% in the address bar and press Enter
- Locate the Minecraft folder and right click Select Delete. Basically, you have to delete all the Minecraft related files so the newly downloaded setup file can have a fresh start.
- Now try to launch the downloaded file (that you downloaded from the steps given above) and check if it works.
Method 3: Disable Antivirus
If you have an antivirus application installed on your system then start by disabling the application. Antivirus applications are known to block other applications. In this specific case, your antivirus might be blocking Minecraft from connecting to the Mojang servers. The good thing is that almost every major antivirus application comes with a disable option nowadays so you don’t have to completely uninstall it. Follow the steps given below to disable the antivirus application
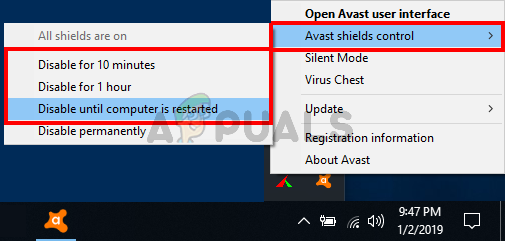
- Right click on your antivirus icon from the system tray
- Select Avast Shield control (this option will vary depending on your antivirus)
- Select the appropriate time option for disabling the antivirus
If everything starts working fine after disabling the antivirus application then the problem is with your antivirus. You can either uninstall the antivirus or add your launcher to its whitelist. Both of these options will work.


None of this worked for me. I just wanted to re-download the game on my Windows 10 computer. It only works for people who probably already have the game INSTALLED.