Fix: Unable to load Directory Results in Skype
Skype is a telecommunication service that provides support for Video calls, voice calls, and instant text messages. The application is available for Windows, Android, IOS, Xbox and many other consoles and operating systems. By 2010 there were an estimated 600 million users of the application with 300 million active monthly in 2015. The application is known for being used mostly in video conferences.

However, quite recently a lot of reports have been coming in of the application displaying the error message “Unable to load Directory Results” whenever the user tries to search for contacts. In this article, we will discuss some of the reasons due to which this error can be triggered and provide you with viable solutions in order to completely eradicate the problem.
What Causes the “Unable to Load Directory Results” Error on Skype?
There are many reasons due to which this error can be triggered but some of the most common ones are:
- Connectivity Issues: The error is mostly caused due to the application being unable to connect to the server. This issue can arise due to slow internet or denied access to the application by the Windows firewall.
- Cache: Cache is stored on the computer by every application in order to reduce the loading times. However, over time this cache can get corrupted and cause issues with the application. Same goes for Skype.
- Improper Sign in: Sometimes, the integrity of the sign in might have been compromised due to a temporary disconnection while signing in. This issue is pretty common and can be fixed by repeating the process.
- Corrupt Application: In some cases, the application can get corrupted due to missing files or even if the files are intact it might be facing issues with loading those files properly.
- Shared.xml file: This is another file that is stored by the Skype application and it is known to cause issues with the application. This file is easily recreated by the application when deleted therefore, replacing it might sometimes solve the issue.
Now that you have a basic understanding of the nature of the problem we will move on towards the solutions.
Solution 1: Granting Access in Firewall.
Windows Firewall can sometimes block certain features of the application from making contact with the server and thus cause issues with the application. In this step, we will be granting the application access in Firewall.
- Click on the Start Menu and open the “Setting” icon.
- Click on “Update & Security” option.
- Select the “Windows Security” option from the left pane.
- Inside the Windows Security option, select “Firewall & Network Protection“.
- Now click on “Allow an app through Firewall“.
Opening the “Allow an app through the Firewall” Settings - Click on “Change Settings” to provide the administrative privileges.
- Scroll down and make sure that Skype is allowed in both “Private” and “Public” networks.

Allowing the app through Firewall - Click on “OK“, run the application and check to see if the error persists.
Solution 2: Deleting the “Shared.xml” file.
This is a file that is stored by the Skype application and it is known to cause issues with the application. This file is easily recreated by the application when deleted therefore, replacing it might sometimes solve the issue. Therefore, in this step we are going to delete this file for which:
- Close all instances of the Skype application.
- In the search bar type “Run” and press “Enter“.
- This will open up the “Run Prompt“, type “%appdata%\skype” in the Run prompt and press “Enter“.

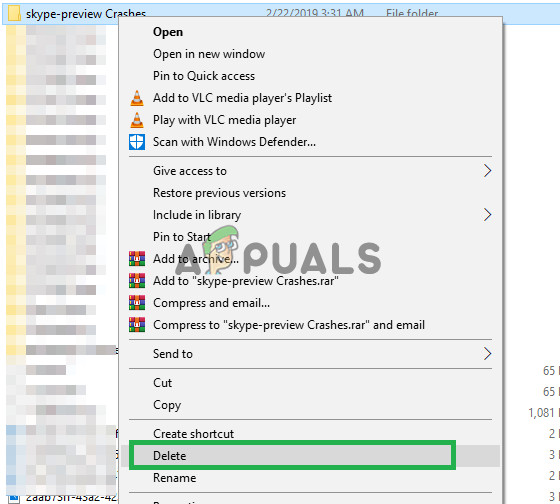
Typing in run prompt - This will open up the Skype application data folder, delete the “Shared.xml” file if it is present inside that folder.
- Now restart your computer, run skype and check to see if the problem persists.
Solution 3: Sign in Again.
Sometimes, the integrity of the “sign in” might be compromised due to a temporary disconnection while signing in. This issue is pretty common and can be fixed by repeating the process. Therefore, in this step we are going to be signing out of Skype and then signing back in for that:
- Click on the Menu option of the top right side of the left pane.

Clicking on the Menu button - Select “Sign out” from the dropdown.

Selecting “Sign out” - Now sign back in with your details and check to see if the problem persists.
Solution 4: Deleting Cache.
Cache is stored on the computer by every application in order to reduce the loading times. However, over time this cache can get corrupted and cause issues with the application. Same goes for Skype. Therefore, in this step, we are going to be deleting the application’s cache.
- Make sure to close all instances of the application.
- In the Windows search bar, type “Run“
- In the Run prompt, enter “%appdata%” and press enter.

Typing in Run prompt - Delete the “Skype” folder inside the application data folder that opens up.

Deleting the Skype Folder - Now similarly open the “Run prompt” again.
- Type in “%temp%” inside the Run prompt.

Typing in Run prompt - This will open up the temporary files folder, inside that delete any folder that has “Skype” in its name.
Deleting the folder - Now Restart your computer.
- Run Skype and check to see if the problem persists.
Solution 5: Reinstalling the Application.
In some cases, the Skype application’s files can be corrupted or the installation process of the application might not have installed it correctly. Therefore, in this step, we are going to be deleting the Skype application from our computer and download it again.
- Open the Start Menu and click on the settings icon.

Clicking on the settings icon - Inside the settings, select the “Apps” option.
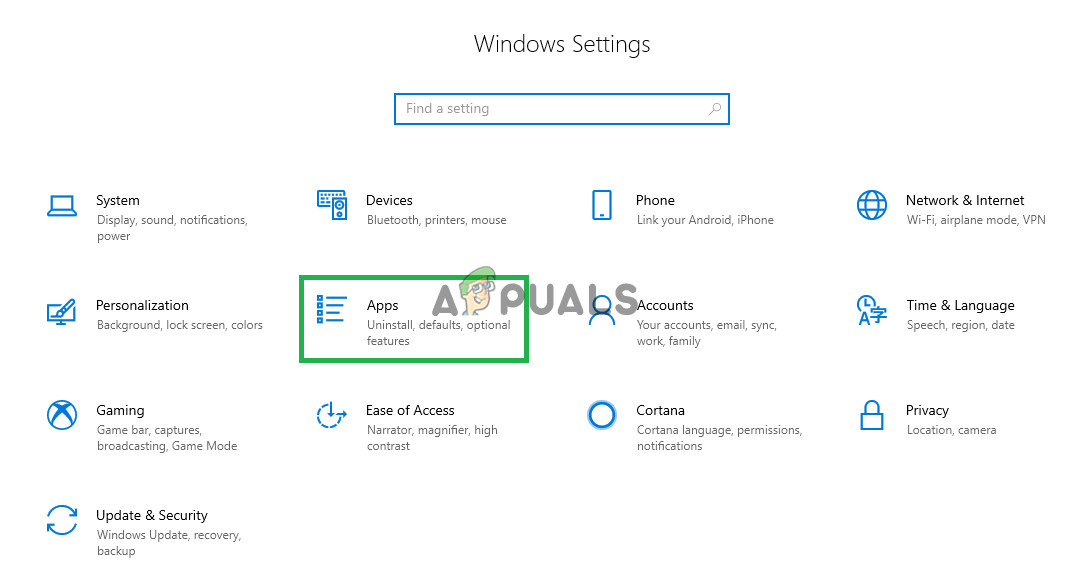
Selecting the “Apps” option. - On the right pane select “Apps & Features“.

Selecting the “Apps & Features” option. - Find the “Skype” app from the list of apps and click on it.
- Click on the “Uninstall” button that appears below the name of the application.

Clicking on the “Uninstall” button - Click on “Uninstall” again.

Clicking on Uninstall again. - Click “Next” on the setup and it will automatically uninstall Skype and all of its components from the computer.
- Now Download Skype from the Microsoft Store and install it.
- Run the application and check to see if the problem persists.


