Fix: Unable to Correct Problems ‘You have Held Broken Packages’
You might find that when you’re trying to install a package on Linux you find a dreaded line that reads E: Unable to correct problems, you have held broken packages. The installation then refuses to progress beyond this point. You might find this on any Linux distribution that uses apt-get to manage packages, which includes Debian as well as the various Linux Mint and Ubuntu spin-offs.
It’s caused by broken dependencies, which are a side-effect from having packages installed that depend on other packages that aren’t installed. When apt-get goes to install something, it notices that it doesn’t have access to something that it needs and therefore can’t continue. A few basic command line tricks as well as a graphical tool can fix everything up quickly.
Method 1: Using dpkg –configure to Fix Held Broken Packages
While working at the terminal, trying running sudo dpkg –configure -a to start an automatic update process that looks for any broken dependencies on your system caused by packages that aren’t installed. This tool should automatically install any package that it feels you’re missing without user intervention, though if you’re asked to install something then you should push the y key in order to respond to the prompt.

If it doesn’t find any broken packages, then you shouldn’t see any output. We ran this on a clean test machine running Xubuntu, so it didn’t find any errors, but if you’ve been getting “Unable to Correct Problems, You have Held Broken Packages” problems then this might find several packages you need to install. Once you’ve run it, try sudo apt-get install -f from the command line.
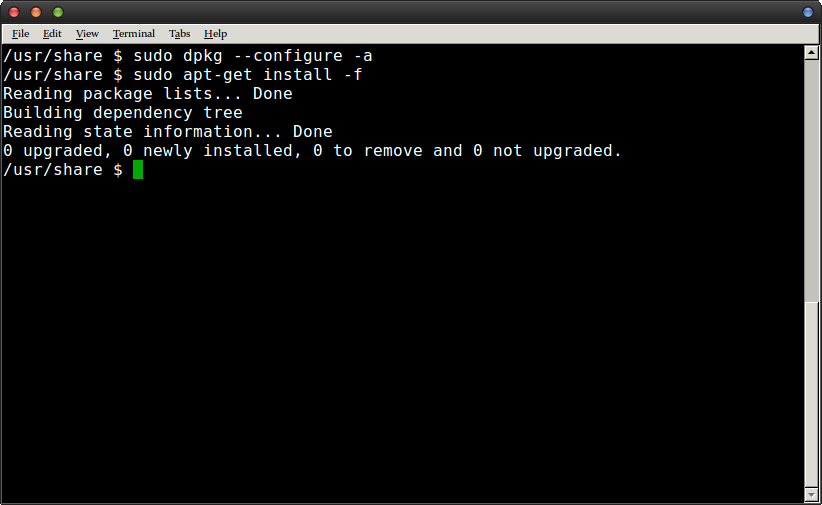
This program will go through and build a dependency list then read state information. If you get a message stating that there were “0 upgraded, 0 newly installed, 0 to remove and 0 not upgraded” packages, then you were either working with no broken dependencies or the previous command fixed everything. At this point, you can run sudo apt-get clean && sudo apt-get update followed by sudo apt-get upgrade to update every package on your system. This might take a while depending on how long your system had these package issues.
Method 2: Using the dist-upgrade Command
If you get a message saying that “some packages have been held back” so you couldn’t successfully complete the earlier command, then you should run sudo apt-get dist-upgrade to install the rest of these packages. As well as performing the function of a regular upgrade, the dist-upgrade option handles changed dependencies with newer versions of packages. Since apt-get has a special conflict system, it usually attempts to upgrade the most important packages at the cost of not doing anything to those less vital to your system. Using this command forces even those to update.
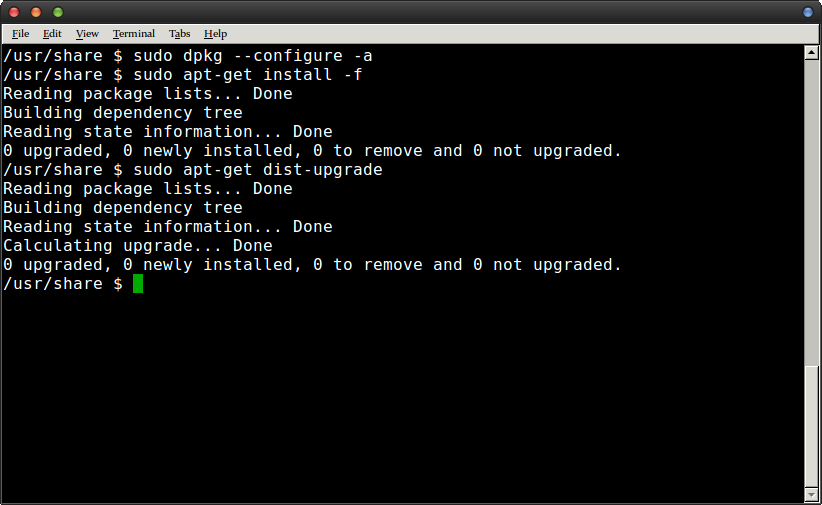
That being said, if there aren’t any broken packages detected you’ll just end up with a third message about there being nothing upgraded and nothing newly installed. If this is the case, then you could try sudo apt-get upgrade again so that if there were any changes the automatic upgrade subroutine can take hold. On the other hand, if you know the specific name of the package that you need, then you could install it manually.
For instance, assume that the GNUStep runtime component was what you were lacking since you wanted to use voice synthesis. You could simply type sudo apt-get install gnustep-gui-runtime to install this vital package. Keep in mind that this is merely an example and you could replace gnustep-gui-runtime with the name of any package you need to install. Modern distributions based around the apt-get standard have several thousand packages, but as long as you know the name of the one you’re looking for this will force it to install.
Method 3: Fix Broken Packages with Synaptic
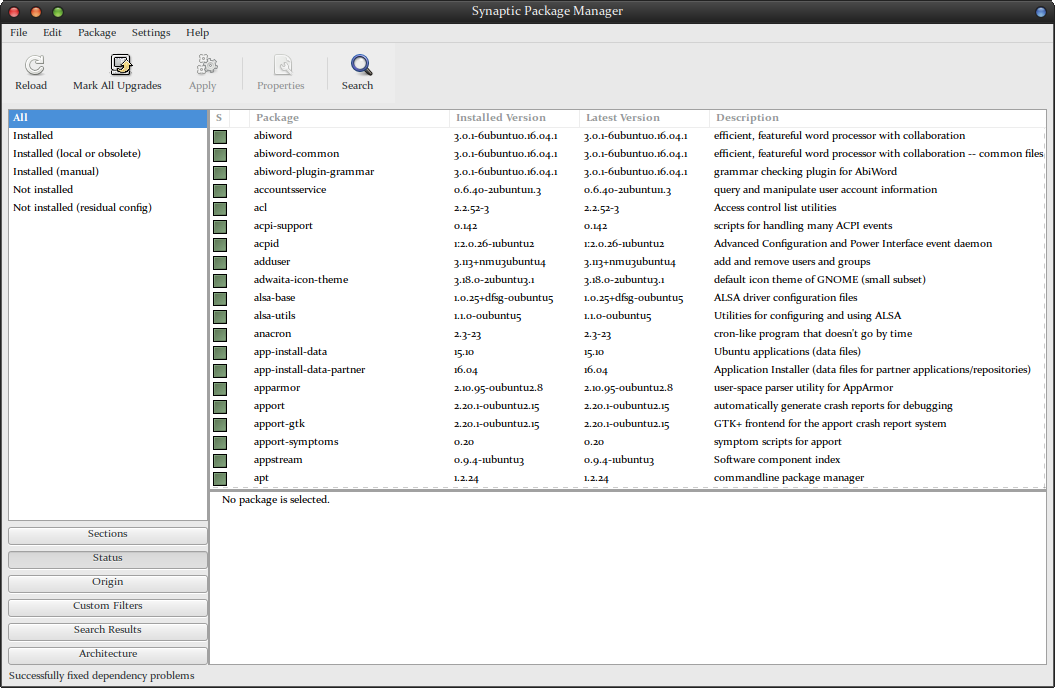
If you have the Synaptic graphical package manager, then you can also use this tool to fix any broken packages you might have. Open the program and then select the Edit drop-down picklist menu. You should have a “Fix Broken Packages” option in this menu, so select it if you do. It won’t take very long to run if there aren’t many broken packages, but it might find a number of errors which would slow execution.
Once it finishes running through everything, you’ll notice the words “Successfully fixed dependency problems” in the bottom status line.
You can now update and install packages just like normal. Most users will only do things in this manner if they were already working in Synaptic, but it’s there whenever you need it. Once it’s run you can close Synaptic and work from the command prompt again or continue to make changes here.
none of these works, trash