How to Fix ‘This Webpage Was Blocked By an Extension’ Error
Some users report getting the “This Webpage Was Blocked By an Extension (ERR_BLOCKED_BY_CLIENT)” error when trying to open one or multiple web pages with Google Chrome. The issue is reported to occur on various Windows versions (Windows 7, Windows 8 and Windows 10) and on several older Chrome OS versions.

What is causing the This Webpage Was Blocked By an Extension (ERR_BLOCKED_BY_CLIENT) error?
We investigated this particular issue by looking at various user reports and the repair strategies that they deployed to resolve the issue. Based on what we gathered, there are several different scenarios that are known to cause this particular error message:
- Chrome OS is severely Outdated – This error message is a fairly common occurence when trying to access Gmail from a Chromebook with an outdated version of Chrome OS. In this case, the solution is to update Chrome OS to the latest version.
- A Chrome extension is blocking the connection – There are a number of Chrome extensions that are known to trigger this particular error. Adblock, Adblock Plus and uBlock are the most likely culprit when it comes to this scenario.
- The error is caused by Bookmark Manager – The issue is also encountered in association with browsers that are using Bookmark Manager to organize their bookmarks. It typically occurs if the users that have a lot of bookmarks (100+).
If you’re struggling to resolve this particular error message, this article will provide you with a selection of verified troubleshooting steps. Down below you have several methods that other users in a similar situation have followed to get the issue resolved.
To maximize your efficiency, we urge you to follow the potential fixes below in the order that they are presented. You should eventually find a method applicable to your particular scenario that fixes the issue for good.
Method 1: Opening the web page in Incognito Mode
Since there’s a strong possibility that the error is caused by a Chrome extension, you should start be verifying whether this is the case.
The easiest way to verify if an extension is causing the “This Webpage Was Blocked By an Extension (ERR_BLOCKED_BY_CLIENT)” error without having to deactivate every one is to repeat the procedure that is triggering it inside an Incognito Mode.
Several users struggling to resolve the same issue have reported that this procedure enables them to confirm that the culprit was one of the extensions that they installed.
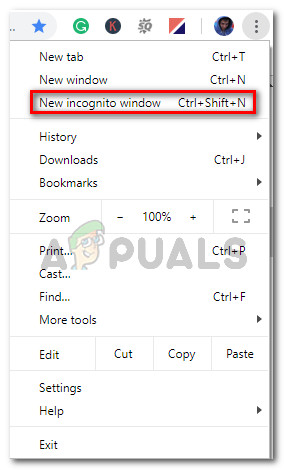
To open a new window in Incognito mode, click the action menu (three dot icon) in the top-right corner and select New Incognito Window.
In the newly opened Incognito window, re-load the same webpage that was triggering the error and see if the error is no longer occurring. If the error does not occur while in Incognito Mode, move down to the next method below.
Note: If the “This Webpage Was Blocked By an Extension (ERR_BLOCKED_BY_CLIENT)” error is still appearing even inside the Incognito window, jump straight to Method 5.-
Method 2: Disabling the extension triggering the issue
Although a lot of users are encountering this error when trying to manipulate certain files with Dropbox, the error doesn’t have anything to do with the file-sharing platform.
Whether you’re seeing this message when visiting Dropbox’s URL or a different one, it’s most likely because one of the Chrome extensions that you installed is blocking the connection.
If you’re using Adblock using an Adblock extension, it’s very likely that you’ll resolve the issue after you prevent the extension from running. But since you might be dealing with a different culprit, we created a step-by-step guide that will allow you to identify and deal with the extension that is producing the “This Webpage Was Blocked By an Extension (ERR_BLOCKED_BY_CLIENT)” error.
Here’s what you need to do:
- Inside the Chrome browser, click the action button (three-dot icon) and go to More tools > Extensions.
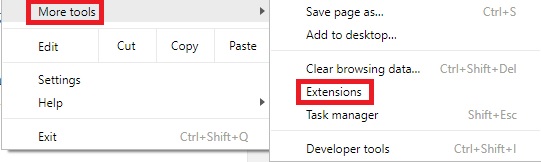
Opening the Extensions menu via the Action button - In the Extensions tab, go ahead and disable every active extension by ensuring that the toggle related to every extension is disabled.
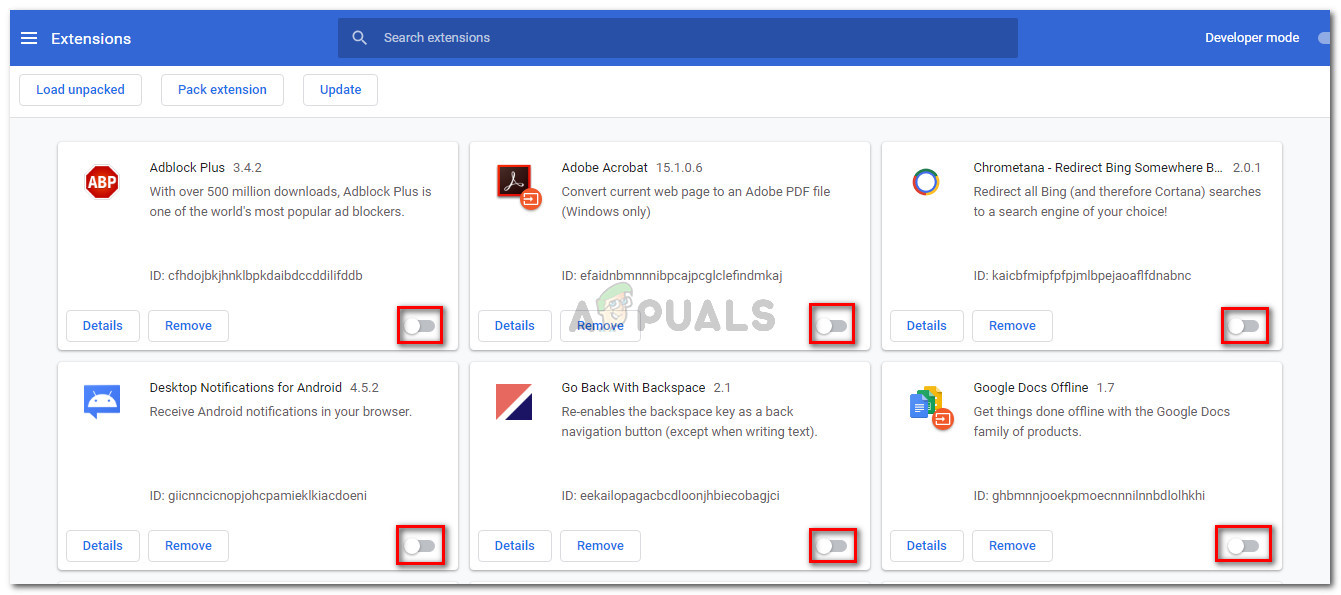
Disabling the extensions - Once every extension has been disabled, open a tab with the URL that is showing you the error and place it somewhere convenable – we are going to navigate back and forth between the extension menu and the URL to see which extension is responsible.
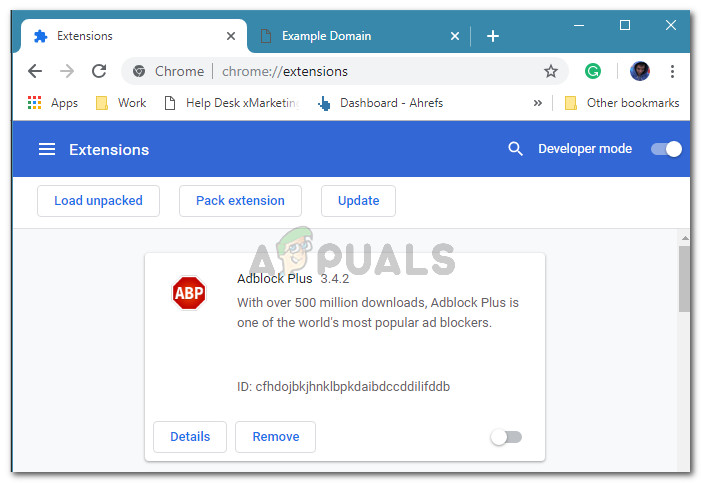
Setting up the testing environment - Systematically re-enable each extension (one-by-one) via the Extension menu. After each re-enabled extension, re-load the URL that was previously showing the error to see if the error has returned.
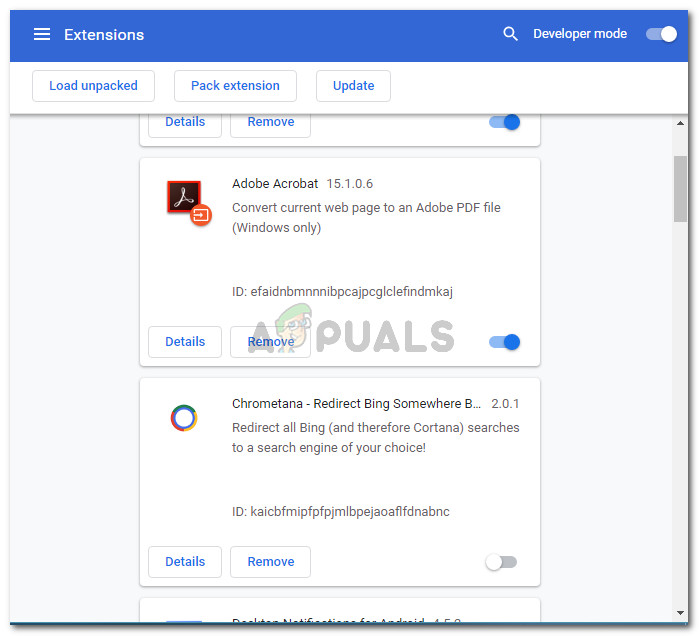
Re-enabling each extension systematically - You’ll eventually come across the extension that is triggering the error. Upon reloading the URL, you’ll notice that the error has returned. When you see this occurring, return to the Extension menu and target the last extension that you enabled. Then, click the Remove button and confirm to delete the troublesome extension for good.
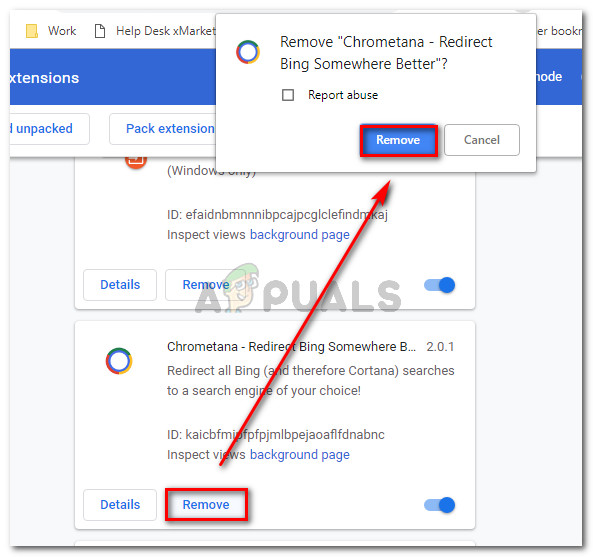
Getting rid of the extension that is causing the issue Note: If you’ve just discovered that your adblocker is blocking the connection to the web server, you can follow Method 4 for specific steps on how to resolve the error message without uninstalling the extension.
If this method didn’t allow you to resolve the “This Webpage Was Blocked By an Extension (ERR_BLOCKED_BY_CLIENT)” error, move down to the next method below.
Method 3: Reinstalling the Bookmark Manager Extension
If you’re encountering this issue while using Google’s Bookmark Manager extension, you’ll most likely be able to resolve the issue just by uninstalling the extension.
Several users struggling to resolve the same error message have reported that the problem was sorted out after the extension was reinstalled. As it turns out, the “This Webpage Was Blocked By an Extension (ERR_BLOCKED_BY_CLIENT)” error is reported to occur in conjunction with Bookmark Manager if you have over 100+ bookmarks that are being processed at once when you open the browser.
To reinstall the extension, simply visit this link (here) and click on Remove from Chrome. Then, once the extension has been uninstalled, click on Add to Chrome to install it again.
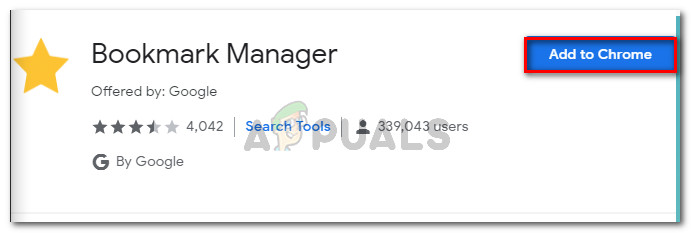
Once the extension has been reinstalled, restart your browser and see if the error message is resolved.
If you’re still encountering the This Webpage Was Blocked By an Extension (ERR_BLOCKED_BY_CLIENT) error, move down to the next method below.
Method 4: Whitelisting the website you’re trying to access
If you’ve previously confirmed that one of your ad-blocking extensions is causing the error, you can resolve the error message by adding the website that is being blocked to the Whitelist.
If you’re wondering why some AdBlockers are blocking URLs that don’t necessarily feature ads, it’s because of some rules that might steer them towards some false-positives. For example, your Adblocker might block a particular URL simply because it contains suggestive words like advert, ad, doubleclick, ad, interstitial, etc.
Fortunately, you can easily resolve this false positive by adding the URL you’re trying to visit to your Adblocker’s exception list.
On Adblock, you can do this by right-clicking on the Adblock icon and choosing Options. Then, go to the Whitelisted websites tab, add your URL in the box and click on Add Website.

Note: If you’re using a different ad-blocker, look for specific steps online.
Method 5: Updating Chrome OS to the latest version (if applicable)
As it turns out, the “This Webpage Was Blocked By an Extension (ERR_BLOCKED_BY_CLIENT)” error is often reported to occur on Chromebooks. In this case, the issue is caused by an out of date revision of Chrome OS. Typically, affected users report that the error pops up when they try to access Gmail or a similar Google service.
If this particular scenario applies to you, the fix is extremely simple. You’ll just have to update Chrome OS to the latest version available. Here’s a quick guide on how to do this:
- Before you do anything else, make sure that your Chromebook is connected to the internet.
- Go to the bottom-right section of the screen and click once inside the time box. Then, select the setting icon (cog wheel) to access the Settings menu.
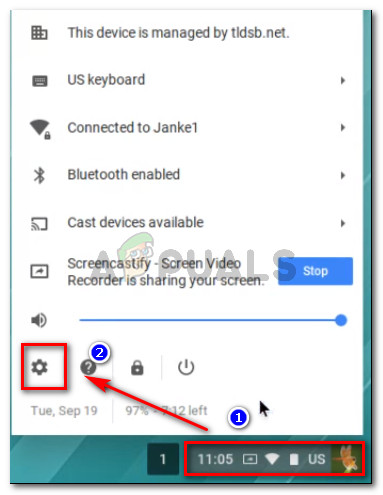
Accessing the Settings menu on a Chromebook - Expand the Settings menu from the left section of the screen and click on About Chrome OS.
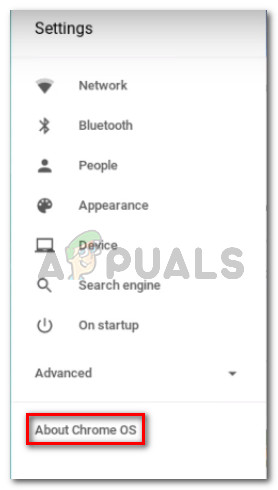
Accessing the About Chrome OS menu - Under Google Chrome OS, click Check for Updates to trigger a scan. If a new software update is found available, the download will start automatically.
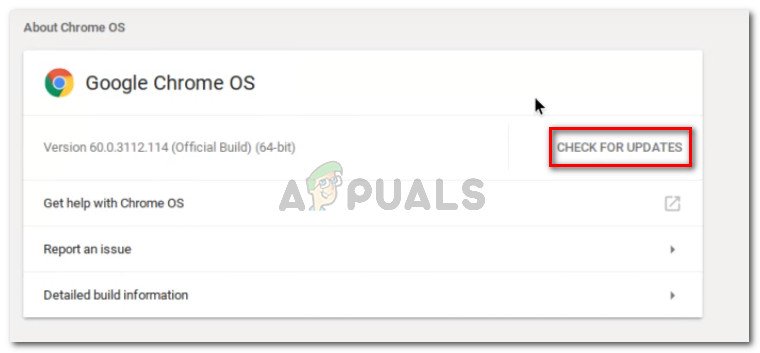
Checking for updates on Chrome OS - Once the newer Chrome OS version has been installed, restart your computer and see if the error is resolved at the next startup.


I’m getting this error when I try to bring up the crosh prompt in chrome ( chrome-extension://nkoccljplnhpfnfiajclkommnmllphnl/html/crosh.html ) in order to run crouton. The problem persists in incognito mode, and it persists with chrome and chromeOS both fully updated. Anything else I should try?