Fix: This Update is not Applicable to your Computer
The “The update is not applicable to your computer” error during a Windows update means the update doesn’t match your system’s setup. This often happens when the update isn’t compatible with your Windows version, edition, or system type (32-bit vs. 64-bit).

Other reasons include missing required updates, installing an update that’s already applied, or disabled Windows Update services.
In this article, we will discuss different ways to solve this error.
1. Check Whether the Windows Update Package Matches Your Windows Version
Making sure the update package matches your Windows version is important because different versions or architectures (like 32-bit vs. 64-bit) can block installation. Checking compatibility ensures the update is meant for your Windows edition and avoids errors.
- Open the Start menu, type This PC, and press Enter.

Open This PC - Right-click in an empty area and select Properties.

Open the Properties of This PC - In the properties, check your processor architecture and Windows version next to System type. If it says 64-bit and x64, ensure the update catalog also shows 64-bit. Otherwise, the update cannot be installed.

View the System Type
2. Match Your Update with the Update History
Checking your Update History can show if the update you want to install is already applied or if you need another update first. By comparing the update with your history, you can ensure it is compatible and avoid reinstalling it or facing errors due to missing requirements.
- Open the Start menu by clicking the Start button and then type Control Panel to open it.

Open Control Panel - Click on Programs in the Control Panel.
- Under Programs and Features, click View installed updates to access the installed updates list.

Check if the update is already installed or not - Compare the update codes with the one you’re trying to install to see if it’s already installed. If not, move on to the next solution.
3. Run the Update Troubleshooter
When updates fail due to compatibility or system conflicts, the Windows Update Troubleshooter can automatically identify and fix the issues. It resets important update components, removes corrupt update files, and ensures necessary services are running, providing a clean environment for the update to proceed.
- Open the Start menu, type Troubleshoot, and press Enter.

Open Troubleshoot - In the Troubleshoot window, select Windows Update under the Troubleshoot menu, then click Run the troubleshooter.

Run the troubleshooter - The troubleshooter will diagnose Windows Update issues. Wait for it to complete.
- If errors are detected, you’ll be prompted to fix them. Click Apply repairs automatically to address any problems.
4. Install the Most Recent KB Update
Keeping your system updated with the latest KB updates ensures it works well with new patches and features. Installing the newest KB update fixes missing requirements and known problems, making future updates install smoothly.
- Visit this webpage to view the latest Windows 10 updates.
- Identify the most recent Windows 10 KB update, typically listed at the top left. Note the KB number.
- Go to the Microsoft Update Catalog by clicking here, enter the KB number in the search box, then download and install the update.
5. Run DISM and SFC Scans
Corrupted system files can prevent updates from installing correctly. Running DISM and SFC scans helps find and fix these files, ensuring the system is ready for the update. DISM repairs the Windows image, while SFC checks and fixes system files to solve installation problems effectively.
- Open the Start Menu, type CMD, and press Shift + Ctrl + Enter to launch the command prompt with admin rights. Click Yes for UAC prompts.

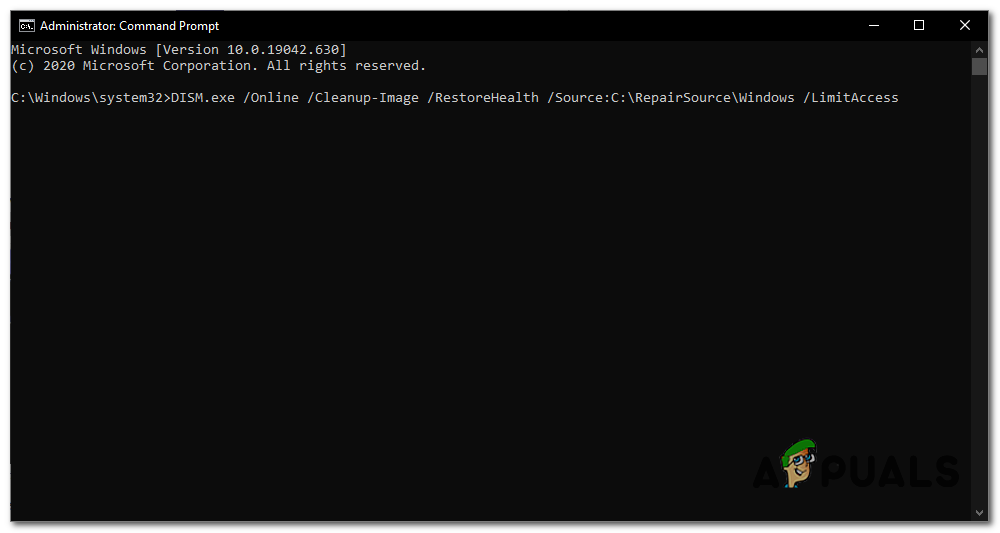
- In the command prompt, type DISM.exe /Online /Cleanup-Image /RestoreHealth and press Enter.

DISM Command - After DISM completes, initiate the SFC scan by typing sfc /scannow and pressing Enter.

Run sfc /scannow - When the SFC scan is done, restart Windows and try updating again.
6. Change the System Locale to English
Changing the system locale to English makes sure the language and regional settings match what the software needs. This prevents the system from misreading data or files, helping to fix compatibility issues with apps or updates that need specific language settings. This makes it easier for updates to work properly.
- Open the Start menu, type Control Panel, and click to open it.

Open the Control Panel - Go to the Region section.
- In the Region dialog, under the Formats tab, set the format to English (United States).

Select the Format as English - Click the Administrative tab, then Change system locale, and select English (United States). Try updating afterwards.

Set the System Locale as English
7. Use System Restore to Go Back to a Previous Version
Using System Restore to roll your system back can fix issues caused by incompatible updates or incorrect settings. This method returns your system files and settings to a previous working state, removing problematic updates while keeping your personal files intact.
- Click Start, type Restore, and select Create a restore point.

Run Create a Restore Point - In the System Protection tab, click System Restore, then Next.

Click on System Restore - Select the most recent restore point and hit Next.

Select a Recent Restore Point - After restoration, attempt to update your PC.
8. Upgrade Windows Through the Media Creation Tool
Sometimes, updates fail because of missing requirements or system problems. Using the Media Creation Tool to upgrade Windows fixes this by doing a full version update, replacing old parts, and ensuring everything works with the newest features and fixes.
- Download and run the Media Creation Tool as an administrator from here.
- Select Upgrade this PC now and follow the instructions.
- On the Ready to install screen, choose Keep personal files and click Next.
- The tool will download and install updates automatically.


