Fix: This Device is Blocked by Access Control in the Router
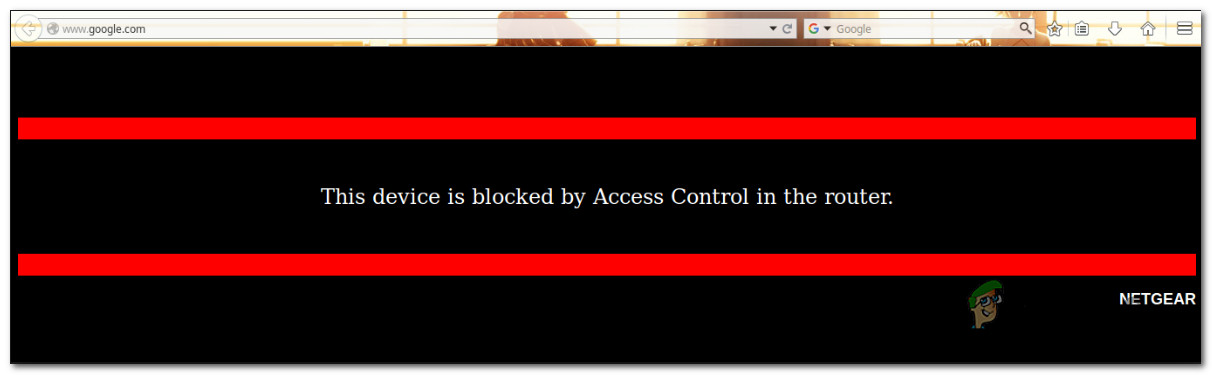
Some users are reporting all computers and devices are being blocked by the Access Control of the router. The error message that comes up is “This device is blocked by access control in the router“. Most commonly, this is reported to occur with NetGear routers and modems. The issue is not exclusive to a certain Windows version since it’s reported to occur on Windows 7, Windows 8.1 and Windows 10.
What is causing the “This Device is Blocked by Access Control in the Router” error?
We investigated this particular issue by looking at various user reports and the repair strategies that most affected users have deployed in order to get the issue resolved.
- The device is blocked by an ACL – ACL (Access Control List) are used to enforce network security. They work by limiting portions of your network devices or by limiting access to the internet. If this scenario is applicable, disabling the Access Control feature or resetting the router settings.
- Access control is set to Whitelist mode – If Access Control is configured on Whitelist mode, all your devices might have been blocked from accessing the router/modem settings. In this case, the only viable solutions are to either change the MAC/IP addresses of one of your devices so you can connect or reset your router settings to the factory settings.
If you’re struggling to find a way of circumventing or resolving the “This device is blocked by access control in the router” issue, this article will provide you with several potential guides that other users in a similar situation have used to get around this problem.
Method 1: Disabling Access Control
An Access Control List will block devices based on their IP address. If you’ve enabled Access Control from your router and a request is being made from a device that was specifically blocked (or not mentioned in the allowed list).
If this scenario is applicable to you’re current situation, one way to resolve the “This device is blocked by access control in the router” error and allow your device to connect without restrictions is to access your router settings and disable Access Control.
But as you might imagine, different routers have uniques builds. Because of this disabling/enabling Access Control will differ from model to model. Luckily, the concept is similar and the steps are roughly the same. Here’s a quick guide on accessing the Access Control menu and removing the restriction:
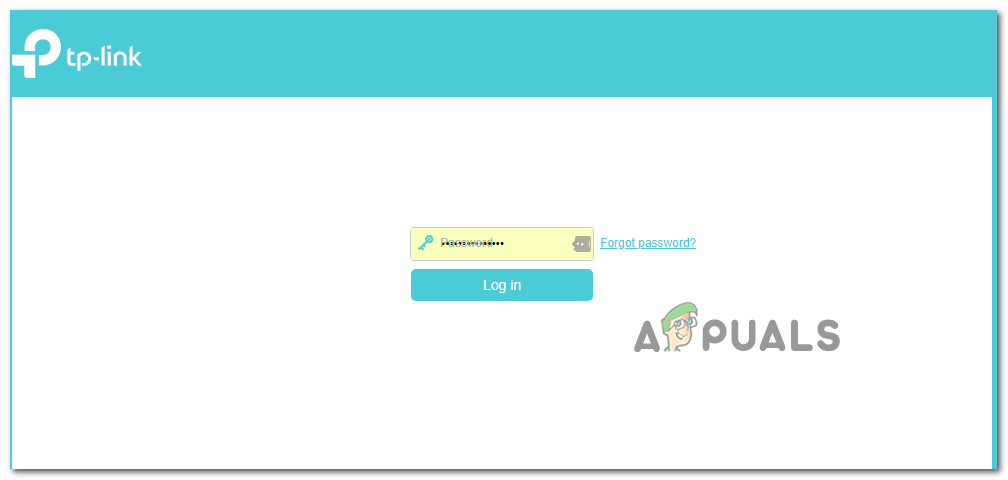
- On your default browser, visit the default address of your router to access its settings from a different computer (not the one that is being blocked). With the vast majority of routers/modems, the address is either http://192.168.0.1 or http://192.168.1.1.
- Once you reach the login screen, type your credentials to log in. If you haven’t set up a dedicated password, try using ‘admin’ for both the username and the password.
Accessing your router settings - Go to the Advanced menu and look for the Security tab. Then go to the Access Control menu and either disable the Access Control feature entirely or remove the respective device from the Blacklist.
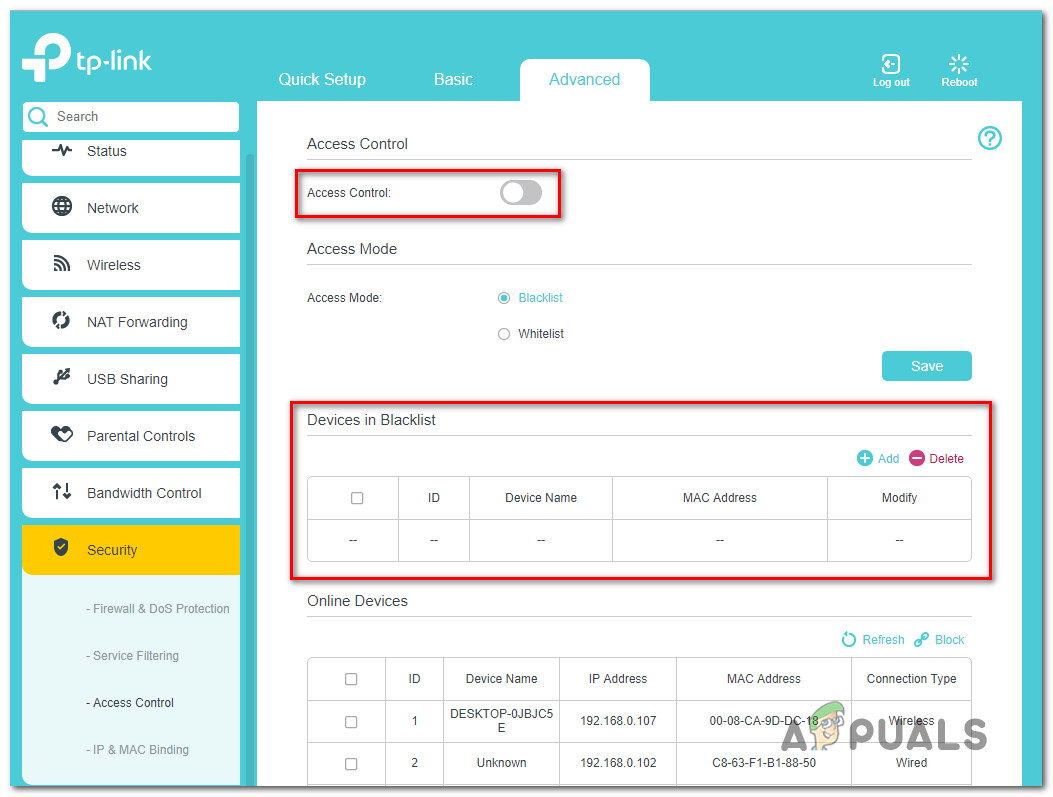
Dealing with Access Control on your router/modem Note: if the Access Mode is set on the Whitelist mode, you’ll need to Allow the device in order to resolve the error message.
- Save the changes, then restart your router/modem and see if the “This device is blocked by access control in the router” issue.
If you’re still encountering the same error message, move down to the next method below.
Method 2: Resetting the router to the factory settings
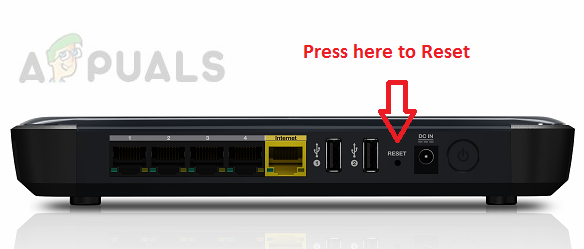
One quick and painless method that will most likely resolve the “This device is blocked by access control in the router” issue is to simply reset the router to its factory settings. After waiting a few minutes and logging back in, you should find that none of your connected devices are being blocked.
To reset your router to factory settings, simply push the physical reset button for 10 seconds or more (with most models, the LEDs will all blink at once to signal that the reset was complete. Keep in mind that on some models, the Reset button is only reachable by a needle or a similar sharp object.
Keep in mind that this procedure will also reset the default router/modem login credentials. In most case, they will be reverted back to the default: admin (for username and password).
Method 3: Bypassing the Router/Modem Acess Control
Different routers have different ways of preventing devices from accessing the network. In most cases, routers are either actively looking at the MAC address or at the IP when deciding whether a device should be blocked by Access Control or not.
Fortunately, you can change both quite easily and regain entry into your Router settings. This method is ideal in those cases where all devices are blocked from accessing the router/modem settings, so you have no apparent means of repairing the issue.
Follow the two methods below to bypass the Account Control feature of your networking device by changing your MAC address and IP.
Changing the MAC address:
- Press Windows key + R to open up a Run dialog box. Then, type ” devmgmt.msc” and press Enter to open up Device Manager.

Running Device Manager - Expand the Network adapters drop-down menu, right-click on your Network (Internet) Controller and choose Properties.
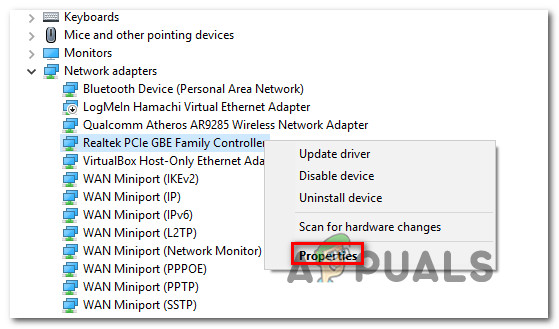
Accessing the Properties screen of the Network Controller - Inside the Properties screen of your Network Controller, go to the Advanced tab and look for a Property called Network Address or Locally Administered Address. Then, change the toggle from Not Present to Value and set a new MAC address for your computer.
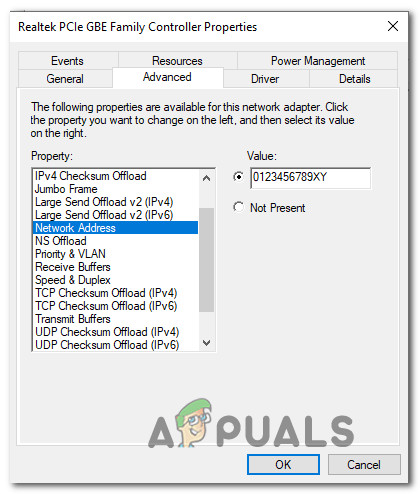
Changing the MAC address on Windows Note: Keep in mind that Windows accepts MACs addresses with no dashes or spaces. For example, 01-23-45-67-89-XY should be entered as 0123456789XY.
- Click Ok to save the changes, then restart your computer to allow the changes to take effect.
Changing the IP address:
- Press Windows key + R to open up a Run dialog box. Then, type “ncpa.cpl” and press Enter to open up the Network Connection menu.
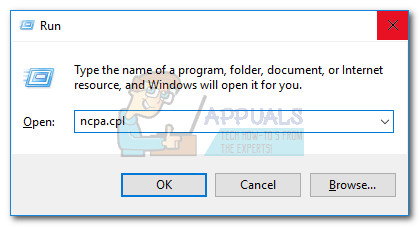
Run dialog box: ncpa.cpl - Inside the Network Connections menu, right-click on the network connection that is currently active and choose Properties.
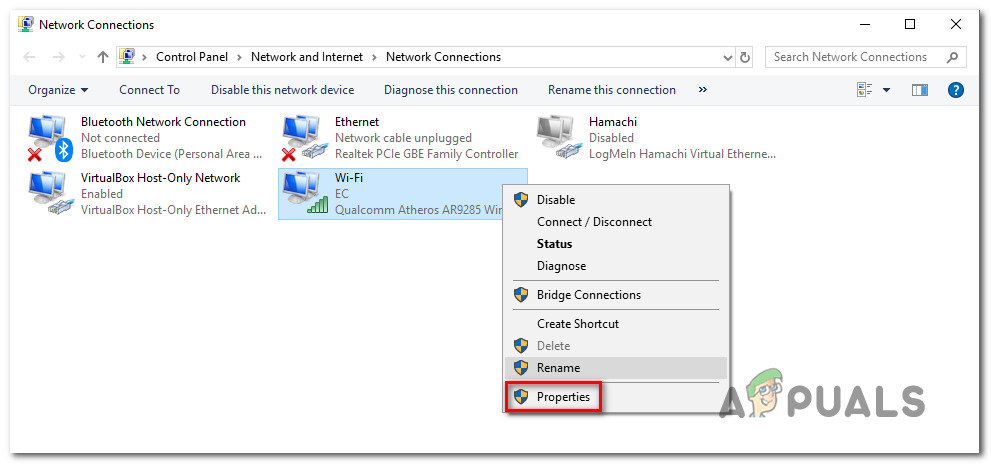
Accessing the Properties menu of the active network - Inside the Properties screen of the active network, go to the Networking tab and double-click on Internet Protocol Version 4 (TCP/IPv4).
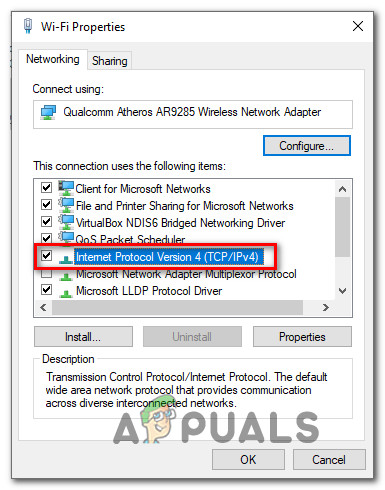
Accessing the IPV4 settings - Then, go to the General tab and change the first toggle from Obtain an IP address automatically to Use the following IP address. Then, type in your own IP address and click Ok to save the configuration.
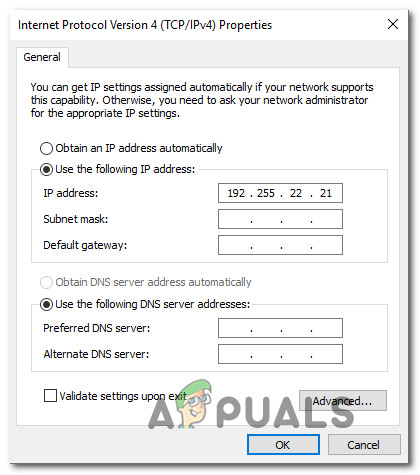
Setting a custom IP address - Restart your computer and see if the issue has been resolved at the next startup.


