[Fixed] This app has turned off and not monitoring your computer
Windows Defender is the default security and antivirus tool which comes preinstalled on Windows 10 and most people would agree that the tool itself is quite sufficient and it can definitely keep your computer safe at most occasions.
However, there is a certain problem which comes under this error message and it requires your attention because the message says that the tool has been turned off. Using your PC without any security tool installed is very dangerous and it’s very important that you take this message seriously and follow through this article in order to find out just how to solve this problem easily.
Solution 1: Restart Your Computer
Sometimes this error is caused by a simple bug which can be fixed as easily as rebooting your computer. You may never know what caused the problem in the first place but you are sure to get rid of it easily by following the instructions below:
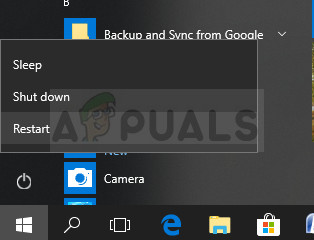
- On your running PC, click on Start >> Power button at the bottom of the menu and choose the Shut down option.
- Once your PC has shut down completely, unplug the Ethernet cable from your PC if you are using it to connect to the Internet and let the cable stay unplugged for at least a couple of minutes before plugging it back in. Meanwhile, restart your router and your modem by clicking the Power buttons located on them before you plug the cable back into the computer.
- Turn the PC on normally by pressing the power button and check to see if Windows Defender can now be turned on.
- Right-click on the shield icon on your taskbar and click on Open.

- When Windows Defender Security Center opens, click on the shield icon below the home button, open Virus & threat protection settings and turn on everything that is turned off which you may consider useful
- Navigate to the browser icon (second from the end) and turn on the Check apps and files option.
Solution 2: For McAfee Users with Preinstalled Tools
If you computer came with preinstalled antivirus tools such as McAfee, then you may face this problem more often than anybody else. The reason why McAfee has been named among others is because this antivirus tool is to blame in 90% of the cases where people received this error message.
If McAfee came preinstalled on your computer, it probably bloated the PC with its features and Windows Defender finds itself unable to perform all actions that it wishes to and it can’t establish control over the protection of your computer. That is why you are unable to start the Windows Defender service even if you disabled McAfee on your computer. Follow the instructions below in order to fully remove McAfee antivirus from your computer:
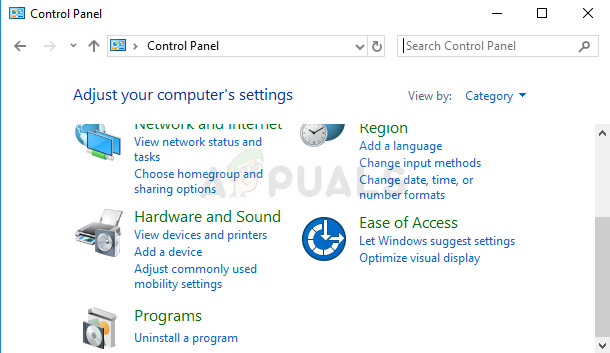
- Click on the Start menu and open Control Panel by searching for it. Alternatively, you can click on the gear icon in order to open settings if you are using Windows 10.
- In Control Panel, select to View as: Category at the top right corner and click on Uninstall a Program under the Programs section.
- If you are using the Settings app, clicking on Apps should immediately open a list of all installed programs on your PC.
- Locate McAfee in Control Panel or Settings and click on Uninstall.
- Its uninstall wizard should open with two options: Repair and Remove. Select Remove and click Next in order to uninstall the program.
- A message will pop up asking “Do you want to completely remove McAfee for Windows?” Choose Yes.

- Click Finish when the uninstalled completes the process and restart your computer to see whether errors will still appear.
In order to clean up the remainder of the files left by McAfee, consider using the McAfee Consumer Product Removal Tool (MCPR) which can be used quite easily by following the instructions below:
- Download the MCPR tool from McAFee’s official website.
- Double-click on MCPR.exe which is the file you just downloaded. It should be in your Downloads folder by default but you can also open it by double-clicking on the file at your browser Downloads page.
- If you see a security warning asking you whether you allow the app to make changes to your PC, click Yes, Continue, or Run, depending on which version of Windows you have installed.
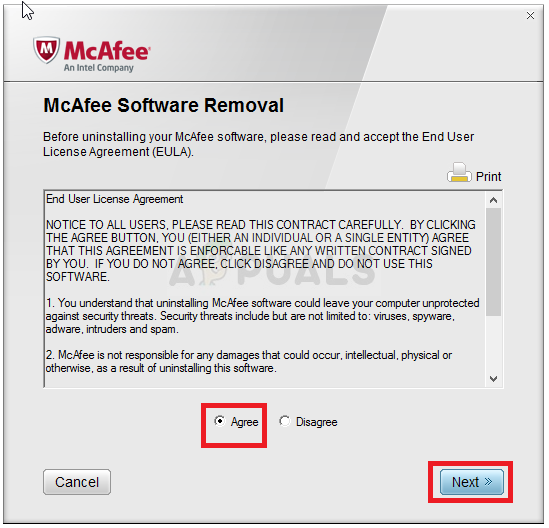
- At the McAfee Software Removal screen, Click Next and click Agree to accept the End User License Agreement (EULA).
- At the Security Validation screen, type the characters exactly as shown on your screen (validation is case-sensitive).
- Click Next. This step prevents the accidental use of MCPR.
- After the removal process finishes you should see the Removal Complete message which means that McAfee products have been removed successfully from your computer.
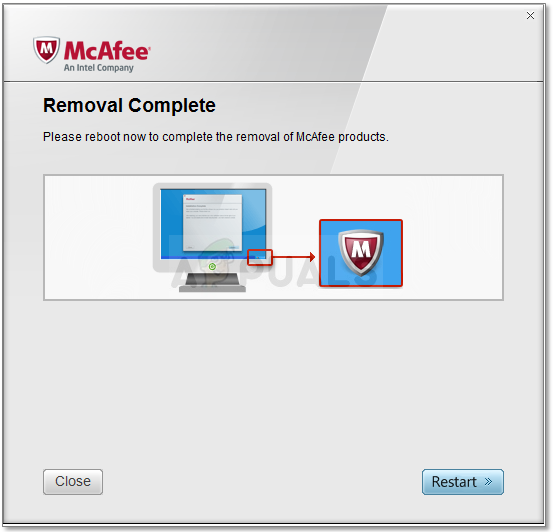
- However, if you see the Cleanup Unsuccessful message, the cleanup failed and you should restart your PC and try the whole process again.
- Restart your computer after the process finishes and check to see if McAfee Antivirus is removed from your computer. Try activating Windows Defender by following the steps from the previous method!
Note: If you are running any other antivirus tools and if you wish to settle for Windows Defender after all, then consider removing the respective antivirus tool completely by looking for information on how to do it properly.
Solution 3: Reinstall Windows
Resetting our PC is considered to a last resort for this issue but it is definitely efficient and it’s able to fix most of the similar issues, including the one described in this article. Here’s how to reset your PC on Windows 10.
- Navigate to Settings. You can get there by clicking the gear icon on the Start menu.
- Select “Update & security” and click Recovery in the left pane.
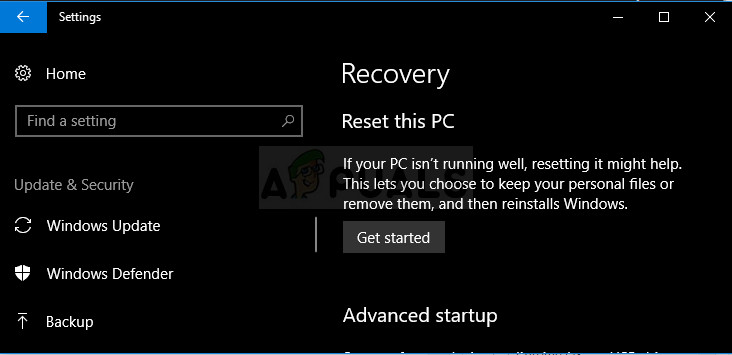
- Windows presents you with three major options: Reset this PC, Go back to an earlier build and Advanced startup. Reset this PC is the best option for starting fresh. Advanced startup lets you boot off a recovery USB drive or disc and “Go to an earlier build” is made for Windows Insiders who want to roll back to a previous version of the OS.
- Click Get started under Reset this PC.
- Click either “Keep my files” or “Remove everything,” depending on whether you want to keep your data files intact. Either way, all of your settings will return to their defaults and apps will be uninstalled.

- Select “Just remove my files” or “Remove files and clean the drive” if you chose to “remove everything” in the prior step. Cleaning the drive takes a lot longer but will make sure that, if you are giving the computer away, the next person will have a hard time recovering your erased files. If you are keeping the computer, choose “Just remove my files.”
- Click Next if Windows warns you that you won’t be able to roll back to a prior version of the OS. Click Reset when prompted.
- Windows will then restart and take several minutes to reset itself. Click Continue when prompted.


