How to Fix Third Monitor Not Detected in Windows
When Windows doesn’t detect the third monitor, it can be frustrating because it only shows two monitors are connected, even if the third one is plugged in. This problem usually arises because of hardware or software settings. It means Windows can’t find the third monitor, so you can’t use it.
The most common reason is old or incompatible graphics drivers, but it might also happen because of hardware limits, like a chipset that only supports two monitors or wrong cables. Some users should also check if their system supports more than two monitors using the correct display ports or adapters.
In this article, we will discuss different ways to solve this error.
1. Reconnect All Monitors in Order
Before trying anything else, start by unplugging and reconnecting all your monitors in a specific order. Begin with the main monitor and connect each one, one at a time. This can help your computer recognize them correctly, ensuring none are missed. Doing this can often fix problems with detecting monitors caused by wrong connections or timing issues when you turn on your computer.

Note: It is important to disconnect the monitors in the order displayed in the Advanced Display Settings window.
2. Use the “Extend Desktop to Display” Option on the 3rd Monitor
Turning on the “Extend Desktop to Display” option is important because it tells Windows to use the third monitor as an extra workspace. This prevents the third monitor from just copying another screen or being ignored. Using this option gives you more space to work across all your screens, helping with multitasking and making your experience smoother.
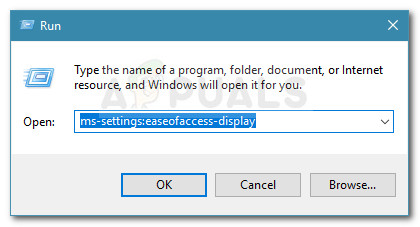
- Press Windows key + R, type “ms-settings:easeofaccess-display“, and press Enter to open the Display tab.
- Scroll to Additional display settings.
- Check each screen to find the disconnected one.
- Select the inactive monitor and choose Extend desktop to this display from the drop-down menu.
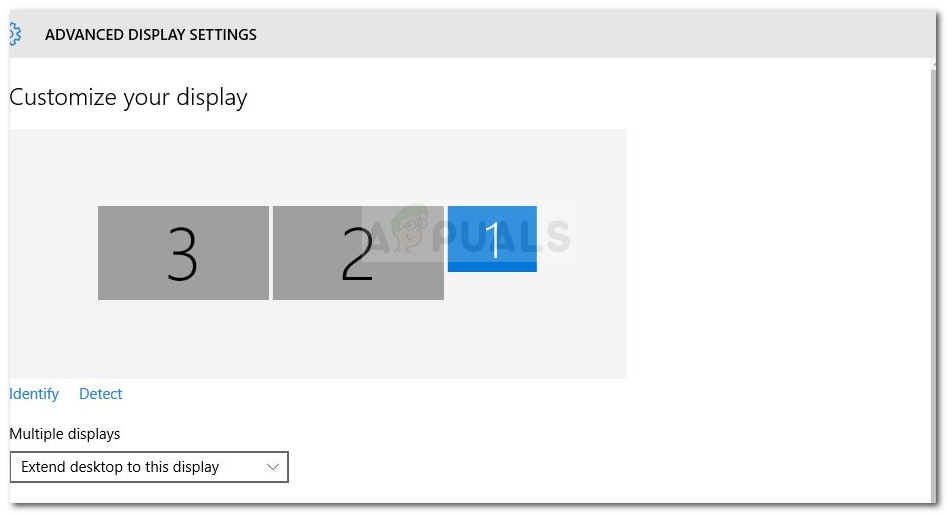
- Click Apply to activate all monitors.
3. Enable “Set Up Multiple Displays” from Nvidia Graphics (if applicable)
If you’re using an Nvidia graphics card, turn on “Set Up Multiple Displays” in the Nvidia Control Panel to make sure your third monitor is recognized. This setting makes the system find all connected monitors and lets you arrange them manually. It solves detection problems that happen when the system doesn’t automatically find the third monitor.
Note: This method is not applicable if you don’t own an Nvidia Graphics card.
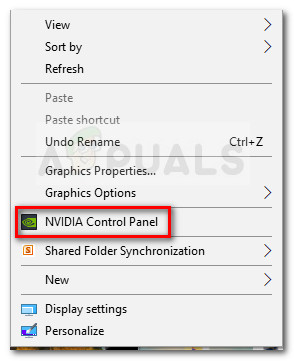
- Right-click on your desktop and select Nvidia Control Panel.
- In Nvidia Control Panel, select Set Up Multiple Displays and check the boxes for the monitors you want to use.
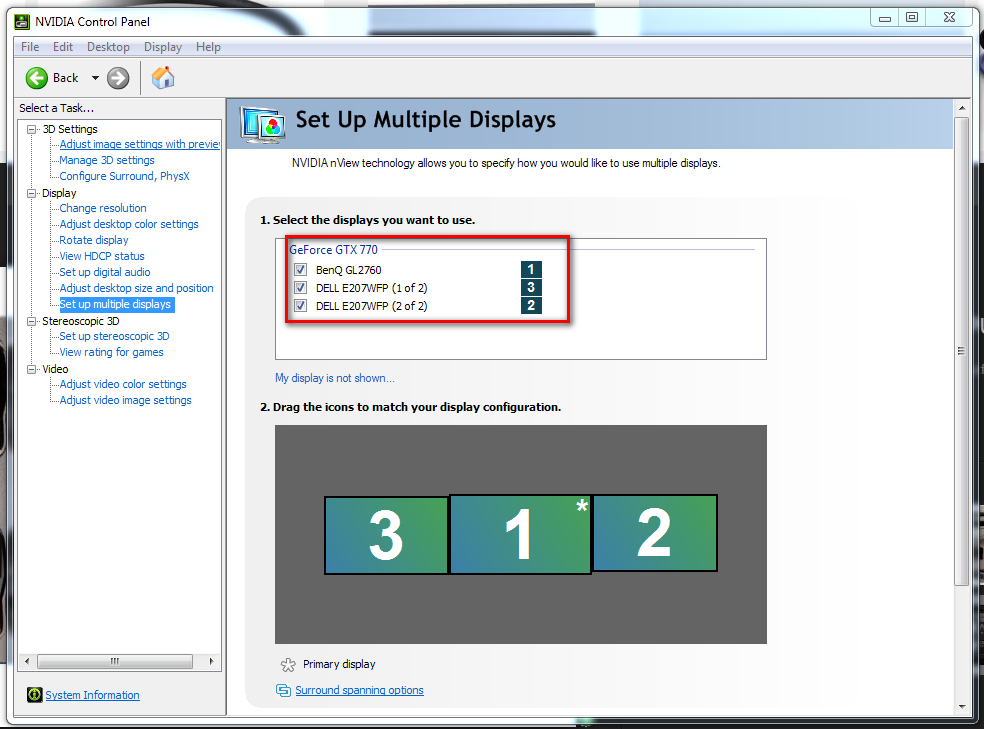
- Save changes, reboot your computer, and check if the third monitor is detected.
4. Disable the Integrated Intel Card (under Display Adapters)
Turn off the built-in Intel graphics card to help your third monitor get detected. Sometimes, having both the Intel card and a separate GPU active causes conflicts. Disable the Intel card in Device Manager under “Display Adapters” to make the system use only the dedicated GPU, which is better for managing multiple monitors.
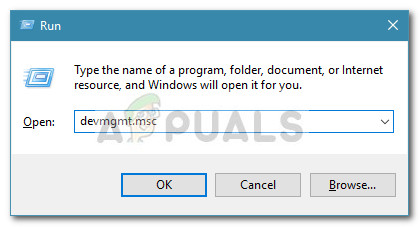
- Press Windows key + R, type “devmgmt.msc“, and press Enter to open Device Manager.
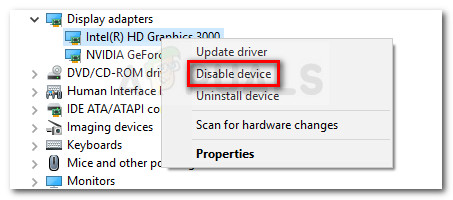
- Expand the Display Adapters section.
- Right-click the Intel graphics card and select Disable device.
- Reconnect the third monitor to check if it’s detected.


Ive tried all of these solutions and none of them work :c Im desperate for help !