Fix: The Volume does not Contain a Recognized File System
The error appears after plugging in an external hard drive, USB flash drive or an SD card. Before the error appears, Windows might prompt you to format the disk before using it only to inform you that “The volume does not contain a recognized file system”.
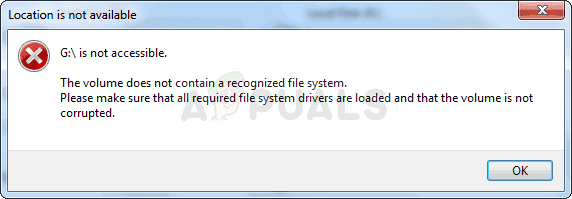
The error is sometimes caused by faulty encryption files or by a RAW extension. In either way, we have prepared several working methods for you to try out in order to get rid of this error. Good luck and follow the solutions below!
What Causes the Volume does not Contain a Recognized File System Error?
- Faulty or broken Boot Manager utility which needs to be fixed using certain commands in Command Prompt.
- Malware infection usually manifests itself by inflicting damage to external drives connected to your computer so make sure you scan your computer!
- Encryption programs for drives sometimes damage the drive’s files during the decryption process and it leaves the drive damaged, displaying this error.
Solution 1: Fix the Boot Manager
Going through the essential commands related to the boot manager is always a nice and easy way to get started with your troubleshooting. There are several methods you should run in a particular order in order to reset and reboot the Boot Manager service which is directly responsible for managing the external drives connected to your computer.
- If your computer’s system is down, you will have to use the installation media used to install windows for this process. Insert the installation drive you own or which you have just created and boot your computer. The following steps are different from one operating system to another so follow them accordingly:
- WINDOWS XP, VISTA, 7: Windows Setup should open prompting you to enter the preferred language and time and date settings. Enter them correctly and choose the Repair your computer option at the bottom of the window. Keep the initial radio button selected when prompted with Use recovery tools or Restore your computer and click on the Next Choose Startup Repair (the first option) when prompted with the Choose a recovery tool selection.
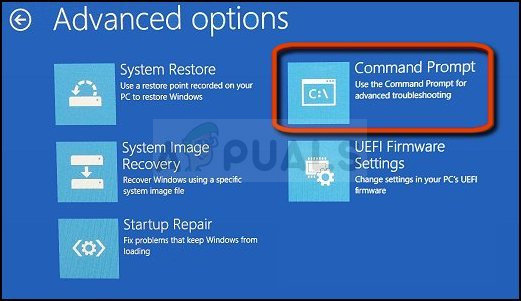
- WINDOWS 8, 8.1, 10: You will see a Choose your keyboard layout window so choose the one you want to use. The Choose an option screen will appear so navigate to Troubleshoot >> Advanced Options >> Command Prompt
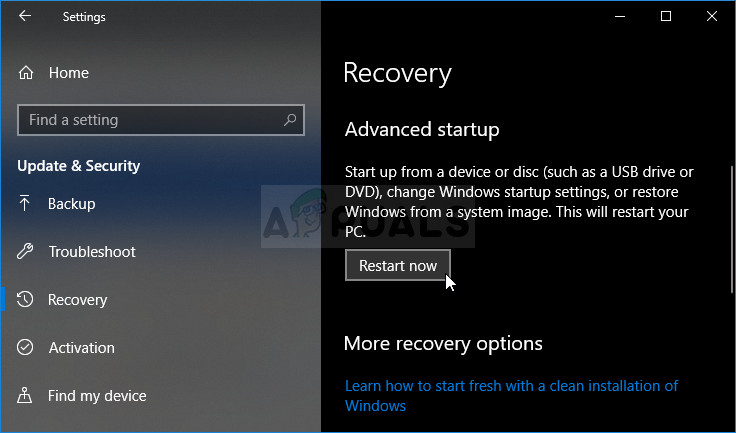
- If you are not having problems with the system, you can use the Windows UI to access this screen. If you are using Windows 10 on your PC, there is another way to access the Advanced Startup on your computer. Use the Windows Key + I key combination in order to open Settings or click the Start menu and click the gear key at the bottom left part.
- Click on Update & security >> Recovery and click the Restart Now option under the Advanced startup section. Your PC will proceed to restart and you will be prompted with the Advanced options screen.
- Click to open the Command Prompt from the Advanced options screen.
- Command Prompt should now open with administrator privileges. Type in the command displayed below and make sure you hit Enter afterwards.
bootrec /RebuildBcd
bootrec /fixMbr
bootrec /fixboot
bootsect/ntfs60 C:
Note: Replace the ‘C:’ placeholder with the letter of the drive you are troubleshooting
- Close Command Prompt afterwards and choose the Restart option. Check to see if the problem is gone.
Solution 2: Scan Your Computer for Malware
Even though this sounds over the top, malware infections are one of the leading causes of this problem and it’s vital you check your computer for malware. Malicious programs would want to prevent you from running things from external drives and they may even infect them. Follow the steps below for advice:
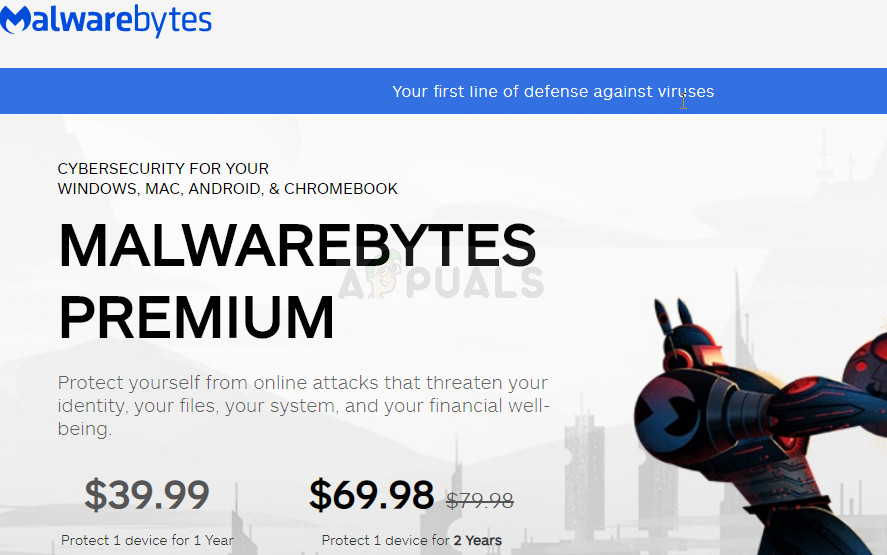
Here, we will show you how to scan your PC with Malwarebytes as it often shows the best results considering the fact that it really has a vast database. Good luck!
- Malwarebytes Anti-Malware is an amazing anti-malware tool with a free version you can download from their official website. Hopefully, you won’t need the full suite after you solve this issue (unless you want to buy it and have it ready for other problems) so make sure you download the trial version by clicking here.
- Locate the executable file you just downloaded from their website in the Downloads folder on your PC and double-click on it in order to open it on your computer.
- Select where you want to install Malwarebytes and follow the installation instructions which will appear on the screen in order to complete the installation process.
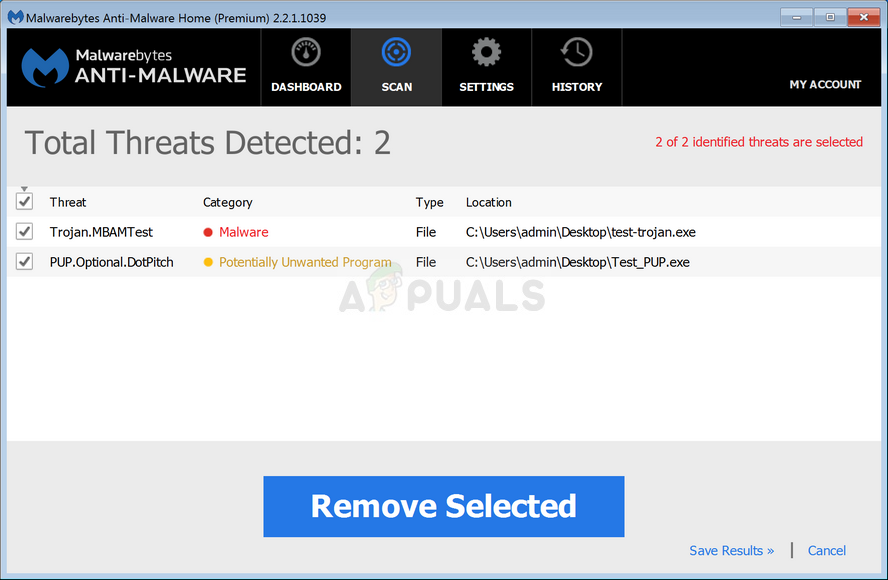
- Open Malwarebytes by locating it in the Start menu or on your Desktop and select the Scan option available at the home screen of the application.
- The tool will probably launch its updating process in order to update its virus database and then it will proceed with the scan. Please be patient until the process finishes which might definitely take a while. If malware is detected on your computer, confirm to have it deleted or quarantined.
- Restart your computer after the scanning process is over and check to see if you still experience issues with the unrecognized file system!
Note: You should also use other security scanners if you can tell the type of malware you have on your computer (ransomware, junkware, etc.). Apart from that, a single scanner will never be able to recognize and delete all types of malware so we suggest you try other ones as well!
Solution 3: Start a SFC Scan
An SFC scan if quite useful as it’s a utility which will scan your computer for missing system files (especially system files) and it will try to redownload and replace them from Microsoft’s servers. This method is great for users who have encrypted a drive on their computer and went into trouble decrypting it.
The tool can be launched via Command Prompt and users have reported that running an SFC scan which might take longer in this scenario has triggered a CHKDSK scan at the next startup which went on to resolve the problem. Make sure you give this method a shot if the ones above have failed to help!
- Search for “Command Prompt” by typing it either right in the Start menu or by pressing the search button right next to it. Right-click the first entry which will pop up as a search result and select the “Run as administrator” context menu entry.
- Additionally, you can also use the Windows Logo Key + R key combination in order to bring up the Run dialog box. Type in “cmd” in the dialog box which appears and use the Ctrl + Shift + Enter key combination for admin Command Prompt.
- Type in the following commands in the window and make sure you press Enter after typing each one. Wait for the “Operation completed successfully” message or something similar to know that the method worked.
sfc /scannow
- Try to restart your computer and check to see if the CHKDSK utility starts up prompting to check your hard drive for errors. Wait for it to finish with its process and check to see if the problem is gone.


