The system detected a possible attempt to compromise security
This specific error message can appear in several different scenarios on users’ computers. It’s a Windows-related error message. One scenario is when users try to input a password to access their account but Windows flat-out refuses to accept it. When users try to reset it, they receive this error message.
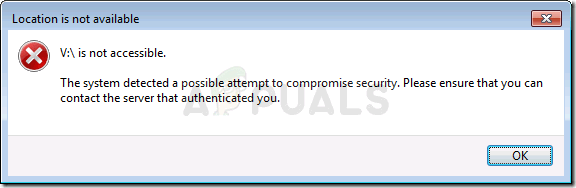
Another scenario is related to networking when users try to connect to a single host computer but they receive the same error message. The problem can be resolved in several different ways so make sure you follow the instructions in the methods below.
What Causes the “The System Detected a Possible Attempt to Compromise Security” Error Message?
Make sure you check out the list of possible causes in order to properly determine just what caused the problem which determines which steps to follow in order to get rid of the problem:
- You may have installed a problematic Windows update on the server/DC computer which is known to cause this problem. Try uninstalling it.
- Certain ports may be closed in Windows Firewall on the server/DC which effectively prevents the connection.
- Client computers may have problems connecting because DNS addresses are misconfigured.
- The use of IPv6 on the network may be problematic.
- Client networking drivers may be old and outdated so consider performing an update.
Solution 1: Uninstall the KB3167679 Update to Your Domain Controller
When the KB3167679 update was released for Windows Server, Microsoft announced that the update may cause problems regarding password verification on computers connected to the same domain controller. The easiest way to resolve this is to simply uninstall this update from your DC by following the steps below:
- Click the Start menu button and open Control Panel by typing its name and clicking the first option at the top or by locating its entry in the Start menu initial screen.
- Switch to View as: Category at the top right corner and click on Uninstall a Program under the Programs area. At the right side of the screen, you should see the View installed updates button in blue so click on it.

- You should now be able to see the list of all installed Windows updates for your computer. Check the Microsoft Windows section at the bottom for the KB3167679
- Scroll to the left in order to check the Installed on the column which should display the date when the update was installed so make sure you locate the update whose KB number is KB3167679.
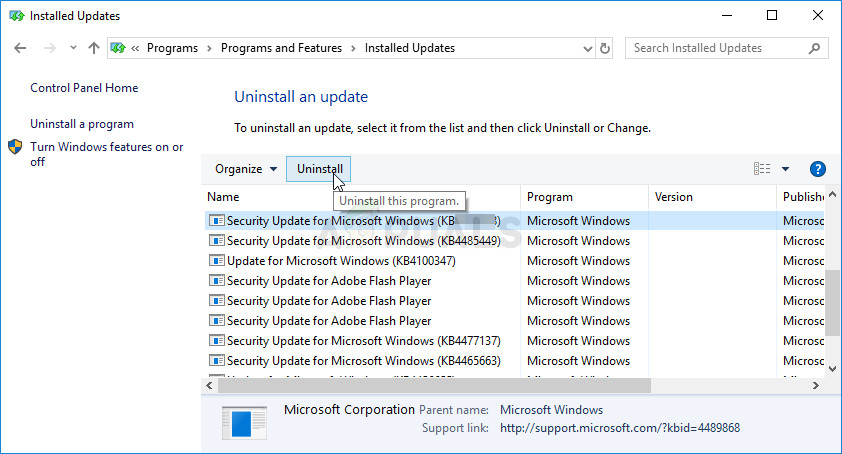
- Click on the update once and choose the Uninstall option at the top and follow the instructions which will appear on screen in order to get rid of the update.
- Wait for Microsoft to release a new update which should be installed automatically if you have configured automatic Windows updates.
Solution 2: Open TCP and UDP Ports 88 in Windows Firewall
These ports absolutely need to be opened on the server or the DC in order for the whole network to function properly. This should be done on the default and active firewall (probably Windows Firewall) so make sure you follow the steps below in order to allow these ports through and resolve the problem.
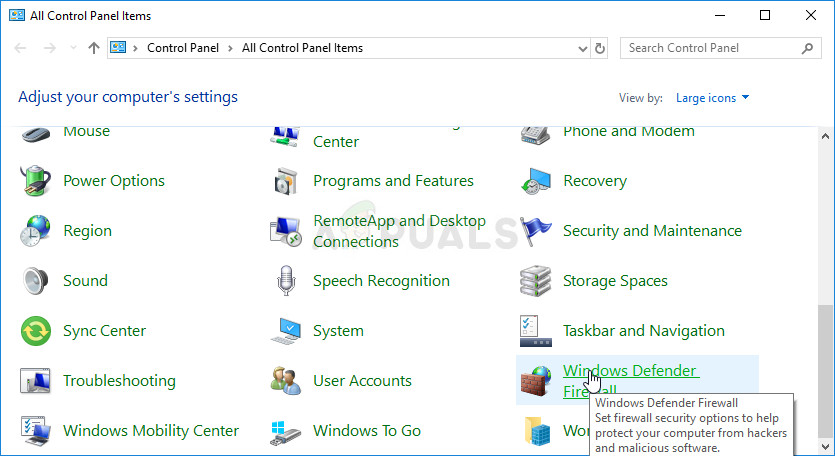
- Navigate to Control Panel by searching for it in the Start menu and click on System and Security >> Windows Firewall. You can also switch the view to Large or Small icons and click on Windows Firewall instantly.
- Select the Advanced settings options and highlight Inbound Rules in the left section of the screen.
- Right click on Inbound Rules and click on New Rule. Under the Rule type section, select Port. Select TCP or UDP from the first set of radio buttons (depending on which ports you are working on) and switch the second radio button to “Specific local ports. You will need to add the following ports in order to fix the problem with Rockstar servers:
TCP Ports: 80, 443
UDP Ports: 6672, 61455, 61456, 61457, 61458
- Make sure you separate them by a coma right to the last one and click on Next after you have finished.
- Select the Allow the connection radio button in the next window and click Next.
- Select the network type when you want to apply this rule. If you switch from one network connection to another quite often, it’s recommended that you keep all of the options checked before clicking Next.
- Name the rule something which makes sense to you and click Finish.
- Make sure you repeat the same steps for Outbound Rules (choose Outbound rules in Step 2).
Solution 3: Use IPv4 on Your Network
IPv6 brings many problems along the way and it has become a cause for many different problems regarding network connectivity. You can try to resolve the problem presented in this article simply by switching your network to use IPv4 instead of IPv6.
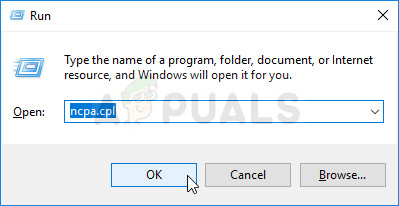
- Use the Windows + R key combo which should immediately open the Run dialog box where you should type ‘ncpa.cpl’ in the bar and click OK in order to open the Internet Connection settings item in Control Panel.
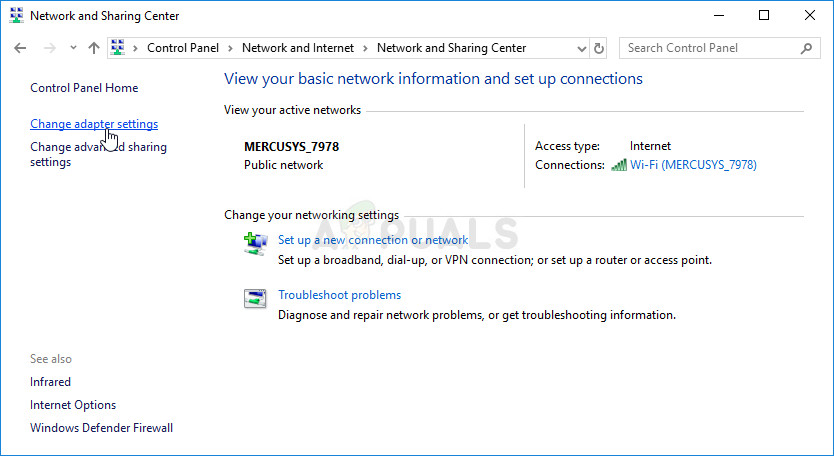
- The same process can also be done by manually opening Control Panel. Switch the View by setting at the top right section of the window to Category and click on Network and Internet at the top. Click the Network and Sharing center button in order to open it. Try to locate the Change adapter settings button at the left menu and click on it.
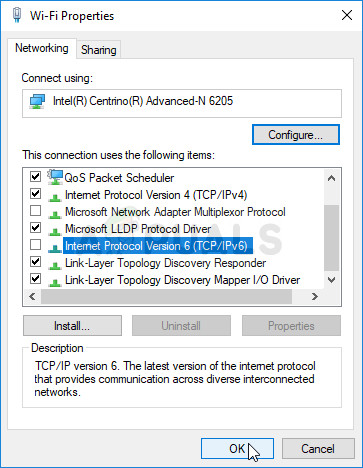
- When the Internet Connection window opens, double-click on your active Network Adapter.
- Then click Properties and locate the Internet Protocol Version 6 entry on the list. Disable the checkbox next to this entry and click OK. Restart your computer in order to confirm the changes and check to see if the problem persists.
Solution 4: Obtain DNS Addresses Automatically
This should be changed on client computers. If the addresses have been wrongly set to wrong ones in the past when the server still used them, you should revisit the same setting and make sure the DNS addresses are obtained automatically.
- Use the Windows + R key combo which should immediately open the Run dialog box where you should type ‘ncpa.cpl’ in the bar and click OK in order to open the Internet Connection settings item in Control Panel.
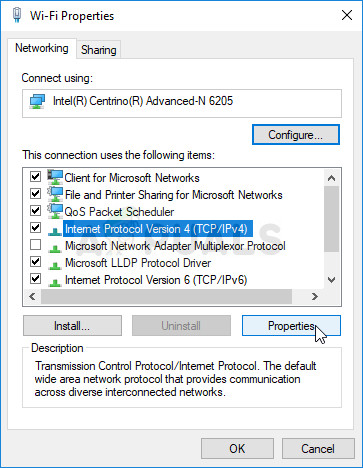
- Now that the Internet Connection window is open, double-click on your active Network Adapter and click on the Properties button below if you have admin permissions.
- Locate the Internet Protocol Version 4 (TCP/IPv4) item on the list. Click on it in order to select it and click the Properties button below.
- Stay in the General tab and switch both radio buttons in the Properties window to “Obtain an IP address automatically” and “Obtain DNS server address automatically” if they were set to something else.
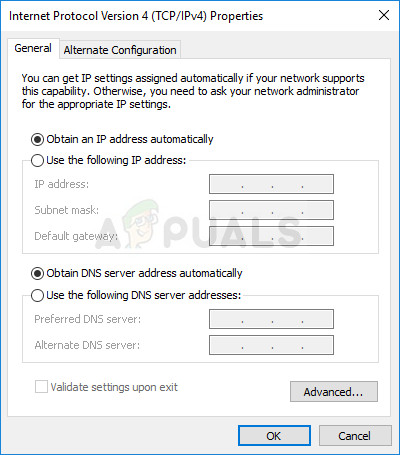
- Keep the “Validate settings upon exit” option checked and click OK in order to apply the changes immediately. Check to see if the same error appears!
Solution 5: Update the Networking Driver on Client PC
This method has worked for many users. Faulty drivers are a cause for many issues and updating them is definitely something you should try out.
- First of all, you will need to uninstall the driver you currently have installed on your machine.
- Type “Device Manager” into the search field next to the Start menu button to open the device manager window. You can also use the Windows Key + R key combination in order to open the Run dialog box. Type devmgmt.msc in the box and click OK or Enter key.
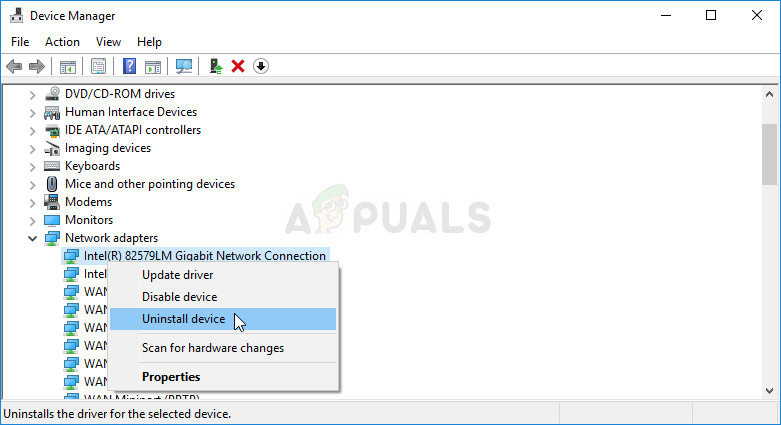
- Expand the “Network Adapters” section. This will display all network adapters that the machine has installed at the moment.
- Right-click on the wireless network adapter you want to uninstall and select “Uninstall device“. This will remove the adapter from the list and uninstall the networking device.
- Click “OK” when prompted to uninstall the device.
- Remove the adapter you are using from your computer and navigate to your manufacturer’s page in order to see the list of available drivers for your operating system. Choose the latest one, download it, and run it from the Downloads folder.
- Follow the instructions on-screen in order to install the driver. If the adapter is external such as a Wi-Fi dongle, make sure it stays disconnected until the wizard prompts you to reconnect it to your computer. Restart the computer and check to see if the problem has disappeared.


