How to Fix “Server did not register with DCOM within the required timeout” Error?
The “Server did not register with DCOM within the required timeout” error happens when your system can’t register one or more Distributed Component Object Model (DCOM) applications quickly enough. This can slow down your computer or cause applications to crash. You usually see this error in the Windows Event Viewer, often because services like Microsoft Store or Windows components have communication issues due to DCOM delays.
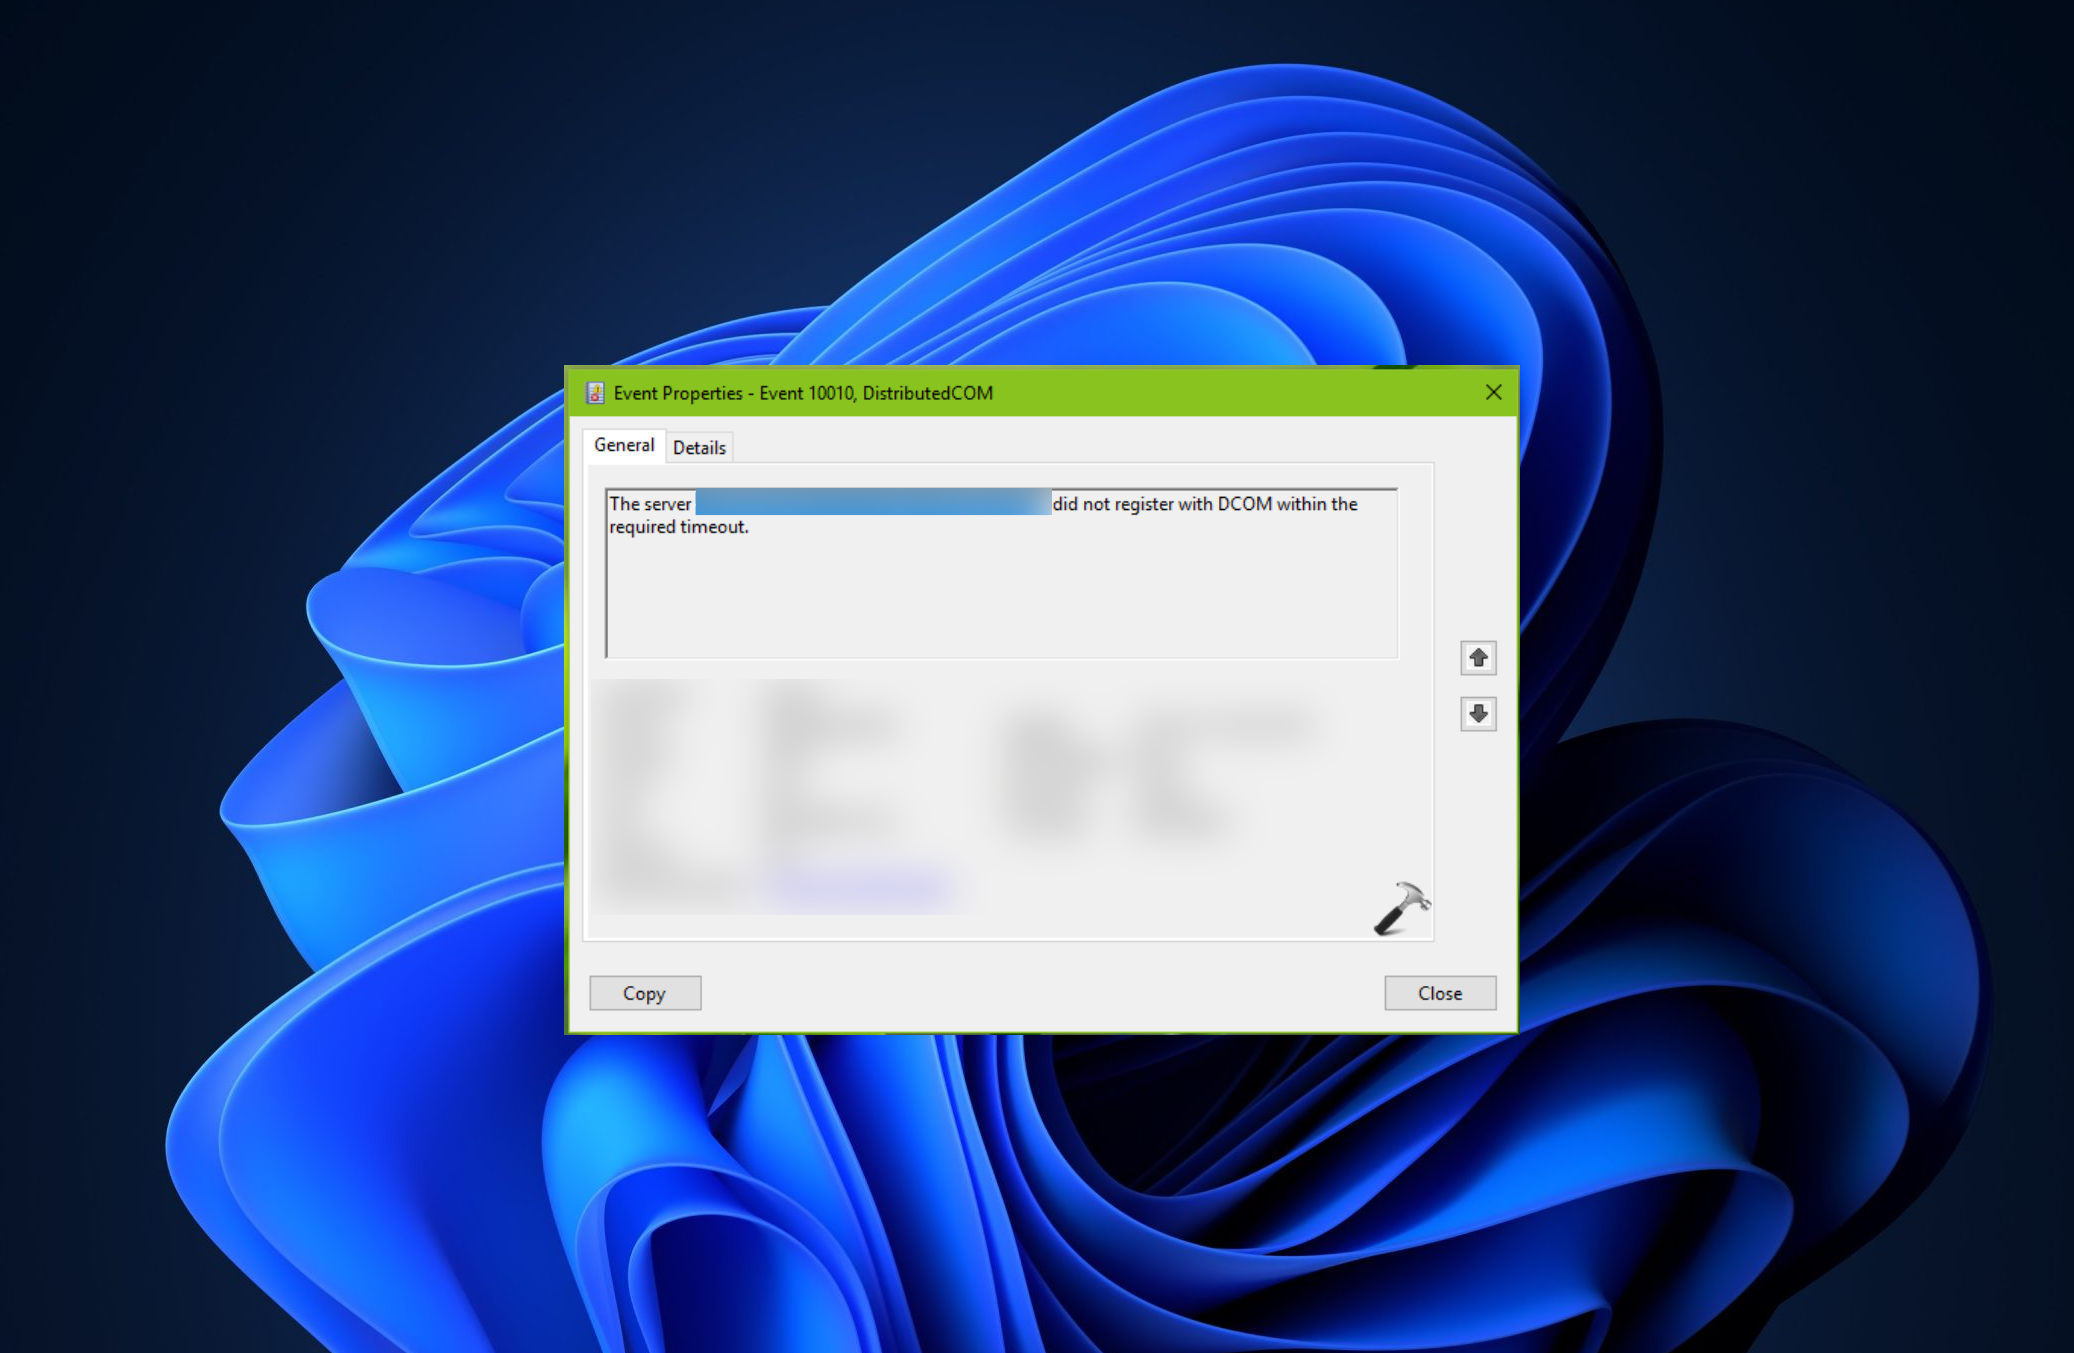
This error means the DCOM service didn’t respond in time because of communication delays between server and client applications. Common reasons are conflicts with login details, wrong firewall settings, or incorrect DCOM permissions.
Other possible causes include services like Function Discovery starting slowly or conflicting Windows updates.
1. Run Windows Store Troubleshooter
If there is a mismatch or corruption in the Microsoft Store certificates, it can stop DCOM from registering and communicating correctly. The troubleshooter helps by finding any errors or inconsistencies in these certificates and tries to fix them, which can resolve the issue and return things to normal.
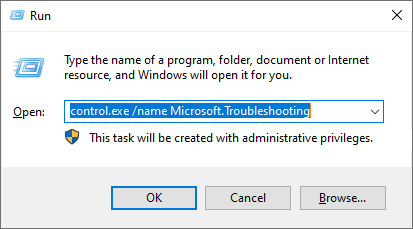
- Press Windows key + R, type control.exe /name Microsoft.Troubleshooting, and hit Enter to access Windows Troubleshoot.
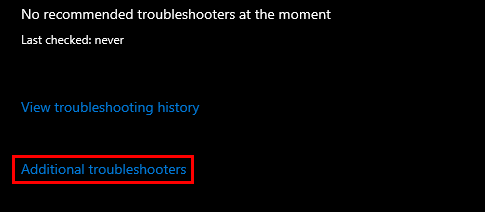
- Select Additional troubleshooters.
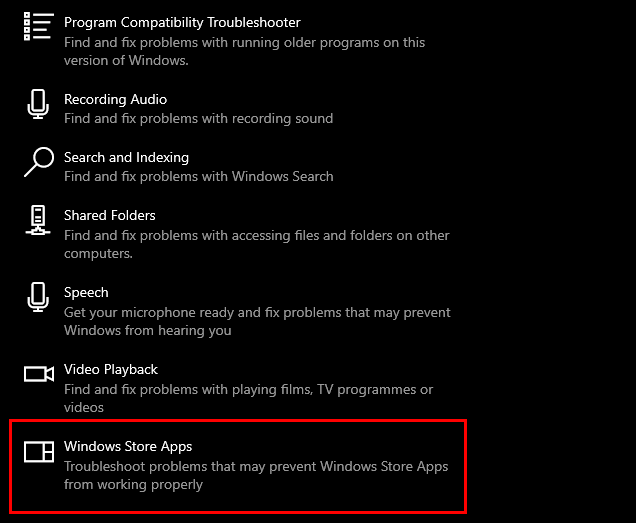
- Scroll to Find and fix other problems, choose Windows Store Apps, and click Run the troubleshooter.
- Wait for the scan to complete, then apply the suggested fixes for the Windows Store certificate.
2. Turn Off Updates from More than One Place
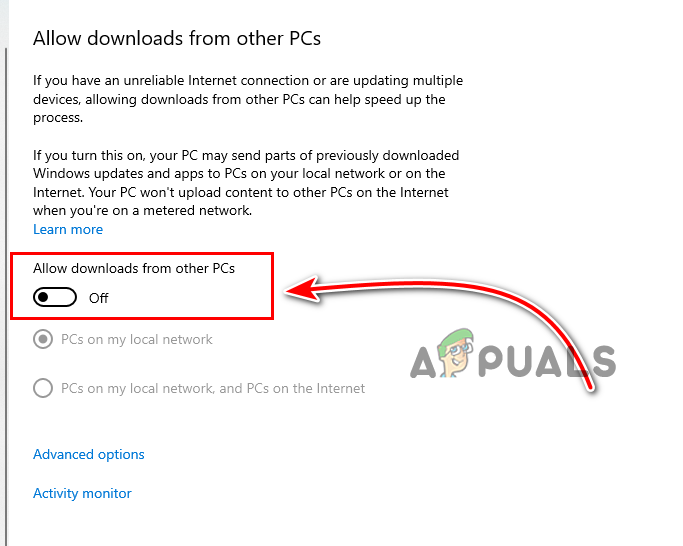
By turning off the option to get updates from multiple PCs on your network, you can cut down on data use and ease the load on your system. This change can help prevent delays in DCOM registration because it frees up bandwidth that background tasks, like updates, might consume. Lowering network traffic leads to smoother DCOM communication, helps fix timeout issues, and boosts overall system stability.
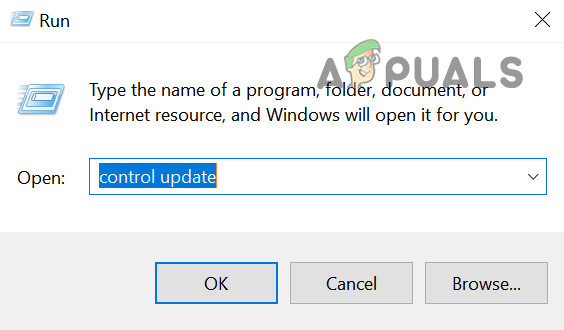
- Press Windows key + R, type control update, and press Enter to open the Windows Update window.
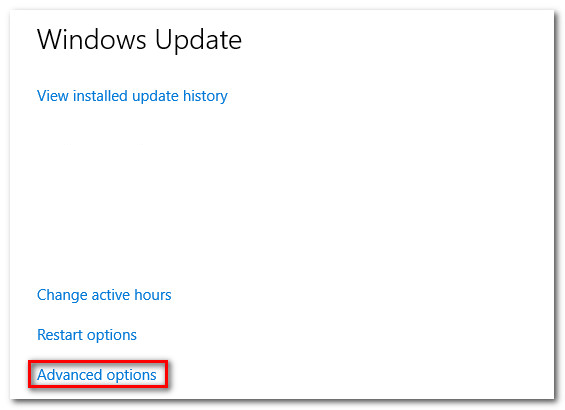
- In the Windows Update window, click Update settings, then Advanced options.
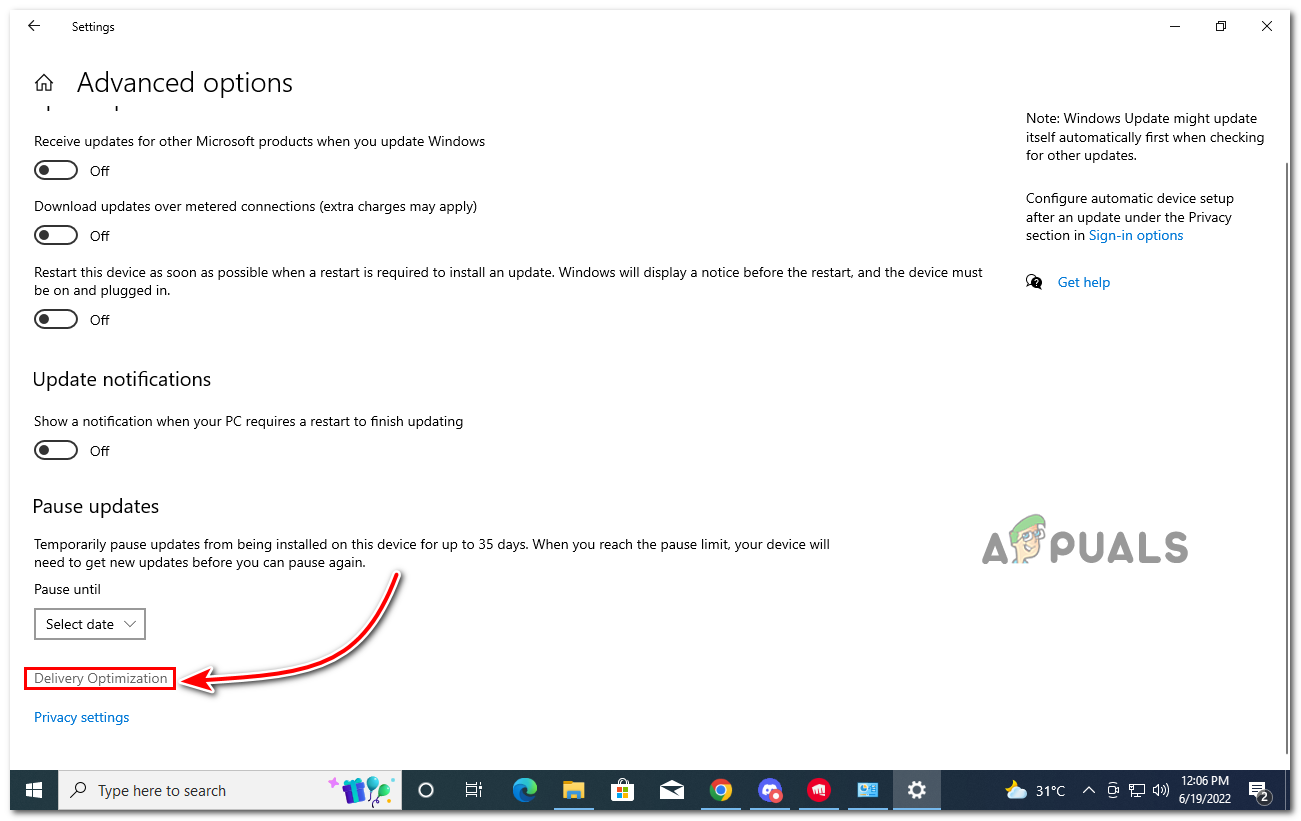
- Click Delivery Optimization.
 Note: If you do not have the Creators Update, select Choose how updates are delivered (under Choose how updates are installed).
 - Turn off the toggle next to Allow downloads from other PCs.
Note: Without the Creator’s update, disable the feature under Updates from more than one place.
3. Change Startup Type of Function Discovery Resource Publication
Setting the “Function Discovery Resource Publication” service to Automatic (Delayed Start) can help prevent system overload at boot-up. This delay allows critical services to start first, reducing the risk of DCOM registration timeouts and avoiding the “server did not register with DCOM” error.
Note: This change won’t disable DCOM. It just delays the startup of the service that might be causing the issue, helping to prevent DCOM timeouts that often occur when the system is starting up.
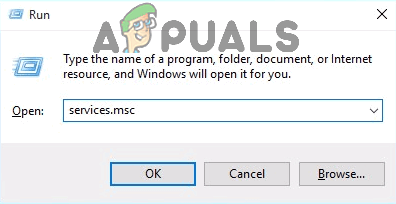
- Press Windows key + R, type services.msc, and press Enter to open the Services window.
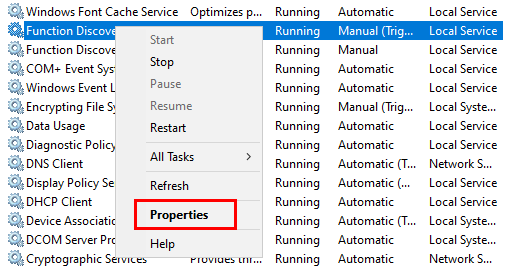
- Scroll down to find Function Discovery Resource Publication, right-click it, and select Properties.
- In the Properties window under the General tab, set Startup type to Automatic (Delayed Start).
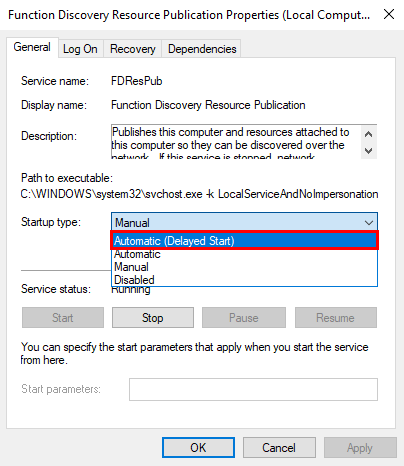
- Click Apply.
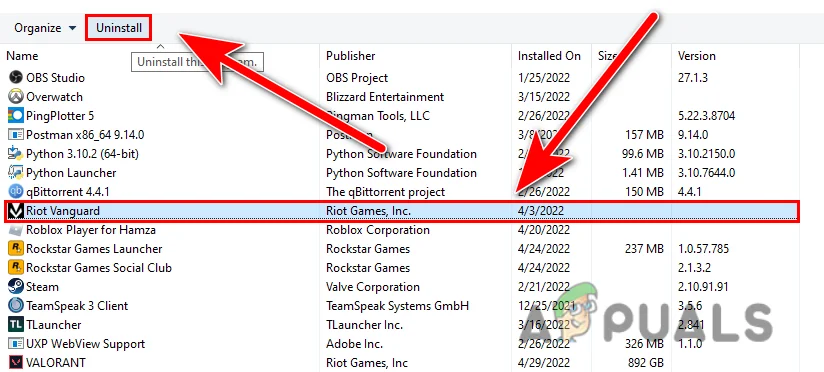
4. Delete 3rd Party Antivirus
Third-party antivirus software can interfere with DCOM by blocking key communications, leading to timeout errors. Temporarily removing the antivirus can resolve the issue by allowing DCOM to function properly. This helps identify if the antivirus is the problem, and you can switch to Windows Defender if needed.
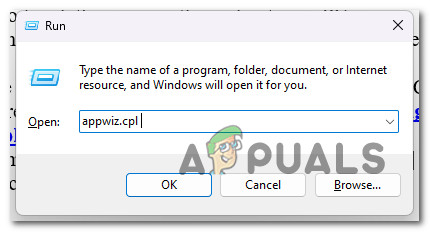
- Press Windows + R, type appwiz.cpl, and hit Enter to open the Programs and Features menu.
Open the Programs and Features menu - Select any installed third-party antivirus and click Uninstall.
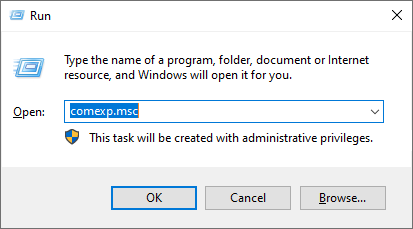
5. Disable DCOM in Component Services
If none of the solutions work, you can disable DCOM in Component Services to stop the error. This will prevent the system from trying to connect with remote components, often causing the timeout. However, since this can affect apps and services that need DCOM, only do this if you’re sure they aren’t essential.
- Press the Windows key, type “Component Services” in the search bar, and press Enter to open it.
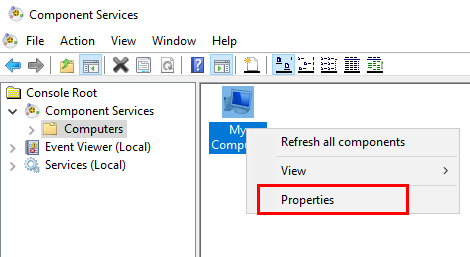
- In the console tree, navigate to Component Services > Computers, right-click My Computer, and select Properties.
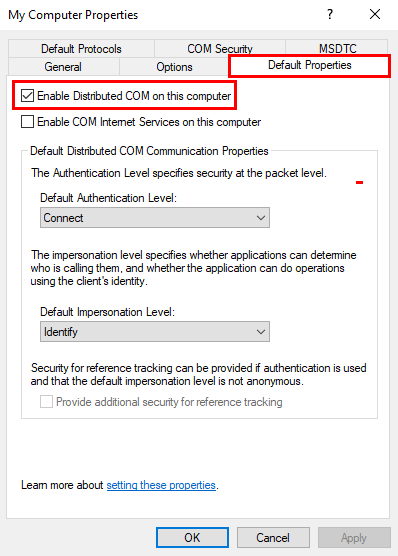
- In the My Computer Properties window, go to Default Properties, uncheck Enable Distributed COM on this computer, and click Apply to save the changes.
All of these methods failed. God windows sucks…