Fix: The feature you are trying to use is on a network resource that is unavailable
The error “The feature you are trying to use is on a network resource that is unavailable.” usually occurs during software installation or uninstallation, stopping the process. This error means the required files are missing, moved, or corrupted.
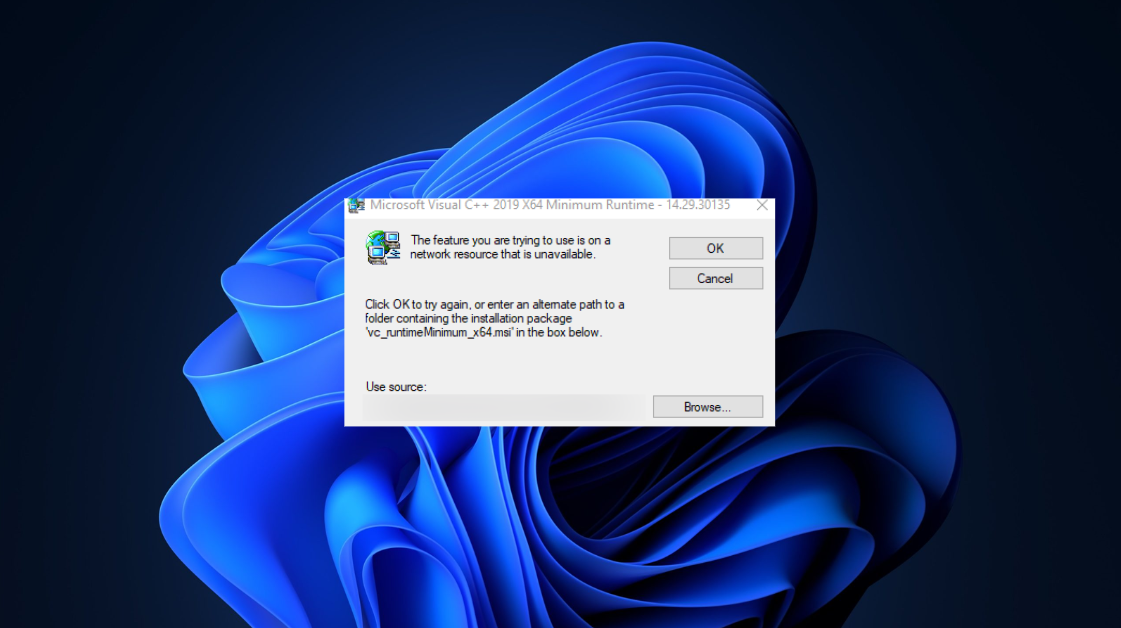
The main cause is often that the Windows Installer service is not running or that the registry entries needed to find the installation files are incorrect or corrupt. These entries might point to a file that has been moved, no longer exists, or is leftover from an incomplete installation.
Here are effective solutions to fix this problem:
1. Apply Correct Configuration of Windows Installer Service
Configure the Windows Installer Service to start automatically and make sure it is running. This allows the installation process to access necessary files and resources, resolving the error message about unavailable network resources.
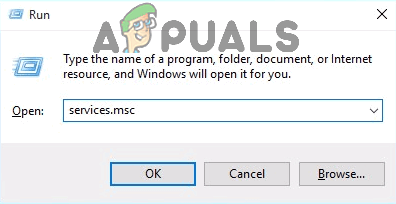
- Press Windows + R, type services.msc and press Enter.
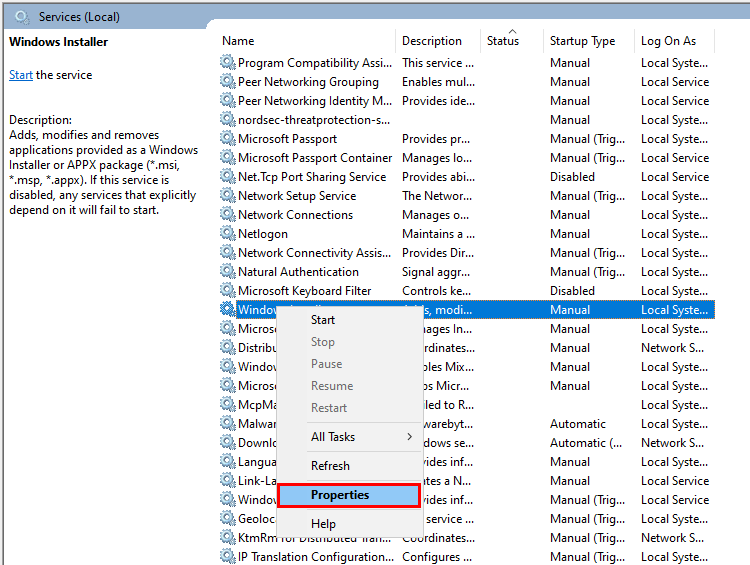
- Find the Windows Installer service, right-click it, and select Properties.
- Set Startup type to Automatic.
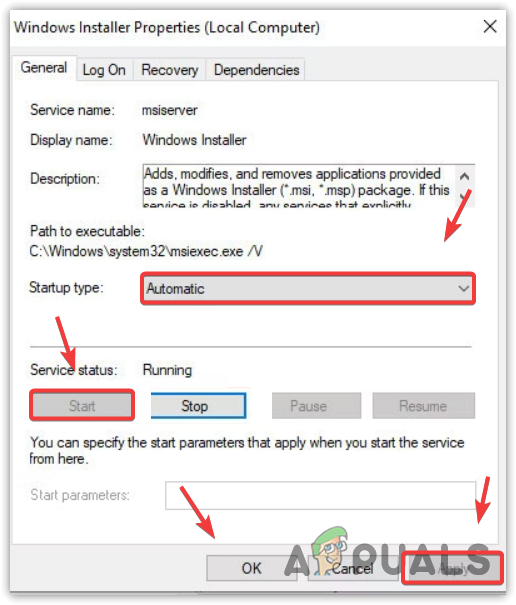
- If Service status is Stopped, click Start. Otherwise, skip to the next step.
- Click Apply and OK.
- Close the Services manager and restart your computer.
After rebooting, try installing or uninstalling the program to see if the process completes successfully.
2. Download the Installer to a Different Location
Your installation issue might be due to a damaged or corrupted installer, or a directory communications problem. Download a fresh copy of the installer to another location on your computer and use that for installation or uninstallation.
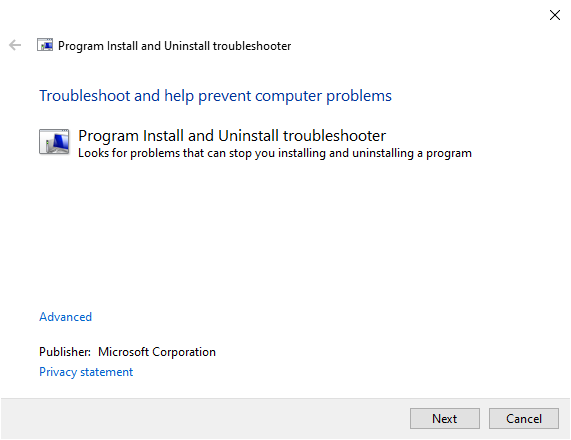
3. Run the Program Install and Uninstall Troubleshooter
This Microsoft tool detects and repairs common issues with program installations and uninstallations. It identifies and fixes corrupted registry values and keys, resolving the error about unavailable network resources.
- Download the Program Install and Uninstall Troubleshooter by clicking here.
- Navigate to where the file was saved and double-click to run it.
- Follow the on-screen instructions to complete the troubleshooter.
- Allow the troubleshooter to detect and repair issues like corrupted registry values and keys.
After running the troubleshooter, restart your computer and check if the issue persists.
4. Delete a Specific Registry Key
Deleting a specific registry key can remove corrupt or incorrect entries that block the installation or uninstallation process. This can clear obstructions related to the affected program.
Note: Proceed with caution, as incorrect changes can lead to system instability. Always back up the registry before making changes.
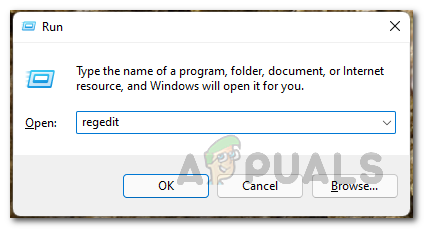
- Press the Windows Logo key + R to open a Run dialog.
- Type regedit in the Run dialog and press Enter to open the Registry Editor.
- Navigate to the following registry directory in the left pane:
HKEY_LOCAL_MACHINE > SOFTWARE > Classes > Installer
- Double-click on the Products sub-key under the Installer key to expand it. Look at the Product Name registry string (REG_SZ) for each sub-key to identify the one related to the program you are troubleshooting.
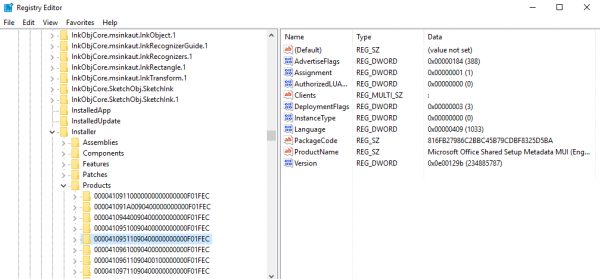
- Upon locating the sub-key for the affected program, right-click it and select Delete.
- Confirm the deletion by clicking Yes in the confirmation popup.
- After deleting the relevant sub-key, close the Registry Editor and restart your computer.
Once your computer reboots, attempt to install or uninstall the program again and check if the issue is resolved.
Thanks. The last one deleting the key worked for me.