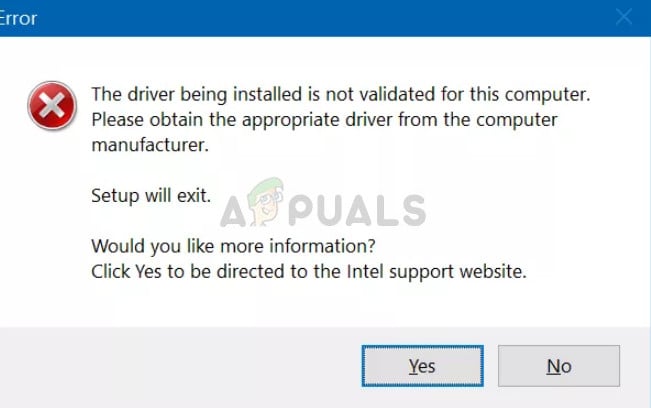
‘The driver being installed is not validated for this computer’ [Fix]
The driver being installed is not validated for this computer is triggered when the driver is not compatible with your GPU or if the vendor has released an update. Intel HD/UHD graphics drivers refuse to install on some computers even if you are using standalone Intel graphics. If this error message pops up, it probably means that the computer manufacturer (HP, Dell etc.) want you to navigate to their website and download the drivers from there instead.
This might prove annoying in a lot of cases and may stop your work and force you to navigate to the manufacturer’s website. However, there is a way by which you can bypass this message.
Why your computer manufacturer may prevent you from installing drivers?
Like explained earlier, some computer manufacturers prevent users from installing drivers directly from Intel. There are several cases where the manufacturers roll out a new driver update way longer than when Intel releases it. The reason is that the drivers are tested rigorously against a prototype of your machine before being released for production.
The answer is simple; the manufacturers are cautious and don’t want any driver breaking your computer and making your graphics card unusable until the next update or make you go through the hassle of rolling back the drivers. They change the core coding of the Intel Graphics hardware in such a way that you cannot install directory from Intel. Although it is recommended that you follow the flow and download only from their website, you can also force install the drivers using the method below.
Note: If you are using dual graphics (Intel + NVIDIA or Intel + AMD), you should be extra cautious. There are several cases where forcing the driver installation broke the Intel drivers and the user had to go through a lot of hassle.
Solution: Forcing the driver installation
We will be using the device manager to force install the driver. You will have to download the .zip file from Intel’s official website and store it in an accessible location so you can access it again. Make sure that your important data is backed up and you are logged in as an administrator. Select the “igdlh64.inf” file if you’re using a 64-bit version of Windows, or select “igdlh32.inf” file if you’re using a 32-bit version of Windows.
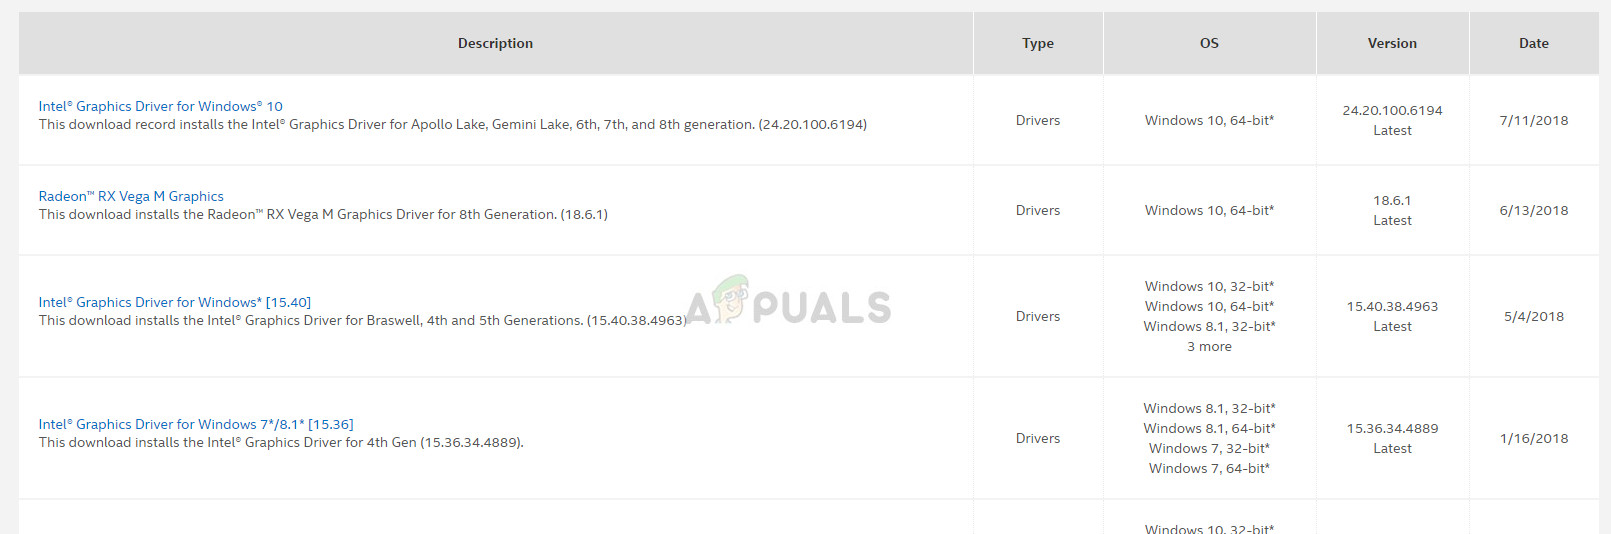
- Navigate to Intel’s official download website and download the driver you want to install on your system.
- Once you have downloaded the drivers, press Windows + R, type “devmgmt.msc” in the dialogue box and press Enter.
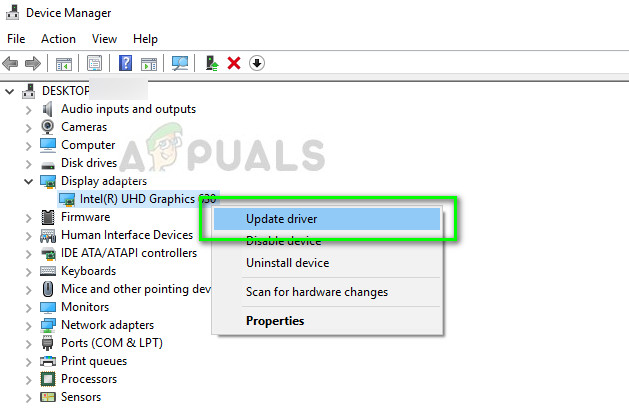
- Once in the device manager, expand the category of Display adapters, locate your hardware, right-click it and select Update driver.
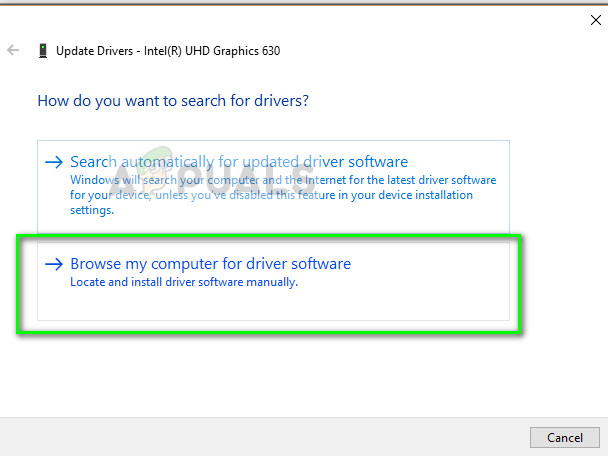
- Select the second option “Browse my computer for driver software”.
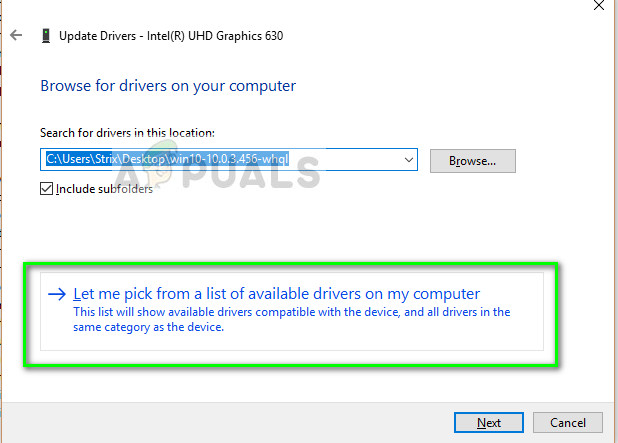
- Select the option “let me pick from a list of available drivers on my computer”. Do not click the browse button at the top.
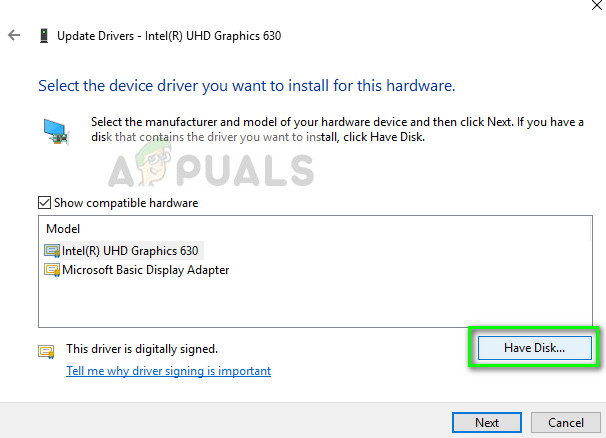
- Click on the button Have Disk present at the bottom-right side of the screen.
- Click on the option Browse when the new window pops up.
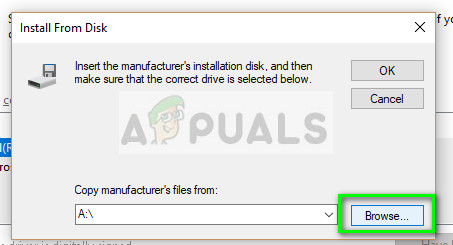
- Now navigate to the directory where you downloaded the driver. Select it and click Open.

- Let the installation process complete. Now you will be able to install the drivers on your computer using this method and bypass the safety feature used by the manufacturers.


