Fix “The drive is not a valid backup location” Error
This error annoys people using their Windows PCs to create system images on drives such as a USB drive or a DVD. This can happen when you use either Windows 7 File Recovery in Windows 8, 8.1 or Windows 7 Backup and Restore in Windows 7, 10.
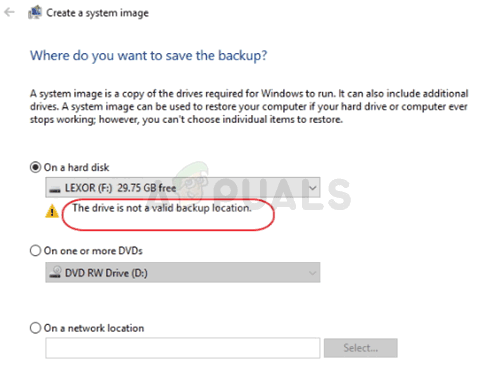
To be honest, the error is almost exclusive to USB devices as the operating system sometimes wrongly suggests that the drive doesn’t have enough space to hold such large files as USB devices used to be quite smaller in space. Follow the methods we have prepared below in order to solve the problem.
What Causes “The drive is not a valid backup location” Error?
There are several causes for this problem and it’s important to list them all. First, if your storage device is not formatted as NTFS, you might run into trouble from the beginning and you should take some time to format it as such.
Second of all, there might be some workarounds. Windows sometimes doesn’t allow flash storage devices to be used as system images but you can use a workaround to allow this in Solution 2. Finally, there is yet another built-in tool you can use to delete the recovery partition which may be a culprit for this problem!
Solution 1: Format the Drive as NTFS
The first method we are about to present is all about simplicity. It’s very easy to perform but it’s very important to start off with this. Formatting the drive you are about to use as a system image or as a recovery drive as NTFS is a crucial part if you want to get the whole process right.
You will see this advice span on all forums you stumble upon and there have been countless folks telling that this is what it took for them to resolve the “The drive is not a valid backup location” problem. Follow the steps below in order to do so!
- Open your Libraries entry on your PC or open any folder on your computer and click on This PC option from the left side menu. If you are using an older version of Windows (Windows 7 and older), simply open My Computer from your Desktop.
- Right-click on the USB Removable Drive you want to format and choose the Format… option from the context menu which will appear.
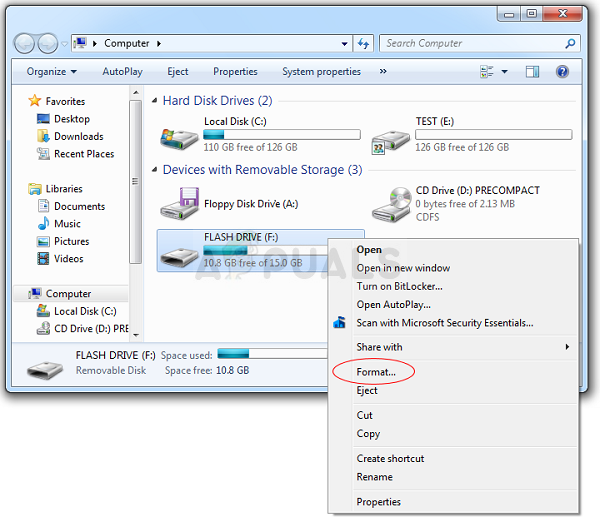
- A small window will open up named Format so make sure you click on the menu under File system and choose the NTFS file system if it’s not already selected. Click on Format and be patient for the process to finish. Try to run the recovery process again and check to see if you USB device is now accepted as a viable storage device.
Note: You should note down that this will delete all data currently available on the USB storage device and this process is ultimately irreversible. Make sure you backup all data currently on the device!
Solution 2: Fix Ownership Issues by Creating a Subfolder
The method below consists of creating a folder on your USB device where you should keep the system image or recovery file. You will share this folder with ‘yourself2 and try to create a system image for that folder. This has helped plenty of people before and we hope it will help you as well!
- Navigate to explore your USB storage device in the File Explorer simply by opening a folder and clicking This PC or My Computer from the left navigation pane or by searching for this entry in the Start menu.
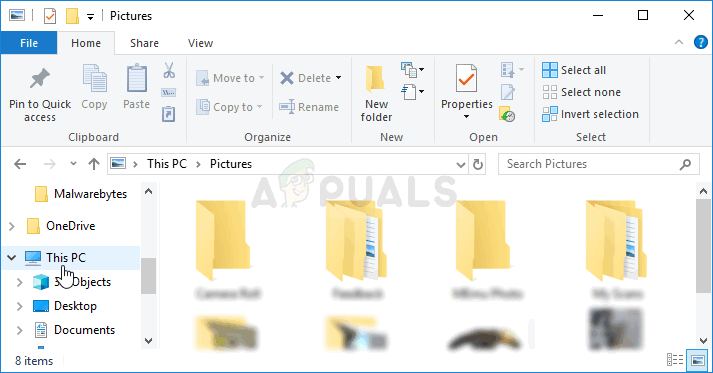
- Anyway, in This PC or My Computer, double-click to open your USB device. It often appears simply as a Removable Disk so make sure you double-click its entry. Windows 10 users can simply switch to the USB device after opening File Explorer from the right-side navigation menu.
- Right-click on the empty area in the drive, and navigate to New >> Folder in order to create a folder. Name it however you like but let’s call it Image for the purposes of this method.
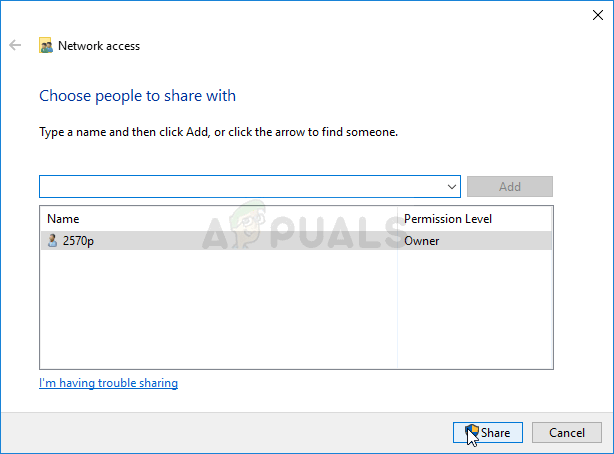
- Right-click the folder you just created and choose Properties from the dropdown menu which will appear. Navigate to the Sharing tab in Properties and click the Share button under the Network File and Folder Sharing section.
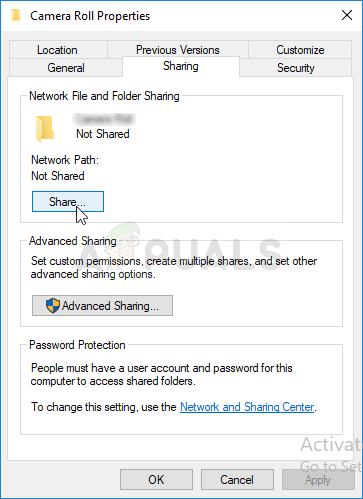
Sharing the folder - Inside the “Choose people to share with” window, choose your own username from the list and click Share at the bottom of the window. You will need to have administrator permissions to do so!
- After this, start up Control Panel by searching for the utility in the Start button or by clicking the Search button (Cortana) button at the left part of your taskbar (bottom left part of your screen.
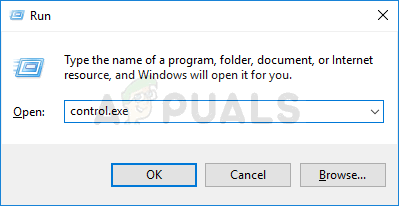
- You can also use the Windows Key + R key combo where you should type “control.exe” and click Run which will also open Control Panel directly.
- After Control Panel opens, change the view to Large or Small icons and check the top in order to open the Backup and Restore option.
- Click the Create a system image button from the left side menu and check the radio button under the “On a network location” button. Select your username followed by the name of the folder on your USB and input your username and password. Check to see if the “The drive is not a valid backup location” error has ceased to appear!
Solution 3: Create a Recovery Drive more Easily
There is a way to speed things up if you are using Windows 8 or 10. That way consists of using another recovery utility to do the same job for you. It’s only available for Windows 8 or 10 users so make sure you do so. Check to see if this resolved the “The drive is not a valid backup location” problem.
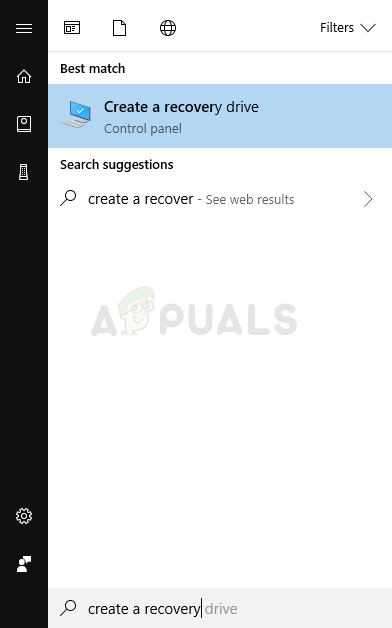
- Type CREATE A RECOVERY DRIVE into the search box next to the Start menu (in Windows 8 or 10) and select it as the top result. Confirm your choice, or enter the admin password if a dialog prompt appears to be necessary.
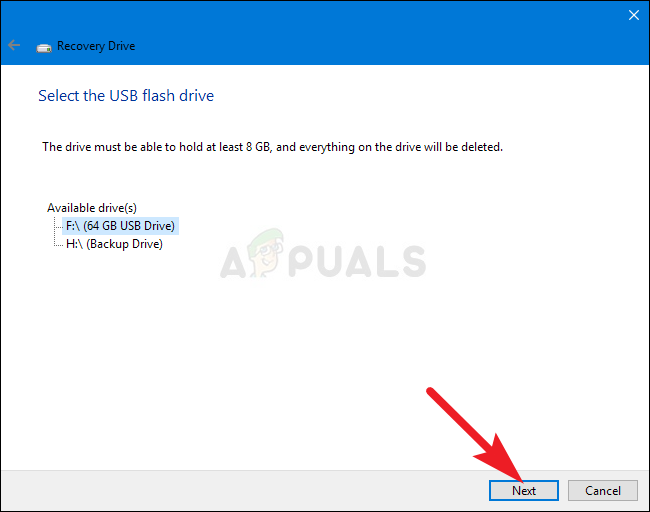
- When the tool opens be sure that BACK UP SYSTEM FILES TO THE RECOVERY DRIVE is selected, then click NEXT. Connect your USB storage device or the device you want to use, select it from the list, then select NEXT > CREATE.
- When it is done, you will see aa choice to “Delete the Recovery Partition.” If you want to free up drive space on your PC choose this and Delete. If not, select Finish.
- This recovery partition is the reason you cannot create the system image on your USB the way you are all trying. Just do this simple thing to create your system image and be sure your USB is large enough!


Hey, thank you for writing this. The other two articles I clicked on before this just wanted to sell me their 3rd party system imaging software (which I’m sure worked fine, but not what I was looking for). So thank you for providing an actual solution.