Fix: The Division Error Code Mike
The Division is a fairly new game published by Ubisoft and it seems that plenty of players were affected by different variations of the error code Mike which is preventing the users from enjoying the game as they should.
Ubisoft themselves have published several solutions to the error but these generic methods don’t seem to help people get rid of the error so most of them have to rely on other users’ suggestions and advice. If you are encountering the error code Mike while playing The Division, follow the article carefully and make sure you try out each of the solutions below.
Solution 1: Restart Your Game Several Times
Even though this solution sounds pretty basic, sometimes the Ubisoft’s servers are acting up and the only solutions is to try and reconnect to them by restarting your game several times. Of course, if the servers for your area are really down, you won’t be able to connect but you can always check their website on similar updates.
Xbox Users:
- Pause the game if you are in-game by simply clicking the Xbox logo button located on your game controller.
- Navigate to the right pane and locate the game you are currently playing. It should be below the Guide pane.
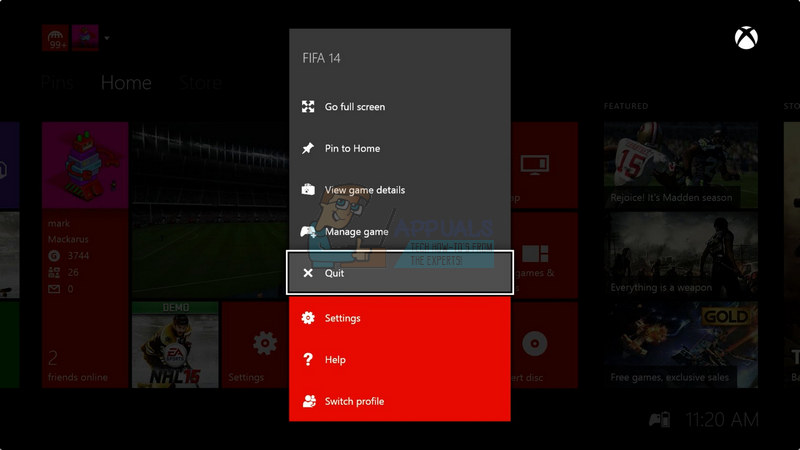
- When you have selected The Division from the list, click the Start button and choose the Quit option in order to exit the game.
- Reopen the game after a while and check to see if the issue is resolved now.
PlayStation Users:
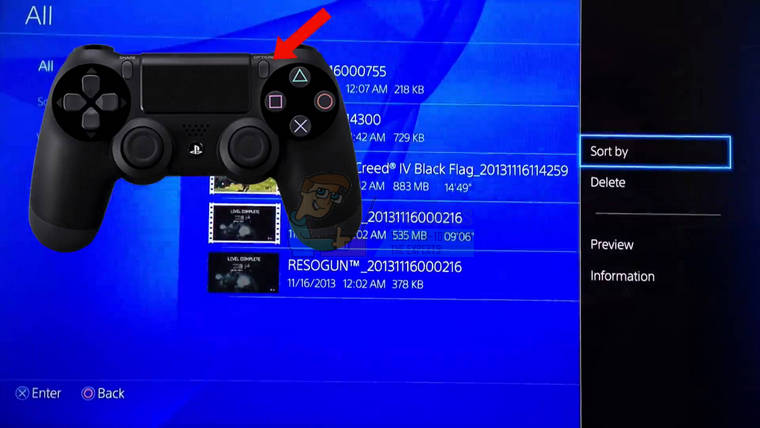
- Pause the game if you are in-game by simply clicking the PlayStation logo button located on your game controller.
- Locate the game from the tile showing that the game is running and click the options button in order to stop the game immediately.
Solution 2: Use WTFast
WTFast is a tool designed to help your computer deal with high ping or a bad Internet connection. However, even if your Internet connection isn’t all that bad and you are struggling with the Mike error code, you should definitely try and install the tool which basically connects to a different server to set up the game.
- Go to the WTFast website using your favorite browser, by clicking on the hyperlink at the beginning of the sentence which should take you right to their downloads page.
- After this tab opens, you should be able to scroll down in the page and click the Download button written in yellow letters which will prompt you with the download option. Make sure you click on it.
- Once the download has finished, click on the installer file at the bottom of your browser to begin the installation. Just keep pressing “Next” to install using default settings, then click “Finish” to finish with the installation.
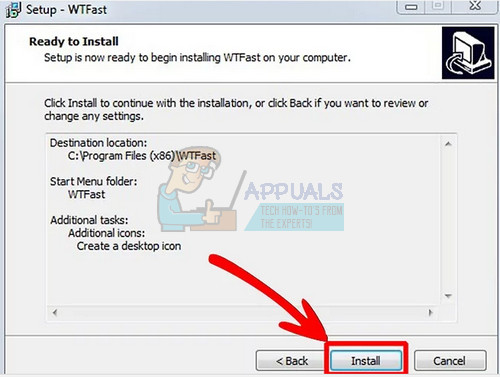
- If the installer file isn’t at the bottom of your browser, you can find it in your Downloads folder. Just navigate to the folder in your Libraries and double-click on it to start installing WTFast to your computer.
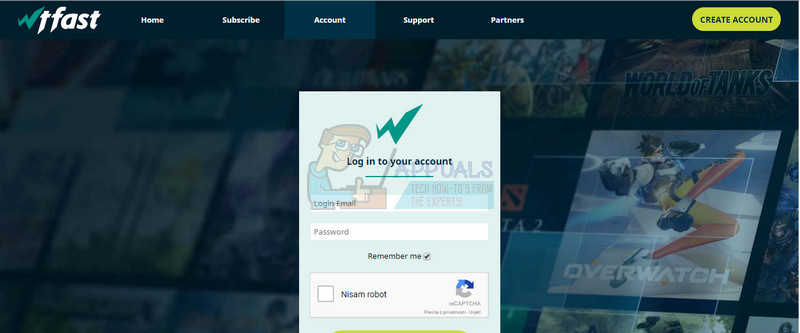
- Run the program by double-clicking the icon in your desktop. It should bring you to a log-in window.
- Log into your account. You can create it simply by navigating to their website again and registering for an account. Note that you will have to verify your email address.
- Select a game. In the Select Game field, type in your desired game, then make sure the “Listed Games” radio button is checked. The Division should be right there when you search for it.
- Select a server. At the right side of the screen, under the Choose Network field, select the server you wish to use. The best option for you is to use the “Auto select best connection route”. Once the program has found the server you are looking for, click on the Play button.
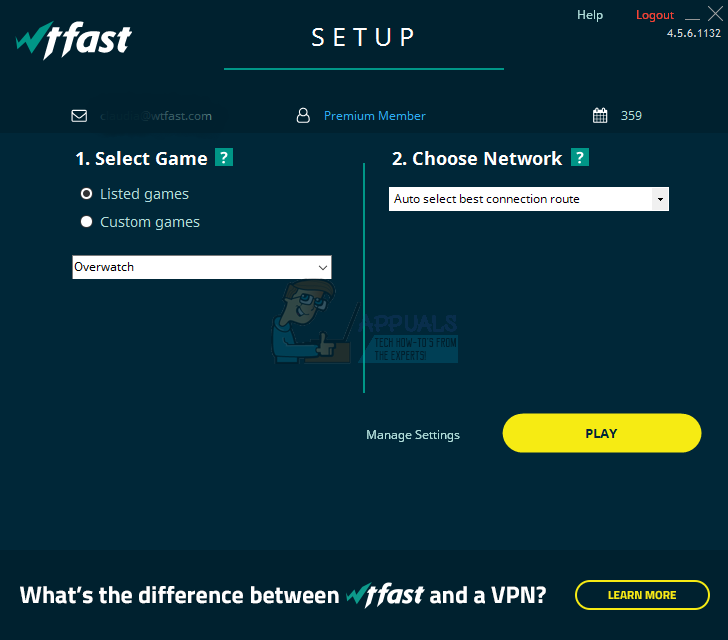
- The program should load for a bit, and then launch the game you selected using the server you chose.
Solution 3: Restart Your Console
This is yet another generic solution which shows great results in certain scenarios, especially when restarting the game didn’t work. Users claim that the main reason for this method to work is the fact that this completely resets the cache of the console and the way the console connects to Ubisoft’s servers.
Visit this article destiny error termite in order to see just how to restart your console properly whether it’s an Xbox One or a PlayStation 4. It’s located under Solution 3 in the article.
Solution 4: Reinstall The Division
Reinstalling the game worked for several users due to obvious reasons. If some of the game’s files have gone missing or corrupt possibly after a major update or after you have turned off your console whilst in the game, the best option is to simply reinstall it even though the process might take a while for large games such as The Division.
Reinstalling the Game on PlayStation 4:
- Turn on the PlayStation 4 system and sign into your PSN profile.
- Press up on the D-pad and navigate to the Settings menu and click on the System Storage Management menu.
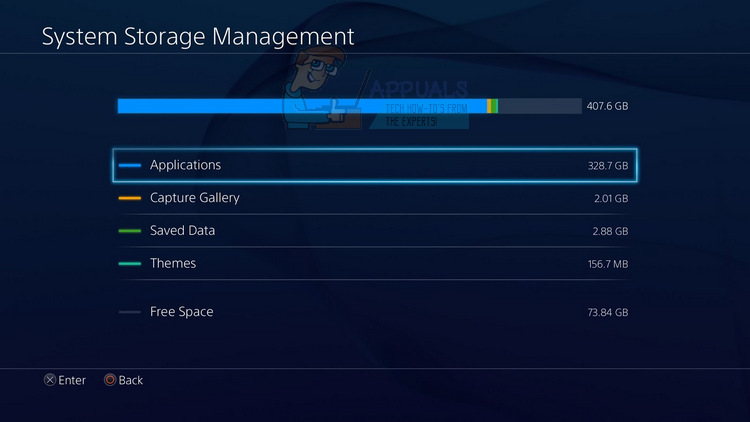
- Click on the Applications menu and press the Options button when The Division is highlighted. Click on Delete >> Select All and press Delete to uninstall the game.
- Select OK to confirm the deletion of the selected application and the game will be completely removed from the hard drive.
Clearing the console cache after uninstalling The Division helps ensure that there are no temporary files stored in the console’s cache that could impact the new installation of The Division. Here are the recommended steps on clearing the console cache:
- Completely turn off the PlayStation 4.
- Once the console is completely shut down, unplug the power cord from the back of the console.

- Let the console stay unplugged for at least a couple of minutes.
- Plug the power cord back into the PS4 and turn it on the way you normally do.
Reinstalling the game on PS4 can be done using the physical game disc:
- Turn on the PlayStation 4 system and sign in to your PSN profile.
- Insert the original game disc you used to install the game in the first place and the installation should begin automatically. You can follow the progress on the progress bar.
You can also install the game by downloading it using your PlayStation and your Internet connection. It’s recommended to use a wired connection while downloading a game this way.
- Turn on the PlayStation 4 system and sign in to your PSN profile.
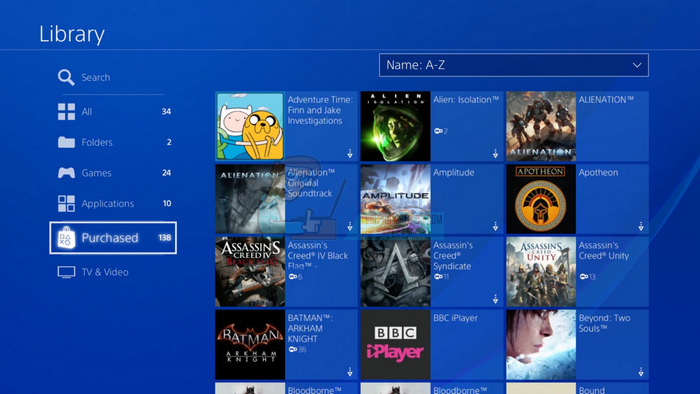
- Open Library item from the home screen, locate The Division from the list and select the Download button.
- A progress bar will appear while the game is being installed on the console hard drive.
Reinstalling the game on Xbox One:
- Turn on the Xbox One console and sign in to the desired Xbox One profile.
- On the Xbox Home menu window, select My Games and Apps, press games and highlight The Division.
- Tap the Menu button and choose the Manage Game option >> Uninstall All. Click on Uninstall again to confirm your choice on the next screen.
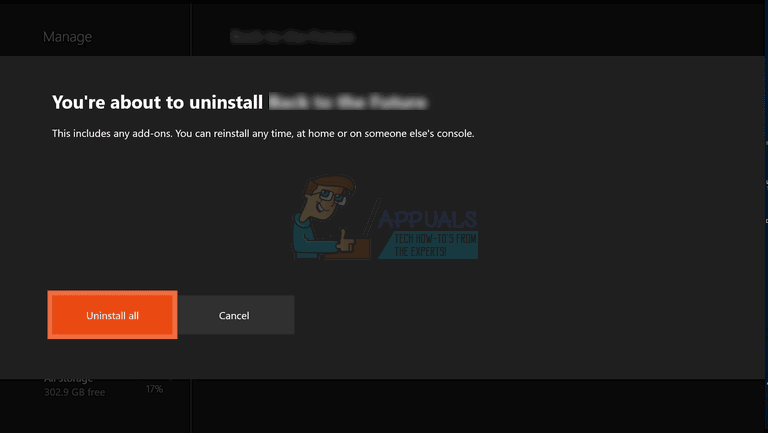
- After a moment, the game will be removed from the hard drive.
Clearing the console cache after deleting The Division helps ensure that there are no temporary files stored in the cache that could affect the new installation of The Division. Here are the recommended steps on clearing the console cache:
- Press and hold the power button at the front of the Xbox console until it shuts down completely.
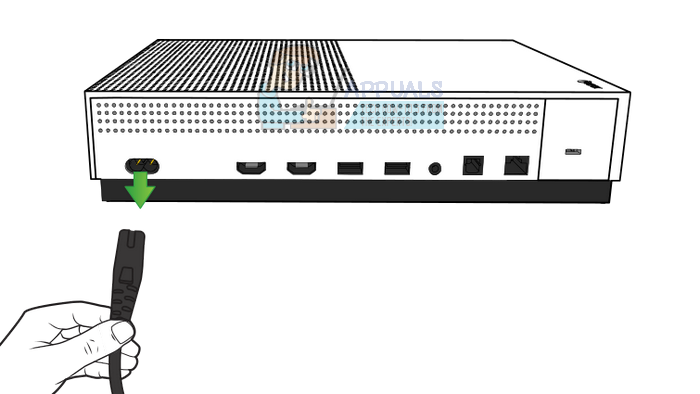
- Unplug the power brick from the back of the Xbox. Press and hold the power button on the Xbox several times to make sure there is no remaining power and this will actually clean the cache.
Reinstalling the game on Xbox One can be done using the physical game disc:
- Turn on the Xbox One console and sign in to the desired Xbox One profile.
- Insert the game disc into the disc drive and the installation process should begin automatically. You will be able to follow the progress until the game is installed.
You can also install the game by downloading it using your PlayStation and your Internet connection. It’s recommended to use a wired connection while downloading a game this way.
- Turn on the Xbox One console and sign in to the desired Xbox One profile.
- Navigate to the Ready to Install section of the menu, locate The Division and select the Install option.
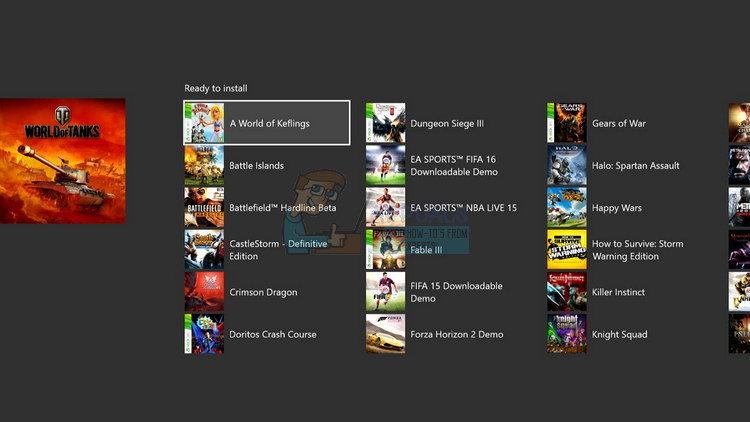
- Download and install progress can be viewed in the Queue section of the menu
- A progress bar will appear while the game is being installed on the console hard drive
Solution 5: Performing a Winsock Reset
In some cases, the issue is fixed by simply performing a Winsock reset that refreshes certain components of your internet configuration and it reportedly fixes the issue for some people. In order to do so, follow the steps below.
- Press “Windows” + “R” to open the Run prompt.
- Type in “cmd” and then press “Shift+Ctrl+Enter” to provide administrative privileges.

Running the Command Prompt - Type in the following command and press “Enter” to execute it.
netsh winsock reset
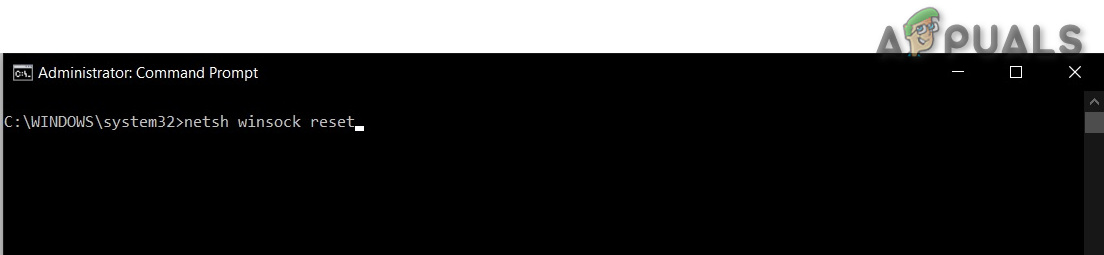
Run netsh winsock reset in command prompt - Check to see if the issue persists.