How to Fix The current input timing isn’t supported?
The error message “The current input timing is not supported by the monitor display” usually leads to a blank screen, stopping you from accessing the operating system or BIOS. This error means the monitor is getting a signal with a resolution or refresh rate it can’t handle.
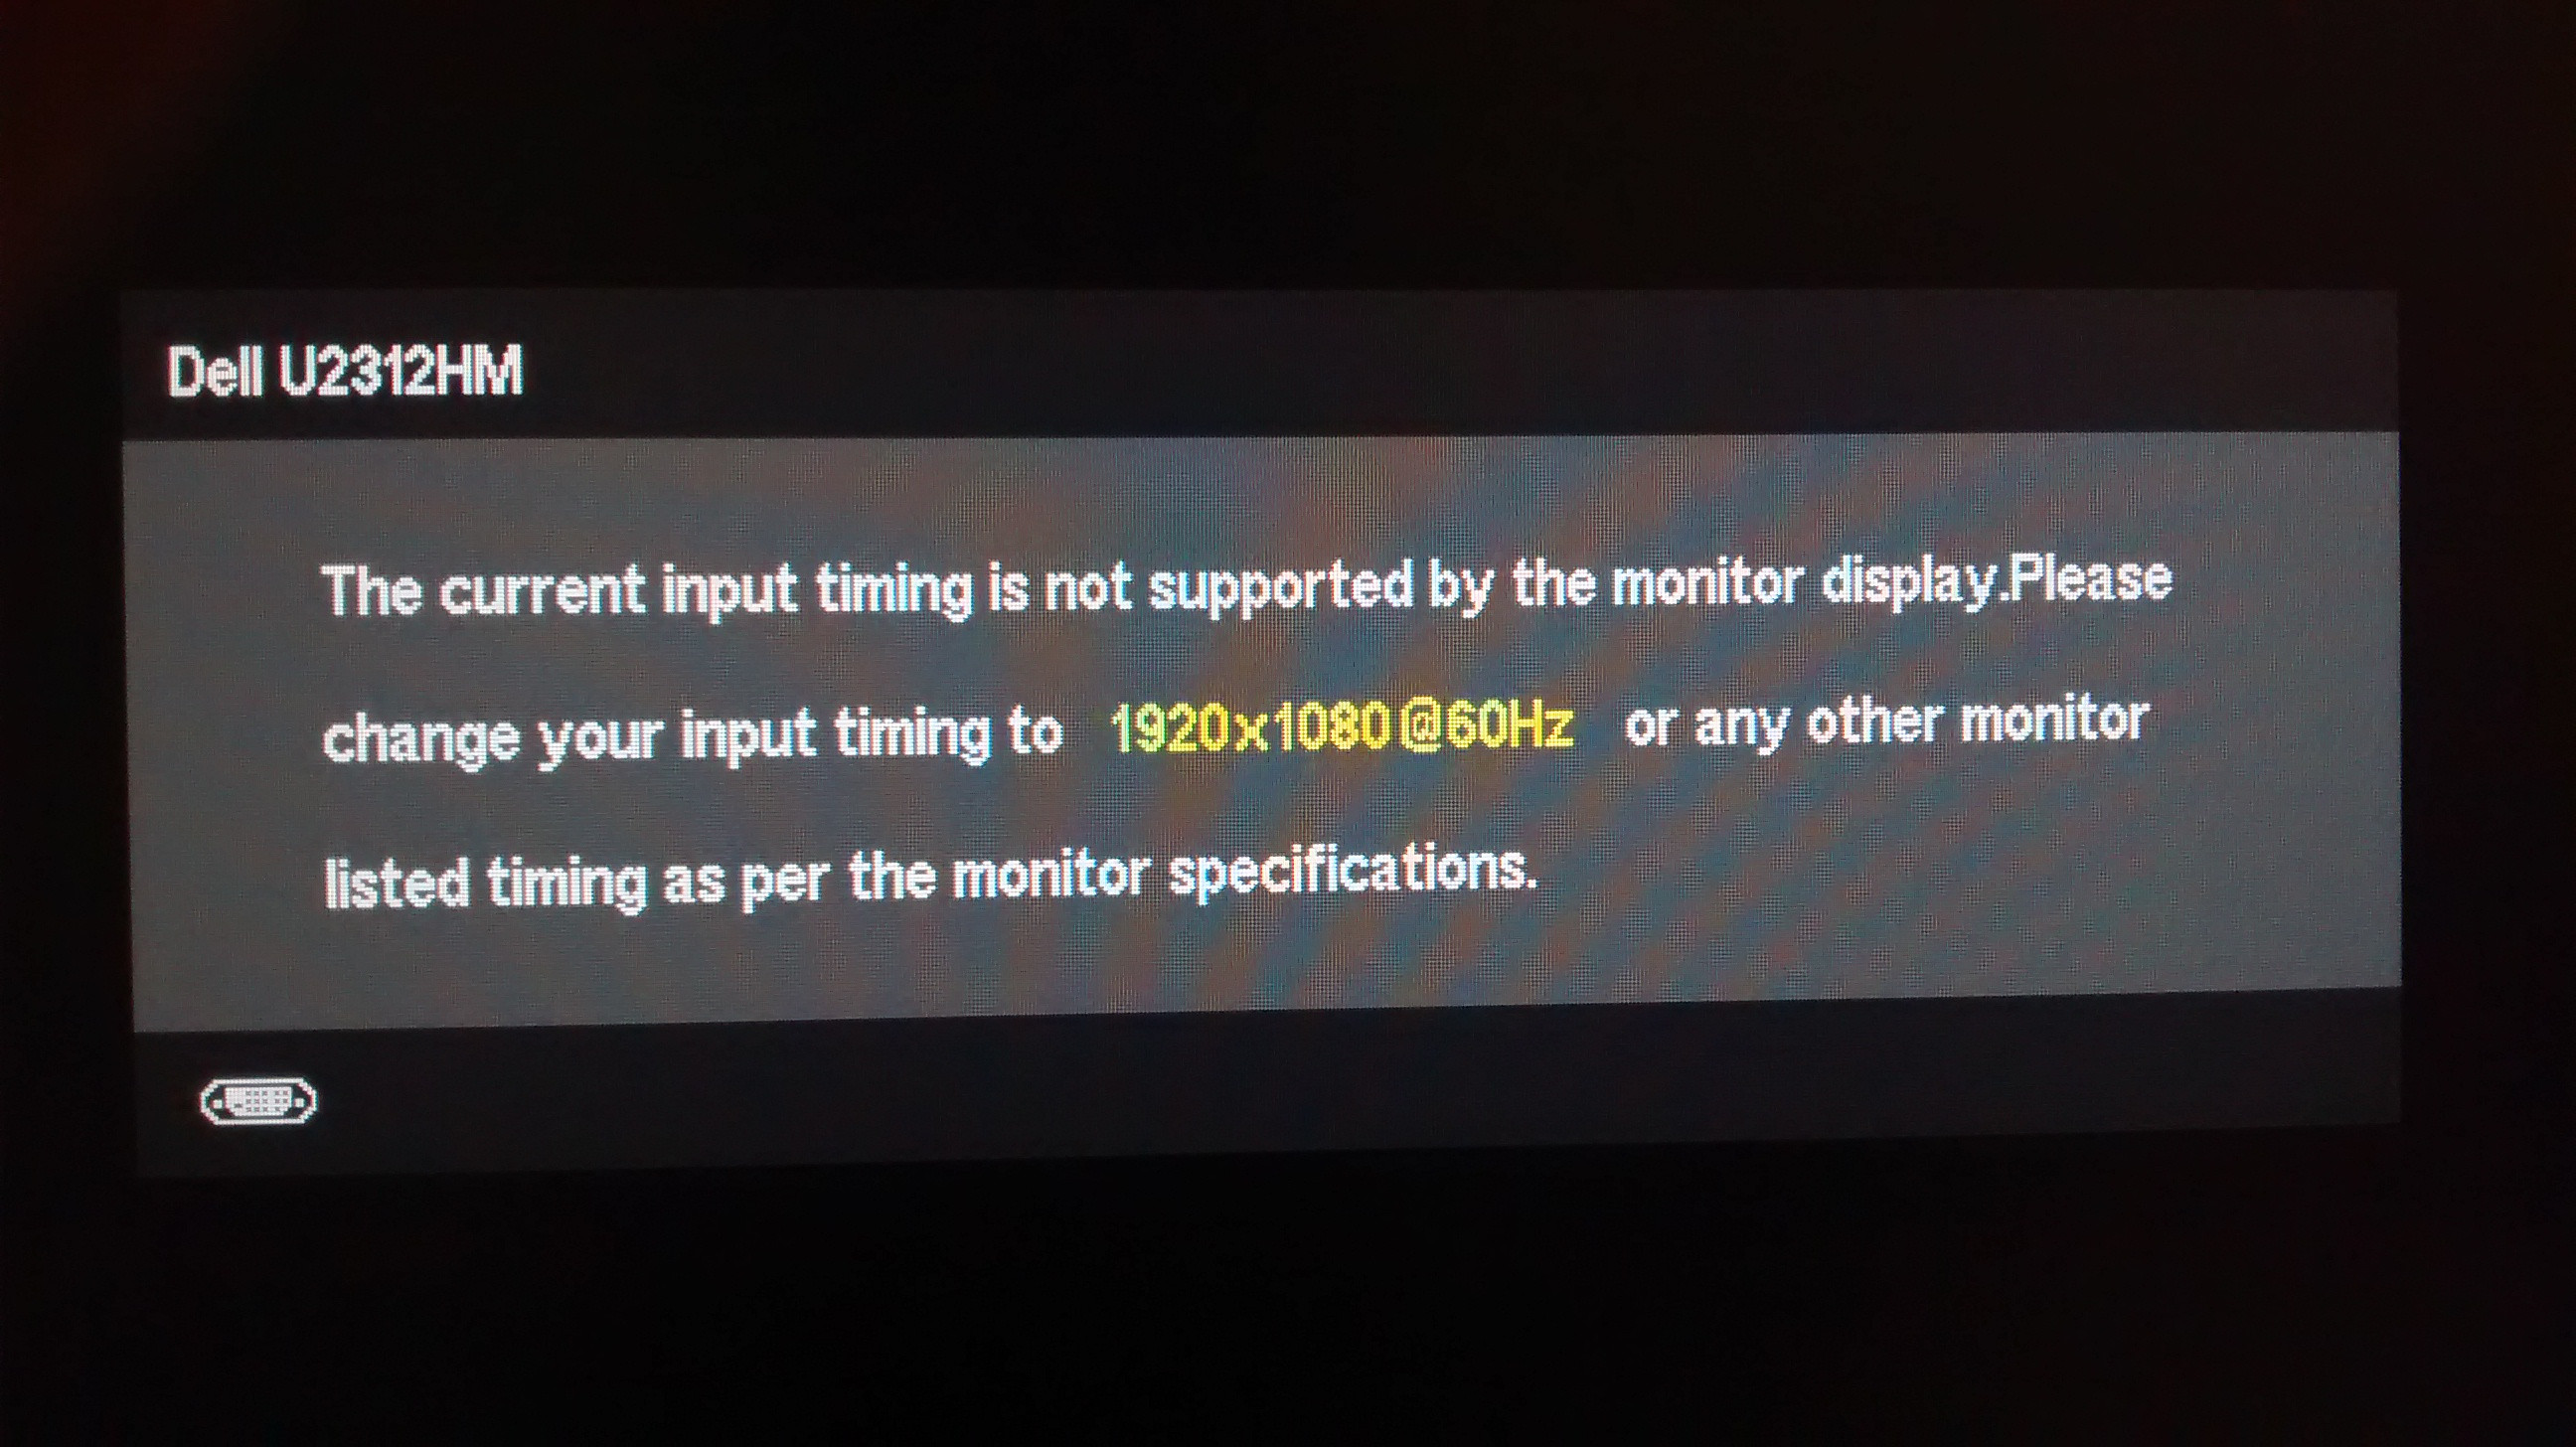
The main cause is incorrect display settings, like an unsupported resolution or refresh rate, but it can also happen due to old graphics drivers, damaged cables, or bad monitor connections. This issue often appears after changing hardware, updating drivers, or using a new display.
Now that you know the causes, let’s discuss the solutions.
1. Boot in Safe Mode and Change the Resolution & Refresh Rate to Allowed Values
Changing the resolution and refresh rate in Safe Mode helps because it makes the system use basic display settings that most monitors can handle. Safe Mode turns off advanced graphics drivers, letting you adjust the display settings to ones your monitor supports, fixing the error.
- Press the Power button for a few seconds to force a shutdown, repeat two or three times to enter the Windows Recovery Environment.
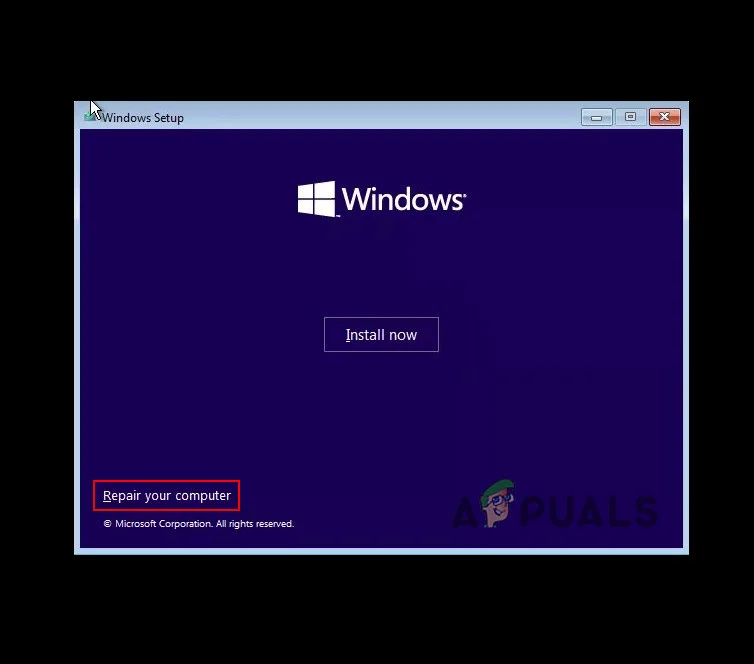 Note: This method does not require installation media.
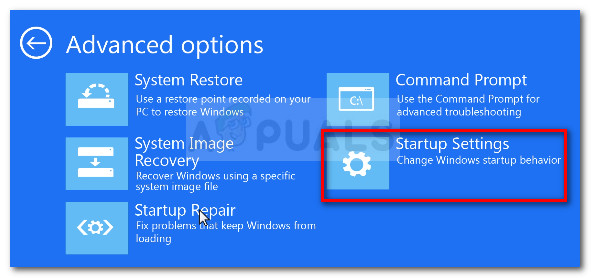
 - In the Recovery menu, select Troubleshoot > Advanced Options > Startup Settings and click Restart.
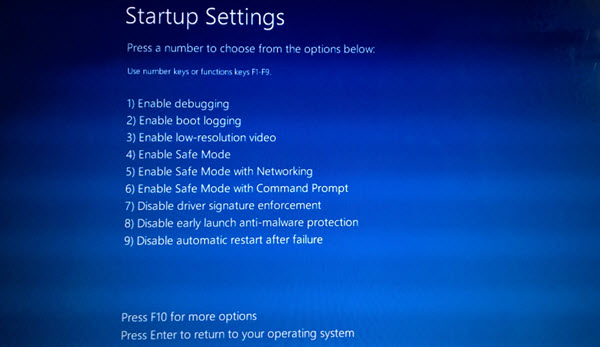
Access the Startup Settings menu - After restarting, press 4 in Startup Settings to boot into Safe Mode.
Press 4 to boot into Safe Mode - Once booted, press Windows key + R, type “desk.cpl“, and press Enter to open Screen Resolution.
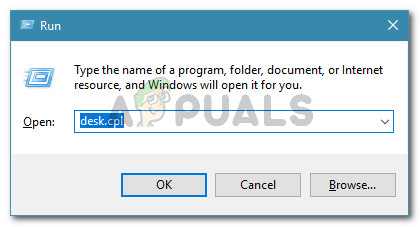
Run dialog: desk.cpl - Change the Resolution and Refresh Rate to recommended values. Note: Refresh rates can’t be changed unless supported by your monitor.
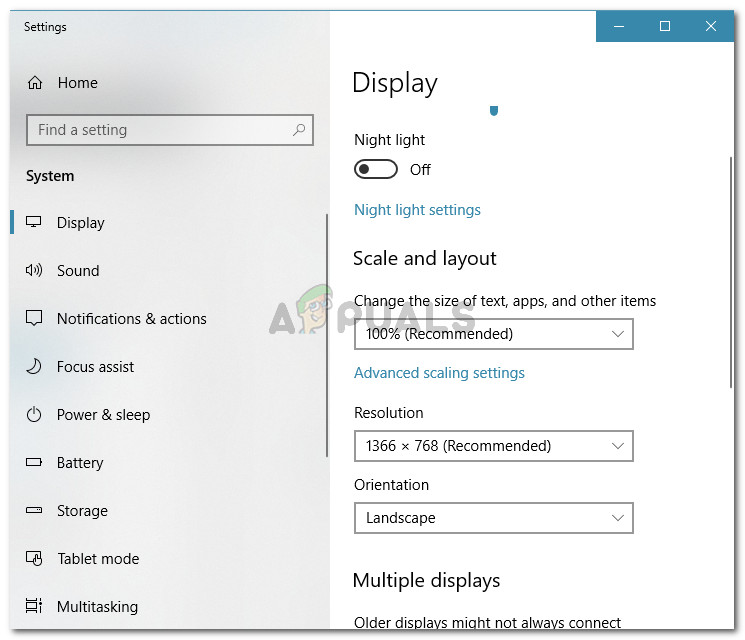
Setting the recommended resolution - Restart your computer to see if it boots normally without the “The current input timing is not supported by the monitor display” error.
2. Use a Different Cable
Using a different cable can provide a stable connection between your monitor and graphics card. Bad or old cables might not send the correct signal, leading to timing errors. By using a good quality cable like HDMI or DisplayPort, you can fix connection problems and meet the display’s needs.


If changing the cable doesn’t work, im afraid there isn’t a method to change refrest rate without turning the PC off.