Fix: The content of this message is unsupported in Skype
The error ‘The content of this message is unsupported in Skype’ commonly occurs when users use the video call or message feature in Skype. In about 60 seconds the call fails and ‘The content of this message is unsupported’ error is displayed on the screen. However, other features like chats are unaffected.
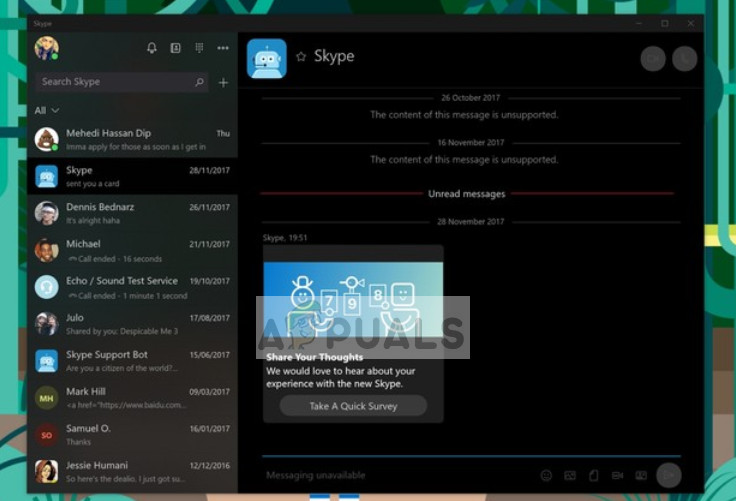
This error can be found in Windows 10, Xbox, Android, iOS Skype, and it occurs even with Echo/Sound Test. This problem has also been isolated to just Skype Home users, while Skype for Business remains free of the error. Another strange aspect is that the error itself doesn’t quite make sense. Instead of saying “Call failed” or any other similar connection failure message, this ‘The content of this message is unsupported’ message is displayed; which means that the problem is hardware related or that a call is made/answered to/from unsupported device.
What causes the Skype content to be unsupported?
- A Hardware Problem: Since the Skype error actually points to ‘unsupported content’, it implies a problem with the functionality of your hardware or that your hardware is outdated. Hence, before you go through all these steps, make sure you that all your hardware is up to date and working properly.
- A Bug in Windows 10 built in versions of Skype: This particular error is not present in older versions of Skype, this means that there is a bug in the latest version itself. From the nature of the error and it’s solutions, the bug is probably in the app’s connecting abilities.
Method 1: Download the Classic Version of Skype
Since a majority of Skype users confirm that they hadn’t before faced this error in the older version of Skype, we can safely assume that the old or classic version of Skype is functioning well. Hence, if you had no issues with the older version, the fastest and most guaranteed method is to revert back to the classic version of Skype. This method will take you through the steps to doing exactly that.
First, we’ll uninstall our current version of Skype:
- Quit Skype.
- Press the Windows + R keys on your keyboard.
- Now on the dialogue box that pops up, type appwiz.cpl, and click OK.
- Find Skype in the list, right-click it and select Remove or Uninstall.
OR
- Search Powershell
- Right-click on it and click Run as administrator
- Now, a window will pop up, type get-appxpackage *skype* | remove-appxpackage to start uninstalling Skype
Now that we’re done with that, we can begin downloading the classic version:
- Open the link to Skype’s official homepage: Download Skype
- From among the available Skype downloads. select Skype for Windows and then click on the blue download button.
- Save the set up file where ever you want.
- Now double click on it and run the installer.
- Follow the instructions displayed by the installation file.
- Once finished, begin using your Skype app, free from errors!
Method 2: Re-installing and Rebooting
Another popular quick fix to this error a simple re-installation method. Uninstalling the app, letting Windows reboot itself and re-installing Skype, may in fact be resolving the connection problems between the new Skype (Windows 10) and Skype installed on some non-Windows devices.
- Uninstall Skype according the steps listed in Method 1.
- Restart your PC
- Now, open Microsoft Store and search for Skype.
- Click the blue Get option and then Install
- Once installation is complete, you can check if the error is resolved.
Method 3: Update Windows 10
There have been reports that a Windows 10 update is now available that fixed the bug in the functionality of the built in version of Skype. Hence, an easy solution to the ‘content of this message is unsupported’ Skype error is simply to update your Windows 10 and check if the updates have resolved the error.
- Click on the Settings app.
- Select the Update & Security option.
- Click the ‘Check for Updates’ option.
- A list of fresh updates recently released by the Windows team will be available and ready for installation.
- Once the installation is complete, use the Skype app again. Your calls should be able to through without any errors.


