Fix: Boot selection failed because required device is inaccessible
This troublesome error appears during your computer’s booting process and it prevents you from booting to your respective Windows operating system, displaying this message across a black screen. Troubleshooting such errors is always difficult as you don’t even get the chance to access the system in order to do something.

However, solution can still be found and they can be tried even if you are not able to boot into your operating system. Try following some of the methods below in order to get rid of this problem and boot into Windows normally.
Solution 1: Check the Boot Order in BIOS
There are various reasons on why the boot order on your computer might have gone corrupt but the most important thing is that you can easily solve the problem without breaking a sweat simply by tweaking certain settings in BIOS. It can be a little alarming for novice Windows users but make sure you follow the instructions carefully in order to solve the problem efficiently.
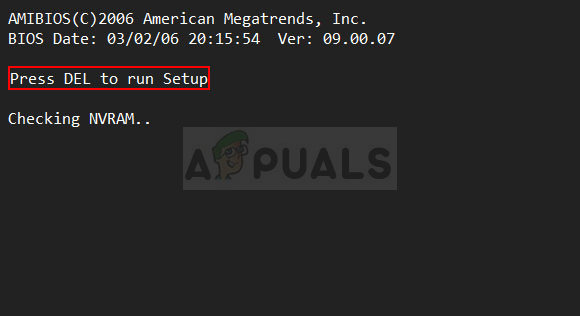
- Turn on the computer and immediately press the Setup key repeatedly, about once every second, until the Computer Setup Utility or BIOS settings opens. This key should be displayed on your PC as Press _ to Run Setup or under a similar message.
- Use the right arrow key to choose the Security menu when the BIOS settings window opens, use the down arrow key to select the Secure Boot Configuration option, and press Enter.
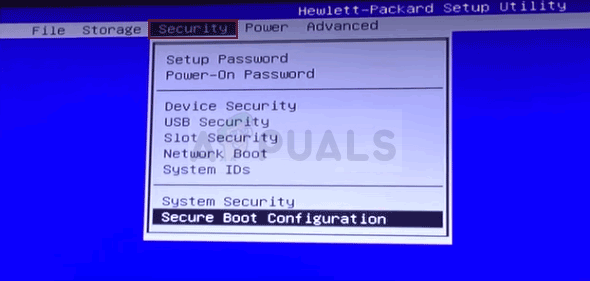
- Before you can use this menu, a warning will appear. Press F10 to continue to the Secure Boot Configuration menu. The Secure Boot Configuration menu should open so use the down arrow key to select Secure Boot and use the right arrow key to modify the setting to Disable.
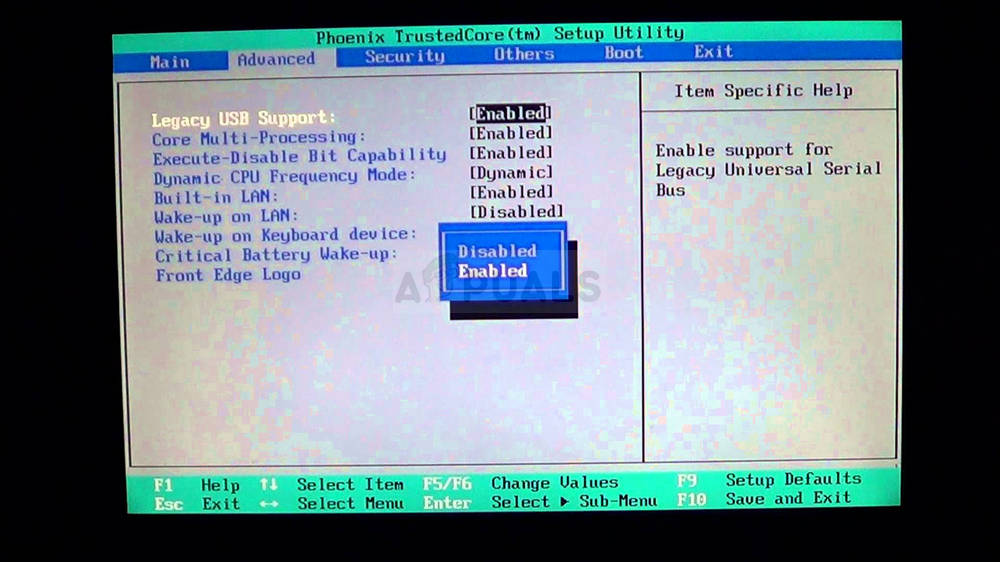
- Use the down arrow key to select Legacy Support, and then use the right arrow key to modify the setting to Enable.
- Press F10 to accept the changes. Use the left arrow key to select the File menu, use the down arrow key to select Save Changes and Exit, then press Enter to select Yes.
- The Computer Setup Utility will now close and the computer should restart. When the computer has restarted, use the power button to turn the computer off.
If you are not sure how to boot from your hard drive again, you need to know just which option to select when the boot menu opens. It will ask you from which device you want to boot your computer. Follow the instructions below to boot from your hard disk drive easily.
- Press the power button to boot your computer. As soon as the computer starts, a message appears indicating that the boot mode has now changed.
- You will see a security screen which will display a four-digit code. Type the four-digit code shown in the message, then press Enter to confirm the change.
NOTE: No text field displays for the code. This to be expected. When you type the numbers, the code is logged without a text field, so try to be more careful than usual.

- Press the power button to turn off the computer, wait a few seconds, then turn on the computer and immediately press the ESC key repeatedly, about once every second, until the Startup menu opens.
- Press F9 to open the Boot Menu. Use the down arrow key to select your hard disk from the boot menu and make sure you choose it by clicking the Enter key. Restart your computer and check to see if the problem is solved.
Solution 2: Run the DSKCHK Check from the Recovery Media
The DSKCHK utility will scan your hard drive for errors, bad files, and corrupt sectors. It’s quite a useful utility and running it has saved several users who also received the “boot selection failed because a required device is inaccessible” error message on their computer. You will, however, need to use the DVD you used to install your operating system.
Still, Windows 10 users have the option of creating one manually if they need to.
- Download the Media Creation Tool software from Microsoft’s website. Open the downloaded file called MediaCreationTool.exe in order to open the start the installation. Tap Accept to agree on terms and conditions set by Microsoft.
- Select the Create installation media (USB flash drive, DVD, or ISO file) for another PC option from the initial screen.

- The language, architecture, and edition of the bootable drive will be chosen based on your computer’s settings, but you should uncheck the Use the recommended options for this PC in order to select the correct settings for your own PC which is encountering the error (if you are creating this on a different PC, of course).
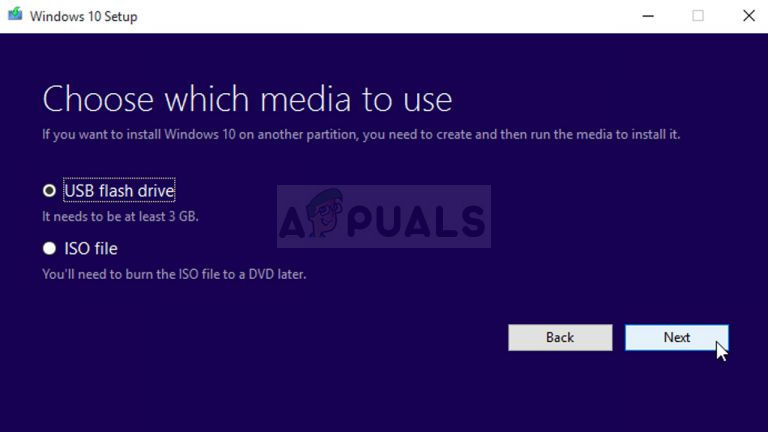
- Click Next and click on the USB drive or DVD option when prompted to choose between USB or DVD, depending on which device you want to use to store this image on.
- Click Next and choose the required drive from the list which will show the storage devices connected to your computer at the moment.
- Click Next and the Media Creation Tool will proceed to download the files necessary to install create the installation device.
Now that you have this recovery DVD for Windows 10 as well, follow the steps below according to your operating system in order to open Command Prompt without the need to boot into your OS first:
- Insert the installation drive you own or which you have just created and boot your computer. The following steps are different from one operating system to another so follow them accordingly:
- WINDOWS XP, VISTA, 7: Windows Setup should open prompting you to enter the preferred language and time and date settings. Enter them correctly and choose the Repair your computer option at the bottom of the window. Keep the initial radio button selected when prompted with Use recovery tools or Restore your computer and click on the Next option. Choose Command Prompt when prompted with the Choose a recovery tool selection.
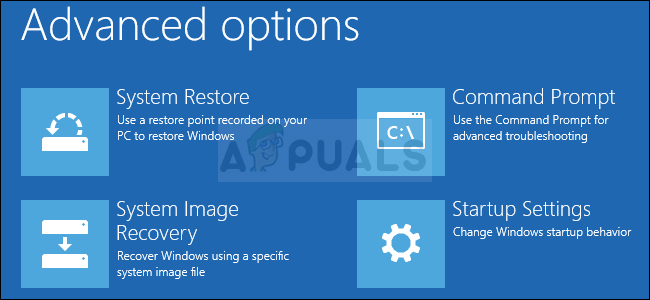
- WINDOWS 8, 8.1, 10: You will see a Choose your keyboard layout window so choose the one you want to use. The Choose an option screen will appear so navigate to Troubleshoot >> Advanced Options >> Command Prompt.
- Once the Command Prompt opens, enter the command below and click Enter afterwards:
CHKDSK /R /X C:
- Boot into your computer without the recovery drive and check to see if the error still persists.
Solution 3: Reset BIOS
This solution will be useful to users who tried to get into BIOS by following the instructions above but they simply weren’t able to make any progress with the methods above. As the title suggests, removing this battery will cause all boot and other BIOS settings to be reset to their defaults which helped plenty of users deal with this solve the boot problem
- Open the computer case and find the battery on the computer motherboard. If you are unable to locate your CMOS battery, refer to your motherboard or computer documentation. You can also browse the Internet or contact your computer manufacturer for additional assistance in locating it.
Note: With some computers, you may need to disconnect cables, remove drives, or remove other parts of the PC to get full access to the CMOS battery.

- If your computer is using a coin cell battery, removing the battery is relatively simple. Use your fingers to grab on the edge of the battery and pull it up and out of the socket holding it in place. Some motherboards have a clip holding the battery down and you may need to move it up to pull the battery out.
- Let it stay removed for 10 minutes, put it back in, and try to boot into BIOS by following the steps in the solution above. Try to do the same and check to see if Windows now boots normally.
Solution 4: Disable the Quick POST Option in BIOS
The Quick POST or Quick Boot option which is located in BIOS settings enables you to somewhat speed up your booting process. There are certain tests which are run each time you boot your computer. All of these system tests are not needed every time you boot, and can be turned off to save time and that is what Quick POST does. Here is how to disable it.
- Turn your PC on again and try to enter BIOS settings by pressing the BIOS key as the system is about to start. The BIOS key is typically displayed on the boot screen, saying “Press ___ to enter Setup.” or something similar to that. There are other keys as well. The usual BIOS keys are F1, F2, Del, etc. Note that you will have to be quick about this as the message will disappear pretty fast, which means you will have to reboot again.
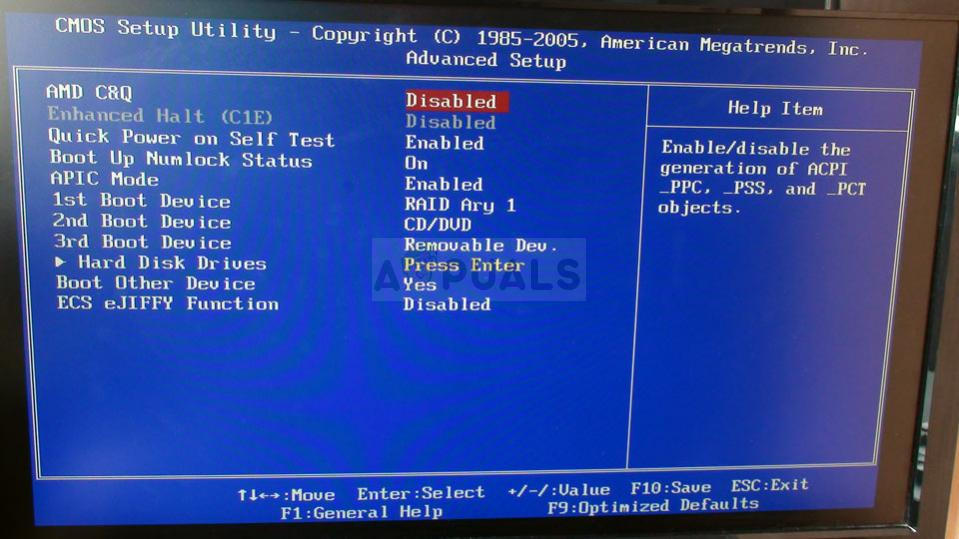
- The setting which you need to turn off is usually located under the Boot tab which may be called different depending on the manufacturer. Another alternative is for it to be located at the general screen or under the Advanced BIOS Features tab. The setting is called Quick Power On Self Test or Quick Boot. Once you locate the correct settings, set it to Off or Disabled.
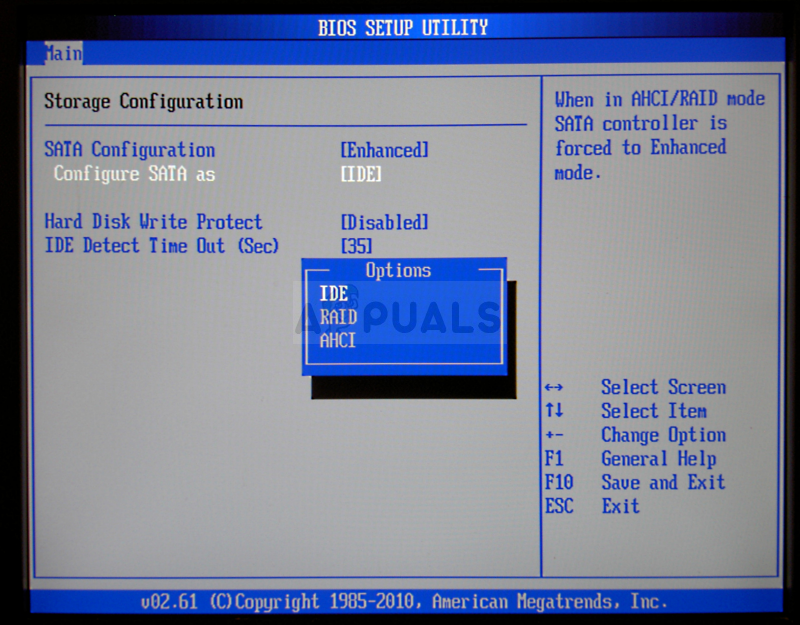
- Another setting which may cause the problem for you would be the changing of the SATA mode to AHCI. The SATA option which you will need to change is located under various tabs on BIOS firmware tools made by different manufacturers and these is no general rule to where the setting should be located. It’s usually located under Onboard devices entry, Integrated Peripherals, or even simply under the Advanced tab. No matter what, the name of the option is SATA operation.
- Once you locate the correct settings, change it from IDE or any other option to AHCI. AHCI is the most reasonable option for the process of installing new updates or upgrading. If the setting was set to AHCI to begin with, try changing it to something else no matter what as there are cases where any change produced great results! Sometimes the RAID ON setting works better.
- Navigate to the Exit section and choose to Exit Saving Changes. This will proceed with the computer’s boot. Make sure you try to boot your computer again.
Solution 5: Use Startup Repair
Startup Repair pretty much deals with these types of issues and it can be accesses using the same recovery drive you used before. However, this method should be implemented at least three times, as suggested by industry experts, in order to be certain that it does or does not work. Good luck!
- Insert the installation drive you own or which you have just created and boot your computer. The following steps are different from one operating system to another so follow them accordingly:
- WINDOWS XP, VISTA, 7: Windows Setup should open prompting you to enter the preferred language and time and date settings. Enter them correctly and choose the Repair your computer option at the bottom of the window. Keep the initial radio button selected when prompted with Use recovery tools or Restore your computer and click on the Next option. Choose Startup Repair (the first option) when prompted with the Choose a recovery tool selection.
- WINDOWS 8, 8.1, 10: You will see a Choose your keyboard layout window so choose the one you want to use. The Choose an option screen will appear so navigate to Troubleshoot >> Advanced Options >> Startup Repair
- Follow the instructions on-screen in order to proceed with the Startup Repair. After the tool finishes, restart your computer and check to see if you are now booting successfully.


