How to Fix “system32\config\systemprofile\Desktop” Error
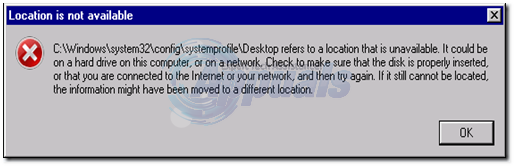
Have you logged onto your Windows system only to find your desktop completely blank, unable to locate any data you previously had on your desktop? The following error may pop up, leaving you baffled and clueless as to what you should do next: “\system32\config\systemprofile\Desktop refers to a location that is unavailable. It could be on a hard drive on this computer, or on a network. Please check to make sure that the disk is properly inserted or that you are connected to the Internet or your network. Then try again. If it still cannot be located, the information might have been moved to a different location.” If this is your case, you are not alone.
This error usually occurs after a corrupt Windows update is installed on your computer, or when your system crashes abruptly. The cause can be as simple as an incorrect location path or as significant as corrupt system files. If a simple reboot has not solved your problem, then follow this guide to restore your desktop and its data to the way it was.
Solution 1: Restarting Windows Explorer.
Sometimes, the error occurs if Windows Explorer isn’t functioning correctly. Therefore, in this step, we will restart Windows Explorer after completely terminating it. To do so:
- Press “Windows” + “X” keys simultaneously.
- Select “Task Manager” from the list and click on the processes tab.
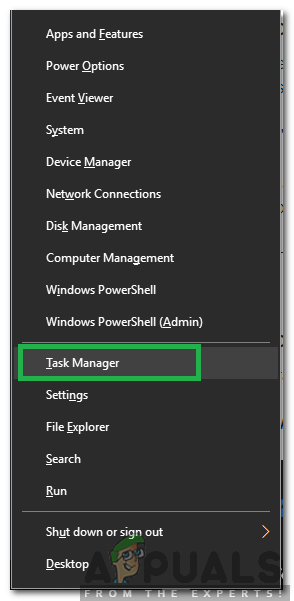
Selecting Task Manager from the list - Scroll and select the ‘Windows Explorer’ option from the list.
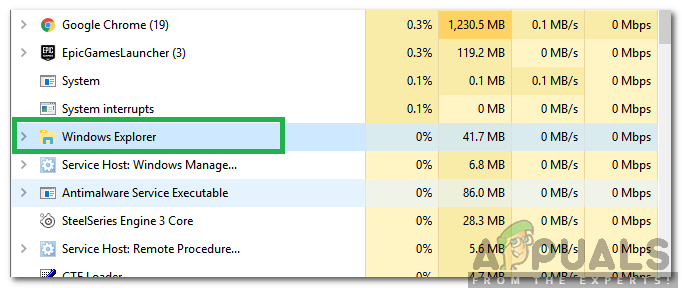
Selecting Windows Explorer from the list - Right-Click on it and then click on the “End Task” button to end it.
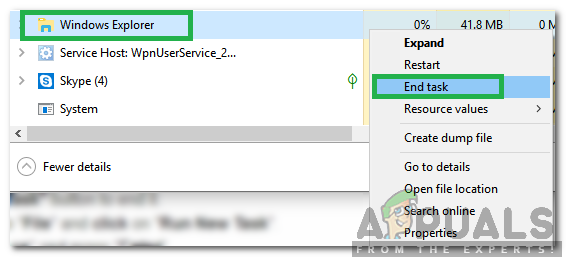
Right-clicking and then selecting the “End Task” option - Hover the pointer to “File” and click on “Run New Task“.
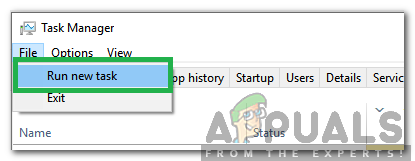
Clicking on File and then selecting Run New Task option - Type in ‘Explorer.exe’ and press ‘Enter’.
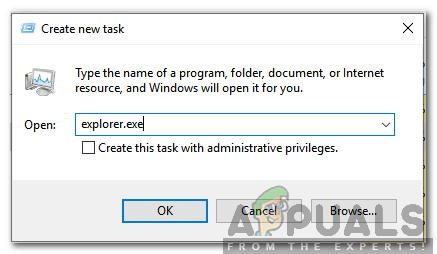
Typing explorer.exe and pressing enter - Check to see if the issue persists.
Solution 2: Reset Desktops’ Location
Your operating system may not be able to link your desktop to its default location.
Hold the Windows Key and press R. In the run dialog, type
C:\Users
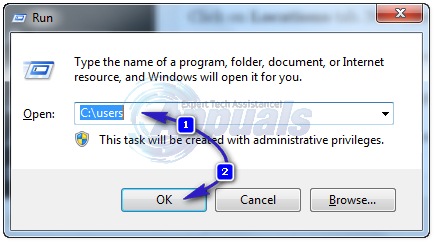
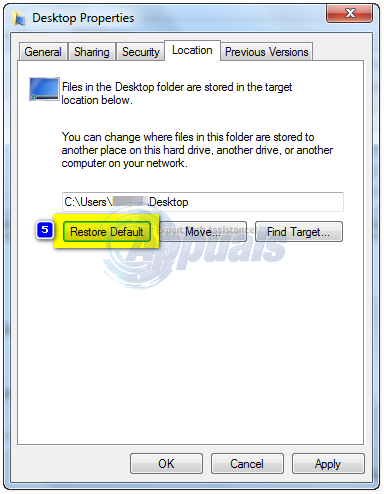
Open the folder with your username. There will be a folder named Desktop. Right click on it and click Properties.
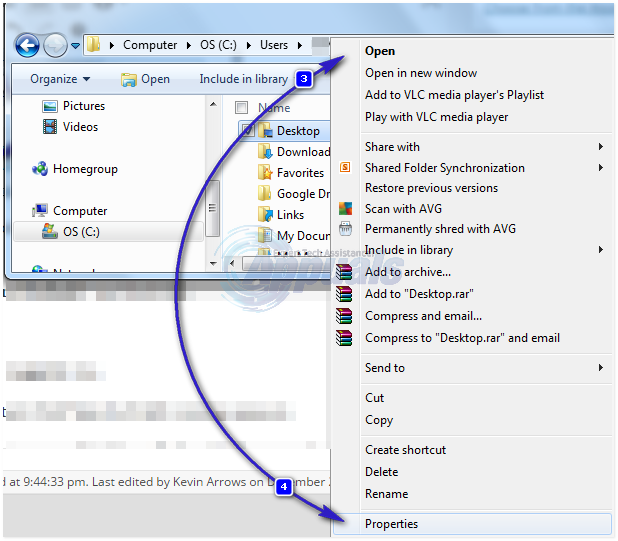
Click on the ‘Location’ tab. Now, click the ‘Restore Default’ button and then click ‘OK’. Close all windows and restart your system.
If that did not work, we could also change its location through the registry.
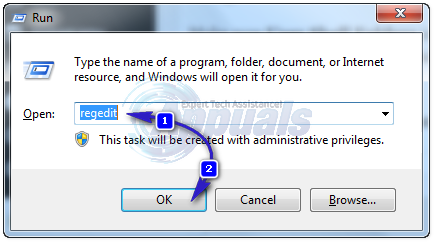
Press Windows key + R. Type regedit and press Enter. Click Yes if a UAC warning appears.
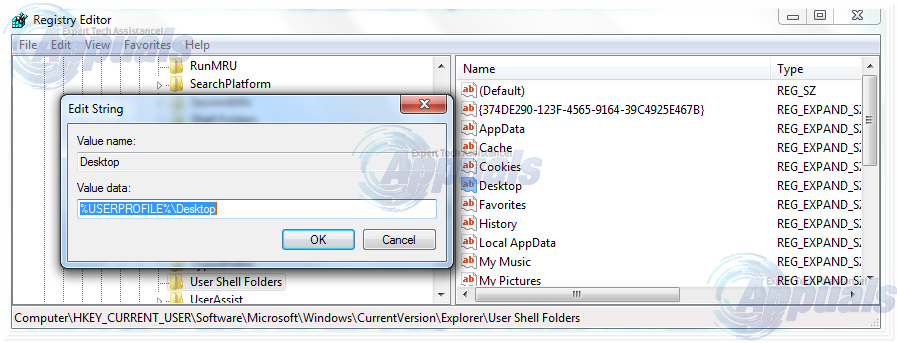
In the left pane, click on HKEY_CURRENT_USER to expand it. Now click on Software under it. Similarly navigate to Microsoft\Windows\CurrentVersion\Explorer\User Shell Folders.
Ensure that ‘User Shell Folders’ is highlighted and selected in the left pane, then double-click ‘Desktop.’ Check that the ‘Value data:’ is either ‘%USERPROFILE%\Desktop’ or ‘C:\Users\%USERNAME%\Desktop.’ Click OK and close the registry editor. Then, restart your system and verify whether your problem has been resolved.
If not, move on to the next method.
Solution 3: Move Profile’s Content Back to Its Location
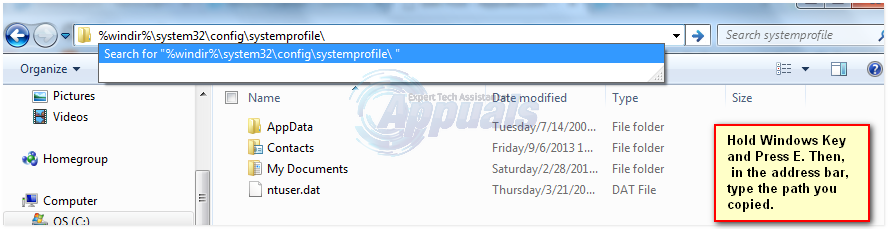
Press the Windows key + E to open the File Explorer. Copy %windir%\system32\config\systemprofile\, then click on the address bar above to make it editable, and paste the path you copied. Press Enter to go to the path.
A folder will open. Proceed to delete the folder named ‘Desktop.’ If an ‘Access Denied’ error appears, you must first take ownership of the ‘systemprofile’ folder. You can do this by following ‘Solution 5’ provided in our guide, accessible via this link. Afterward, you should be able to delete the folder successfully.
Hold the Windows key and press ‘E’. Then, open the ‘C:’ drive. There, you should find a folder named ‘Users’. Open this folder. Afterwards, open the folder associated with your account. This folder will have the same name as your username.
Now you can see a folder named “Desktop.” This folder will contain all the data you previously had on your desktop. If you have two folders named “Desktop,” open each one and delete the “Desktop” folder that is either empty or contains incorrect files that are not supposed to be there.
Similarly, if you can identify any additional duplicate folders, delete the folders that contain files they are not supposed to have or that are empty.
Now right click on the remaining Desktop folder and click copy.
Go back to %windir%\system32\config\systemprofile\ and paste the desktop folder there.
Now restart your system and check if your system’s back to normal. If not, you will have to create a new account and move your old data to it. Move to the next solution to do that.
Solution 4: Create a New User Profile
In this solution, we will create a new account and migrate your old data to it. Doing this can automatically fix corrupt paths in the registry.
Click ‘Start’ and type ‘cmd.’ Right-click on ‘cmd’ and select ‘Run as Administrator.’ In the command prompt, type and execute the following two commands.
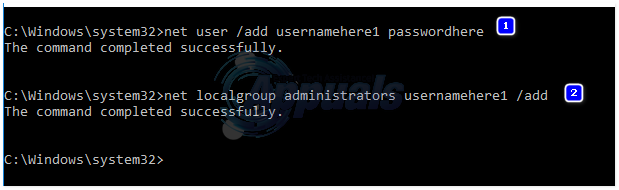
net user /add usernamehere passwordhere

net localgroup administrators usernamehere /add
This works exclusively for local accounts. However, should you wish, you can switch your account to Microsoft on Windows 8/10 by using any app from the Windows Store, which will prompt you to sign into the Microsoft Account. This is optional. Subsequently, you can copy your data from the corrupt or previous profile by following these steps:
- Hold the Windows key and press E to open Windows Explorer.
- For Windows 7, click on ‘Organize’ in the upper left corner, and then select ‘Folder and Search Options’.
- Click on the ‘View’ tab. Select ‘Show hidden files, folders, and drives.’
- Uncheck the box by clicking on it next to Hide protected operating system files.
- Confirm the warning, then click OK and close all windows.
- For Windows 8 and 10, click on View tab, and click on Options at the right corner.
- Click on the ‘View’ tab, then select ‘Show hidden files, folders, and drives.
- Uncheck the box next to ‘Hide protected operating system files’ by clicking on it.
- Confirm the warning, then click OK and close all windows.
- Navigate to the C: drive > Users > Old_Profile, where C: is the drive where your Windows is installed, and Old_Profile is the name of your old Windows account.
- Now copy all the files and folders here except Ntuser.dat, Ntuser.dat.log, and Ntuser.ini.
- New_Profile’ is the name of the new account you just created. Paste the copied content there.
- Once you have ensured that all your data has been moved to the new account, you can delete the old account by going to ‘Add or Remove User Accounts’ again in the Control Panel.
- Your problem should be resolved now. If not, please let us know your exact situation in the comment section below.
How do I do this using Windows 10?