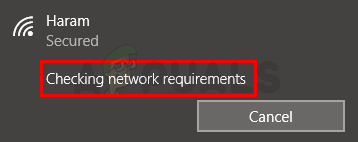
Fix: Stuck at “Checking Network Requirements”
Windows users are facing this Checking network requirements issue when connecting to their Wi-Fi. This issue will usually happen to people who are trying to connect to a new network. For example, whenever you’ll try to connect to a new network, your computer will be stuck at “checking network requirements” message. For some users, the message will go away and they’ll see a message “Can’t connect to this network” but other users will just be stuck at this message. With this problem, you won’t be able to connect to the Wi-Fi even if you were able to connect other devices with this network. Since you won’t even get past the first phase, the system won’t even ask you to enter the password. So you’ll just stuck with a network that won’t let you connect.
The issue is because of the incompatible network drivers. That is why the issue is common among new connectors because they have an incompatible driver. Simply updating or uninstalling and then reinstalling the network driver resolves the issue.
Since the issue is with the network drivers, try to update the drivers first. There is a very easy way of automatically checking for any updated version of the already installed driver. Here are the steps for automatically checking for new network drivers
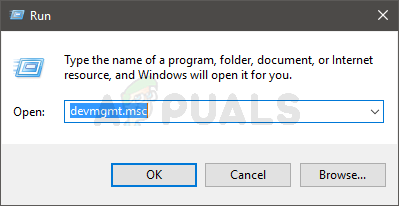
- Hold Windows key and press R
- Type devmgmt.msc and press Enter
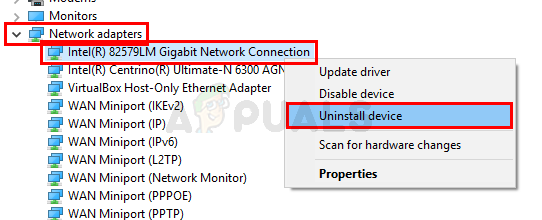
- Locate and double click Network Adapters
- Locate and right click your network drivers
- Select Update driver
- Click Search automatically for updated driver software
If your system finds an updated version of the driver then follow the on-screen instructions and install the drivers.
Method 1: Uninstall and Re-install Driver
If method 1 didn’t work then it’s time to simply uninstall and then re-install the drivers. You only have to uninstall the drivers and Windows will automatically install the most compatible drivers on your next startup. These Windows generic drivers might not be the latest and greatest drivers but they will definitely work for your network card. So, here are the steps for uninstalling and then re-installing the network drivers
- Hold Windows key and press R
- Type devmgmt.msc and press Enter
- Locate and double click Network Adapters
- Locate and right click your network drivers
- Select Uninstall device. Follow any additional on-screen instructions
Once done, reboot. Your system should have a working drivers once your system is rebooted. Connect to your network and you should be good to go.


