Fix: Steam Error Code 41
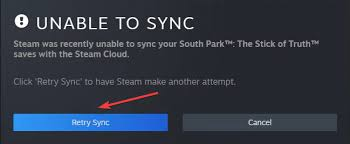
Steam error code 41 appears along the following lines: “The steam servers are too busy to handle your request” and it prevents people from playing various games they installed and downloaded through Steam and it appears after when users try to actually start the game.
Sometimes error can indeed be blamed on the business of Steam servers but when the error appears constantly, it may be suspicious and the problem can often be resolved without waiting for Steam servers to become available as that might not even be culprit of the problem, despite the error message.

Why Does the Steam Error Code 41 Appear?
There are various causes for this error and they generally differ from game to game but the most common causes can be dealt with easily and they are as follows:
- Your antivirus interfering with the Steam checking for updates for the game. Users have reported that the error always appeared when the antivirus was checking for updates or running a scan on the computer.
- Old graphics drivers are also a known culprit and you should update them as soon as possible.
- Missing game files can ruin the experience for you and you will need to check the integrity of game files to continue playing the game.
- Opting into Steam Beta or using the Windows Game Mode on Windows 10 has also caused the error 41 to appear on Steam so make sure you check it out.
Solution 1: Disable Your Antivirus
If your antivirus is conducting a scan or searching for an update, it might be useful to disable the antivirus you have installed during the game and re-enable it afterwards. Try not to forget to re-enable it because it leaves your computer vulnerable to malware. Also, Windows 10 users have Windows Defender running if there is no other antivirus so it’s recommended you disable it as well.
- Disable your antivirus. Note that the process for each antivirus is different. Still, most of them can be disabled by right-clicking their icon from the system tray (lower right part of your screen) and choosing the proper option.
- However, if you are a Windows 10 user, you will need to disable Windows Defender if you don’t have any other antivirus installed. Right-click on the shield icon on your taskbar and click on Open.
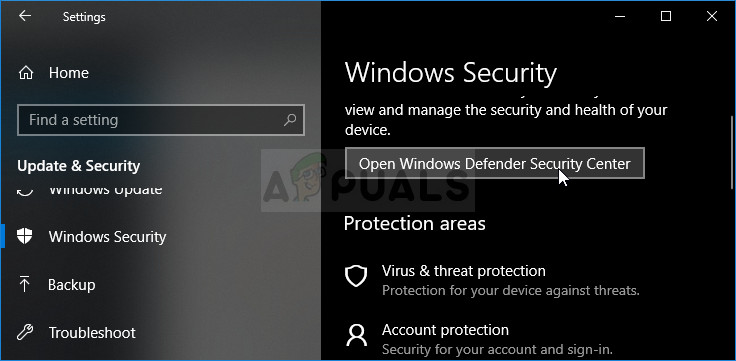
- Alternatively, you can open the Settings app by clicking the Start menu button and clicking the gear icon just above the Start menu button. Click to open the Update & Security section and navigate to the Windows Security tab. From the top of the window, click the Open Windows Defender Security Center.
- When Windows Defender Security Center opens, click on the shield icon below the home button, open Virus & threat protection settings and turn off Real-time protection and Cloud-based protection in order to disable Defender.
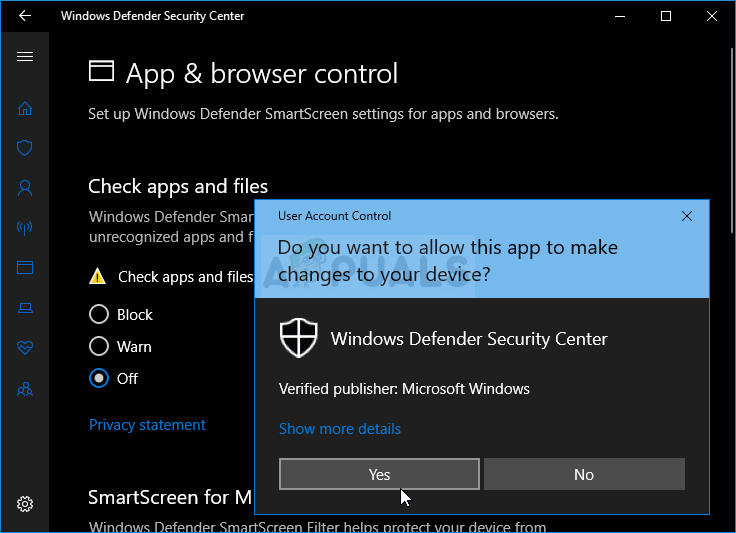
- Navigate to the browser icon (second from the of the right-side menu) and turn off the Check apps and files option.
- This will disable Defender while you are playing the game. Don’t forget to revert to easily revert the changes you have made during these steps. Check to see if the error still appears when starting a game on Steam.
Solution 2: Turn off Game Mode on Windows 10
If you are a Windows 10 user, you might be using the Game Mode which is a built-in feature which can be viewed from the Settings app but it can’t be disabled using the same one. However, it can be disabled from the Game bar and it should help you solve the problem as it did for other users with the same problem.
- Use the Windows Key + G key combination in order to bring up the Game bar.
- If this button combination does not produce any results, you can open the Settings app by clicking the Start menu button and clicking the gear icon just above the Start menu button. Click to open the Gaming section and navigate to the Game bar tab.
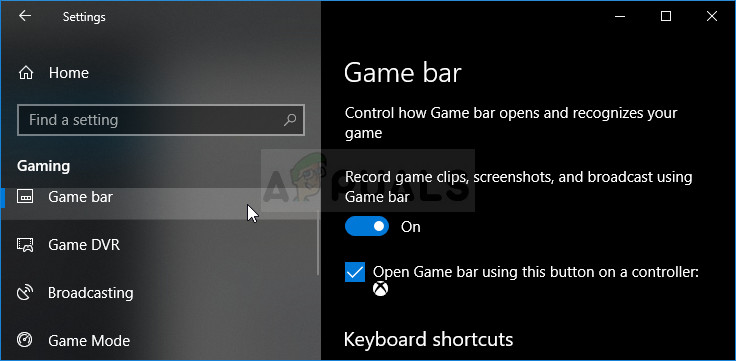
- Make sure the slider under the “Record game clips, screenshots, and broadcast using Game bar” option is set to on.
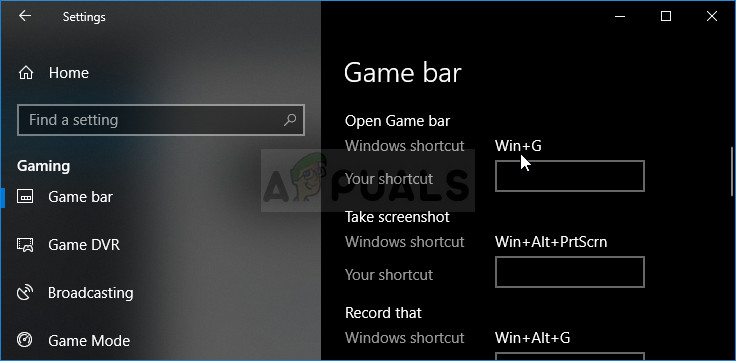
- Scroll down and check if the “Open Game bar” shortcut is set to Win + G. If it has been set to something else, you should use that key combination instead.
- When the Game bar window opens locate the button at the very end, and the text Turn Game Mode on should appear at the middle. Click on it to disable it and check to see if you are able to play your Steam game now.
Solution 3: Verify Integrity of Game Files
This is a method which might be useful if you recently went through a system update or the in-game update. Verifying the integrity of game files is a Steam feature as it allows you to redownload broken or missing files from the game’s folder and possible solve the error 41 on Steam.
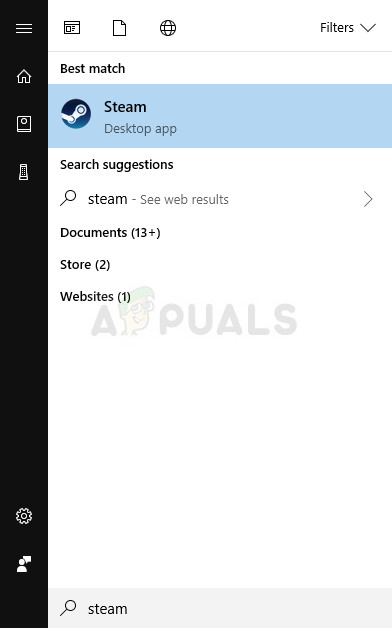
- Open up Steam by double-clicking its shortcut on the Desktop or by searching for it in the Start menu. Windows 10 users can also search for it using Cortana, both of them next to the Start menu depending on how your PC is setup.
- Navigate to the Library tab in the Steam client, and locate the game which is giving you the issues in the list of the games you own in your library.
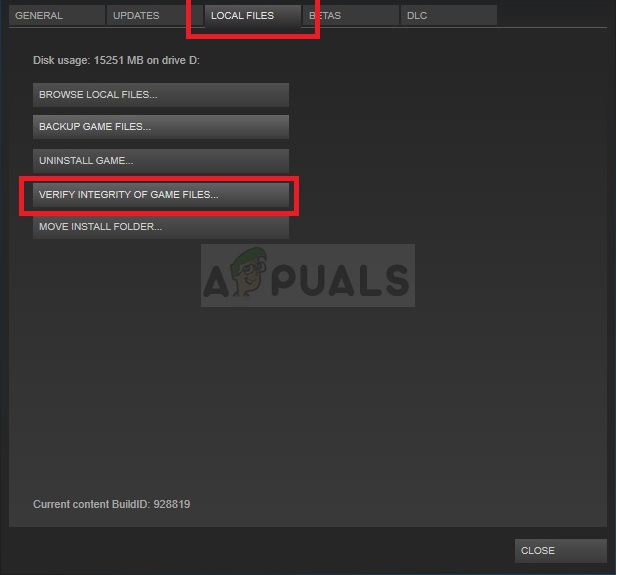
- Right-click the game’s entry in the library and choose the Properties option from the context menu which will appear. Navigate to the Local Files tab in the Properties window and click the Verify Integrity of Game Files button.
- Wait for its process to finish, exit, and try starting the game to see if the error code 41 still appears on startup.
Solution 4: Delete the Game’s Cache Folder
Steam keeps a folder for each game where its cache is stored in the AppData folder located on your computer. This way, if the game gets stuck with an error such as the error code 41, you can simply delete this folder and try to see if the error still appears. Follow the steps below in order to locate this folder.
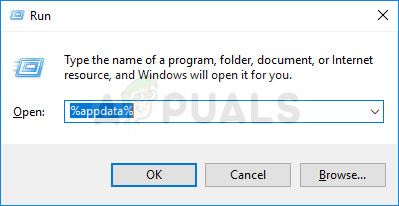
- Use the Windows Logo Key + R key combination in order to bring up the Run dialog box. Make sure you type “%appdata” in the box without the quotation marks and click OK in order to open this location.
- Alternatively, you can open the File Explorer on your computer and navigate to the AppData folder. First of all, locate My Computer or This PC at the right navigation screen and click your Local Disk.
- Navigate to Users >> AppData. If you are unable to see the AppData folder, that is because the folder is hidden and you are unable to see it without changing a certain setting in File Explorer.
- Click on the “View” tab on File Explorer’s menu and click on the “Hidden items” checkbox in the Show/hide section. File Explorer will now be able to show the AppData folder so double-click to open it.

- Locate a folder named like the problematic game you are trying to troubleshoot. Right-click on it and choose the Delete option from the context menu. Try reopening the game and check to see if the error 41 is gone.
Solution 5: Set Certain Launch Options in Steam
These launch options enabled users to solve the problem on several different Steam games but this method is more of a workaround and you should wait for a new game or Steam update which should get the problem resolved. After this method, the game will start in a window but you can simply maximize it manually.
- Open up Steam by double-clicking its shortcut on the Desktop or by searching for it in the Start menu. Windows 10 users can also search for it using Cortana, both of them next to the Start menu depending on how your PC is setup.
- Navigate to the Library tab in the Steam client, and locate the game which is giving you the issues in the list of the games you own in your library.
- Right-click on the game’s entry in the list and choose Properties from the context menu which will appear. Stay in the General tab of the Properties window and press the Set launch options button.
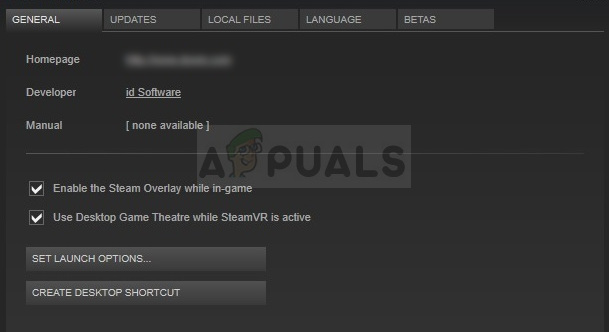
- Type in “safemode, fullscreen = 0” in the Launch Options window. If there were some launch options from before in the window, make sure you separate them by a comma. Check to see if the error 41 still appears when running the problematic game.
- The game will launch in a window but maximizing it after it launches will return things back to normal. Also, you can use the Ctrl + Enter key combination for the same effect.
Solution 6: Opt out of Steam Beta
Steam Beta program is designed for people who like to get the new updates and features before anyone else but the problem is that these features are sometimes buggy and they end up ruining the gaming experience for them.
Opting out of all Steam beta programs was able to solve the problem for some users who struggled with the error 41 when launching the game on Steam so make sure you try this out as well.
- Open your Steam PC client by double-clicking its shortcut on the Desktop or by searching for it in the Start menu and clicking on the first result.
- Click on the Steam option at the menu at the top of the client’s screen and choose Settings. In the Settings window stay in the Account tab and click the Change button under the Beta participation section.
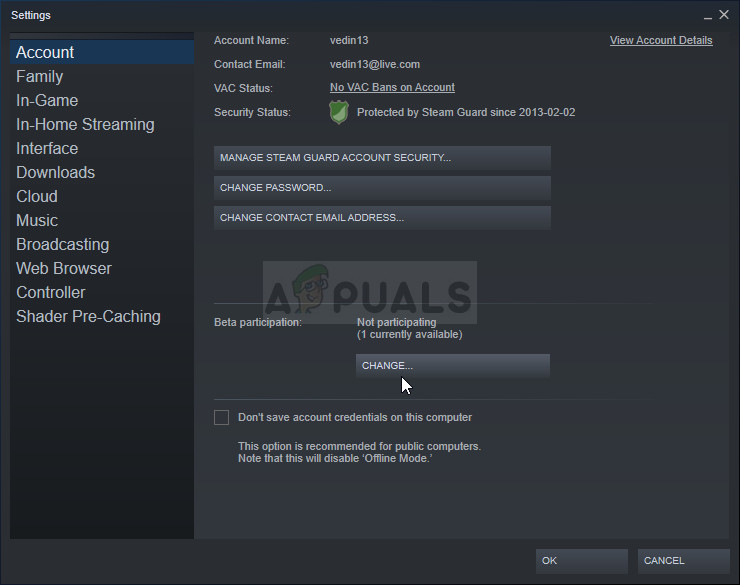
- A new window should open so check again under Beta participation and click to open the drop-down menu. Choose the “NOTE – Opt out of all beta programs” option and Apply the changes you have made. Try opening the game again and check for the error.
Solution 7: Update Your Graphics Driver
Updating the graphics driver has worked for some users as the problem with almost any video game can sometimes be brought down and blamed onto a graphics driver issue. The error 41 on Steam is definitely a weird problem and the solution sometimes differs from game to game but updating the driver definitely won’t do any harm to your computer and it may as well solve the problem.
Updating the Driver:
- Open Start menu by clicking its button at the lower left part of the screen, type in “Device Manager” with Start menu open, and select it from the list of results by simply tapping the top result.
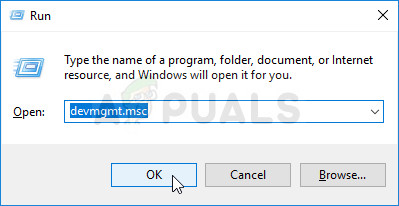
- You can also use the Windows Key + R key combination in order to bring up the Run dialog box. Type in “devmgmt.msc” in the respective box and click OK in order to run it.
- Since it’s the video card driver you want to update on your computer, expand the Display adapters part by clicking the right-pointing arrow next to it, right click on your graphics card and select the Uninstall Device option.
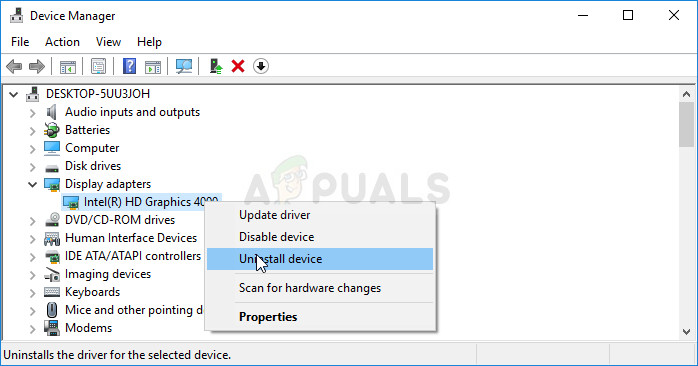
- Confirm any dialogues which may prompt you to confirm the uninstallation of the current video driver and wait for the process to complete.
- Look for your video card driver on the device manufacturer’s website and follow their instructions which should be available right there on the site. Make sure you choose the latest available driver. Save the installation file on your computer and run it from there. Your computer may restart several times during the installation.
- Check to see if error 41 still appears when launching the game.
Nvidia Drivers — Click Here!
AMD Drivers — Click Here!
Note: Latest drivers are often downloaded and installed with Windows updates so make sure you keep your computer’s operating system up to date no matter what happens. Windows Update is supposed to be run automatically but anything, including you, might have turned automatic updates off.
No matter which version of Windows you are using, follow the steps below in order to update your PC since this method works for all builds and versions of Windows:
- Start the PowerShell tool by right-clicking the Start menu and clicking on the Windows PowerShell (Admin) option from the context menu.
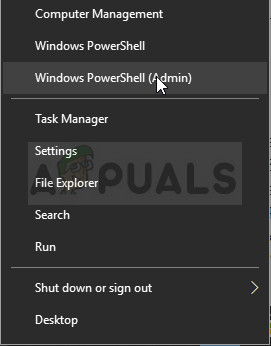
- If you see Command Prompt instead of PowerShell in this context menu, you can also search for PowerShell in the Start menu or the search bar next to it. This time, make sure you right-click on the first result and choose Run as administrator from the menu.
- In the Powershell console, type in “cmd” and stay patient for Powershell to change its user interface to the cmd-like window.
- In the “cmd”-like console, type in the command shown below and make sure you click Enter afterwards:
wuauclt.exe /updatenow
- Let this command run for at least an hour and check back to see if any updates were found and installed on your computer.
Solution 8: Disconnect Your Wheel Controller
Some users have reported that certain games simply have issues with the wheel game controllers and they need to be disconnected from your computer in order for the game to work properly.
Simply unplug the controller from your computer and try reopening the game to see if it will work now. If the error code 41 does not appear, you have found the culprit of the error!
Solution 9: Reinstall the Problematic Game
Reinstalling the game seems like the last resort since games nowadays tend to take up more and more space on people’s computers. This means that the downloading and installing processes are longer. However, it’s worth it if you get a working game out of it and that is exactly what happens if the methods above have failed to show success.
Uninstalling the game:
- Click the Start menu button and open Control Panel by searching for it. Also, you can click on the gear icon from the Start menu in order to open the Settings app if you are using Windows 10.
- In Control Panel, switch to View as: Category at the top right corner and click the Uninstall a Program option under the Programs section.

- If you are using the Settings on Windows 10, clicking on Apps should immediately open a list of all installed tools and programs on your PC.
- Locate the problematic game in the list either in Settings or Control Panel, click on it once and click the Uninstall button located in the respective window. Steam should now launch or maximize prompting you to confirm your choice and the game should be uninstalled.
Alternative for Steam Users:
- If you have installed the game via Steam, open up your Steam client by double-clicking its icon from the Desktop or by searching for it in the Start menu if you are using Windows 7 or older.
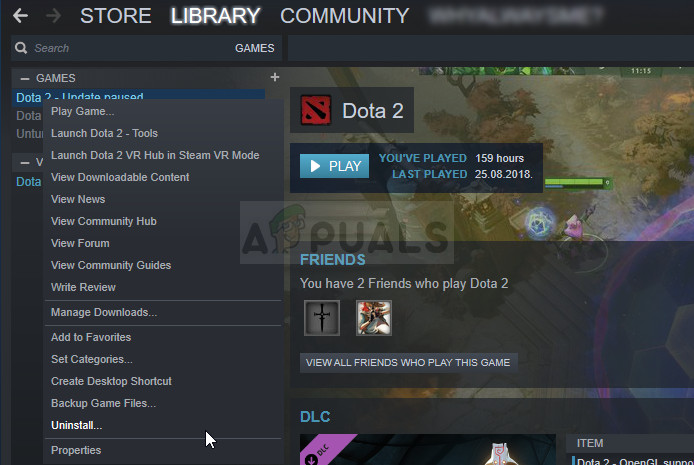
- Navigate to the Library tab in the Steam client window and locate the game which just won’t launch in the list of the games you own in your library.
- Right-click on the game and choose the Uninstall option from the context menu.
- Confirm the dialogs which may appear and the game should proceed to uninstall.
In order to reinstall the game, you will need to download it again from Steam. The game will still be still located in your library so just right click on it and choose the Install option. Check to see if the Steam error code 41 still appears.