Resolve Steam Download Stopping (Fix)
Use these solutions if your Steam Download Stops or Keeps Stopping
The steam download keeps stopping and then getting started again is a really common recurring issue for Steam users, this mostly occurs when the game data is being written to your hard drive while the game is being downloaded at the same time.
This can cause some confusion regarding this issue because sometimes the Steam is actually writing game data in the background when it’s downloading the game, so it tends to stop the downloading and arrange the game files properly then resume the game download once the arranging process is done.
This issue is really caused by how Steam downloads the game data, there is another issue related to downloading that completely stops the downloading of the game and shows 0 bytes download speed on Steam.
Many users have faced the problem of their steam downloads stopping, and starting again in a few moments. This issue has persisted over many years and up to this date, many users still report it giving them problems. It is very wrong to state that this issue has one unique solution. Because of the unique hardware and software specifications that the users have, this problem can be caused due to several reasons. Sometimes even reinstalling Steam doesn’t work. We have listed down all the solutions that seemed to work for the users. Please implement them from the top and work your way to the bottom.
Other Steam Errors: Disk Write Error
1. Close All Unwanted Applications
Before we resort to more technical methods, we will see if any external application is causing the irregularity in Steam’s download. Many applications are known to interfere with Steam such as CCleaner, Skype, and other unwanted applications. Below is the method to end all unwanted processes.
- Launch your Task Manager by pressing ⊞ the Win + R button. This should open the Run application.
- In the dialogue box write “taskmgr”. This should open up the task manager.
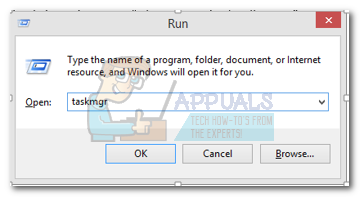
Opening the Task Manager - End all unwanted processes such as Skype, web browser, updaters, etc. Restart Steam using Steam.exe and hopefully, it will work as expected.
2. Match your Time and Time Zone
There may be a conflict between the time on your computer and the set time zone. As we all know, Steam works by collecting real-time data from the PC along with a timestamp. If it detects an irregularity, it is bound to crash or show unexpected errors.
- Click the Windows button and type “Control Panel”. From the search results, open the Control Panel.
- From the list of categories, choose “Date and time”.
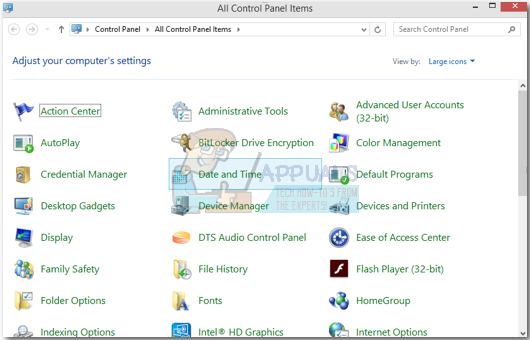
Opening the Control Panel
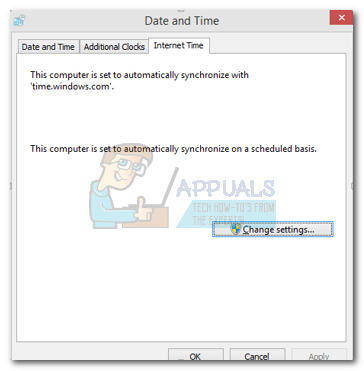
- From the three tabs, choose “Internet Time” and click on “Change Settings”.
- Check the dialogue box which says “Synchronize with Internet time server”. Click on Update now. Click on OK after the time is updated successfully and restart Steam.
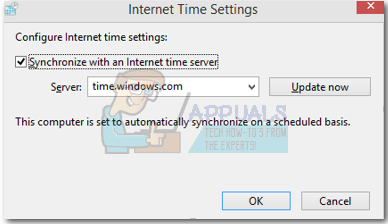
Syncing time with Internet time
3. Update your Network Drivers
Steam always keeps itself up to date with the latest software changes. However, if you don’t upgrade your network drivers occasionally, it could prove to be a problem. The updated Steam won’t be compatible with the older versions of the software. This would cause it to display unexplained behavior; in our case, the random stopping of downloads. Below are the steps mentioned on how to check which network cards you have installed on your PC and how to update their drivers.
- Click the Windows button and type “Control panel”. Select the application which returns in the search results.
- From the list of options, select Device Manager.
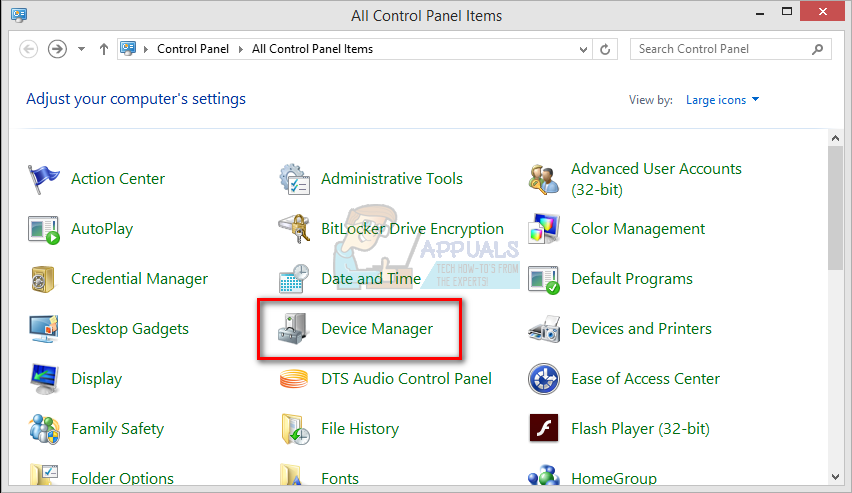
Opening Device Manager
- Now a window will come up consisting of devices that are registered to your PC. They range from devices as simple as USB devices to Processors. Select Network Adapters from the list.
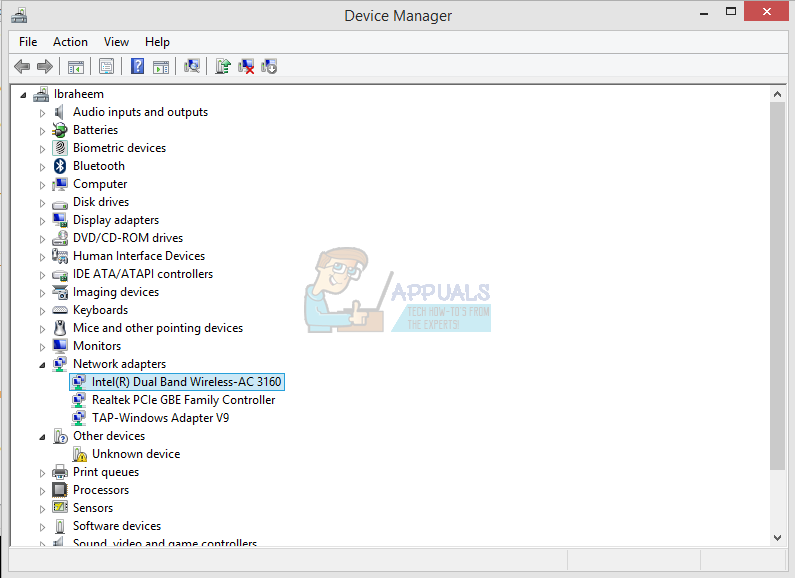
Finding Network Adaptors
- Now you see the types of network adapters which are installed on your PC. In this case, there is a wireless adapter and a LAN installed. This solution is for both of them and you can update their drivers easily. Double click the selected driver and you will be facing a window like this.
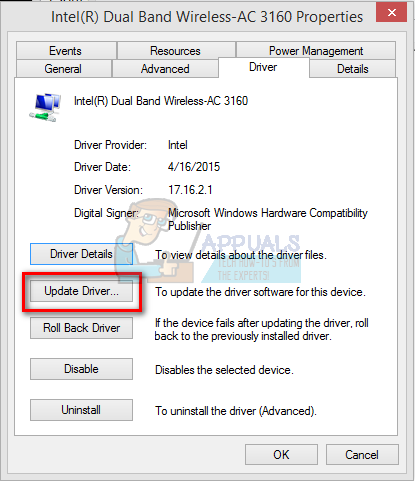
Updating your Intel Network Drivers
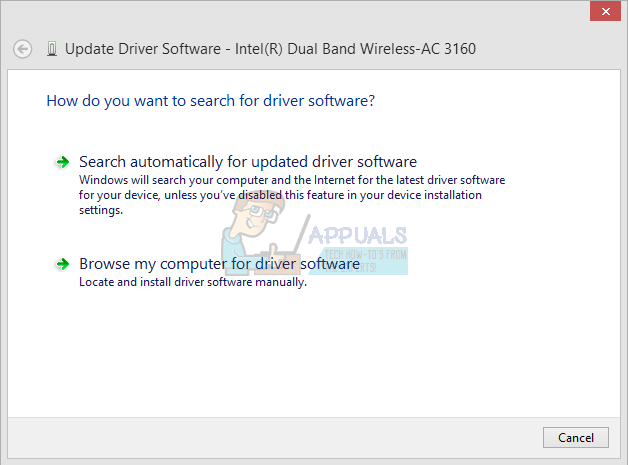
- Select the Driver tab and click on Update Driver. Now you will be given two options i.e. Update automatically or Update manually from the package you downloaded from the official hardware’s website. You can use any one of the options for the update.
After updating your drivers, restart Steam and start your download again. Hopefully, the problem will be resolved.
4. Limit your Bandwidth
Sometimes your disk’s write speed can’t keep up with your download speed. If you experiencing a lot of fluctuation in your connection while downloading, it is advised that you limit your bandwidth from Steam. You can choose a decent speed; not too low or not too high.
- Open your Steam client. It is advised to use the option “Run as Administrator” when launching.
- On the top left corner click “Steam” and select Settings.
- Navigate to the downloads tab. Here you will see a drop-down window saying “Limit bandwidth to”.
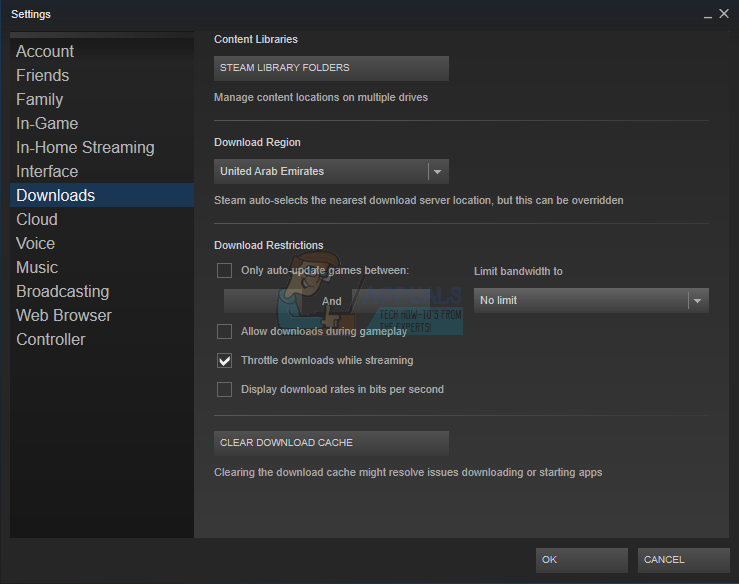
Limiting your Network Bandwidth
- When you click it, a drop-down window will pop up. Here you will find some speeds available to limit. Always choose according to your internet speed provided to you by your ISP.
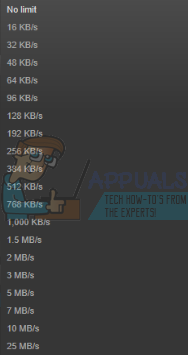
Changing the Bandwidth of Steam
- Close Steam and relaunch. Hopefully, the fluctuation will be fixed.
5. Disable Windows Defender
Many users reported that unexpectedly, Windows Defender was causing the problem. Somehow, after disabling it, the fluctuation was fixed. It is advised to turn it off and try re-launching Steam. However, if this method doesn’t work, it is highly recommended for you turn it back on. If you are using Windows 10 Home Edition you will have to follow the steps shown in this article to Install gpedit.msc on Windows 10 Home edition.
- Press ⊞ the Win + R button and in the dialogue box type “msc”.
- A Local Group Policy Editor will come forward. Click the Computer Configuration tab and select Administrative templates.
- Here you will see a folder of Windows Components. Click it and select Windows Defender.
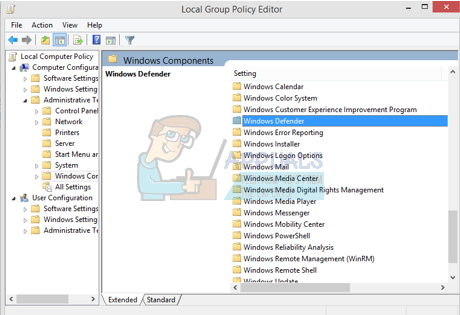
Disabling Windows Defender through Group Policy Editor
- Here you will find many different options. Browse through them and select “Turn off Windows Defender”.

Changing the Defender policy
- Select “Enabled” to turn Windows Defender off. Apply settings and press OK.
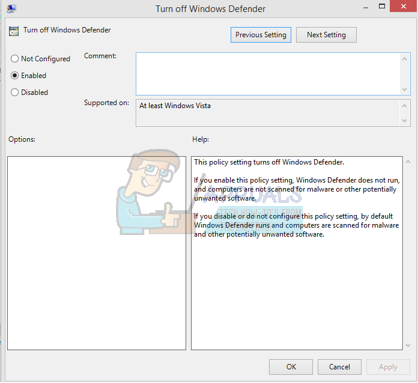
Turning off Windows Defender
After completing the above steps, your Windows Defender should be turned off. Restart your computer and re-launch Steam using Steam.exe. It is preferable to launch it with administrative privileges. To do so just right-click on your client and select “Run as administrator”.
6. Check if your .NET is properly enabled
.NET Framework is essential in the correct running of games. However, in some computers by default, it is not enabled completely. First of all, after ending all Steam processes, we will try to enable it fully and check if the problem gets fixed or not.
- After pressing your Windows screen, type “Control Panel”.
- Select the program which returned as the result. Here you will find some options available for you to choose from. Click on Programs and Features.
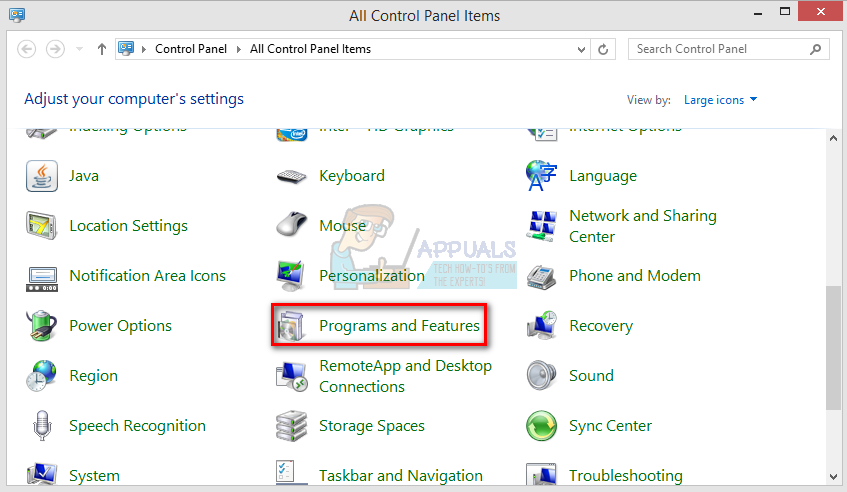
Opening Control Panel
- After you click Program and Features, a new window will come forth. Here on the leftmost side, you will find an option that says “Turn Windows Features on and off”. Click on it.
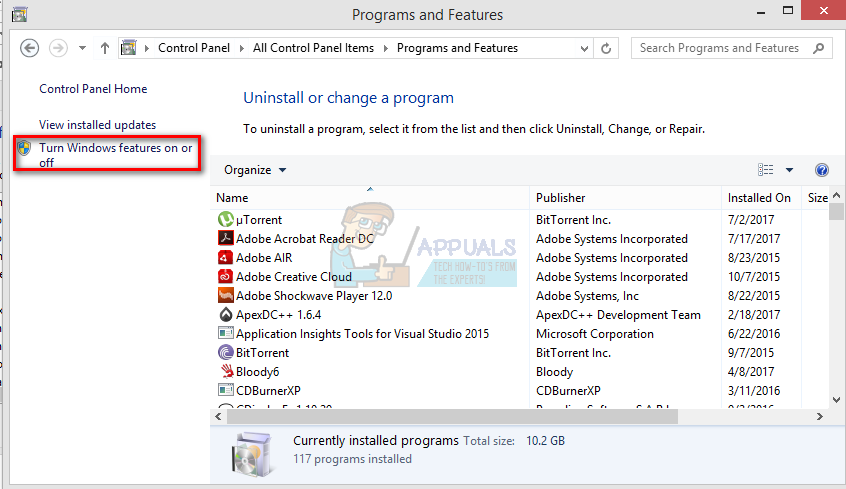
Checking Windows Features
- A smaller window will come forth consisting of checkboxes. On the top, you will find the .NET framework. If you notice it will be already checked but if you expand it, the two folders inside will be unchecked. Check both of them, save your changes, and exit. Launch Steam using administrator privileges.
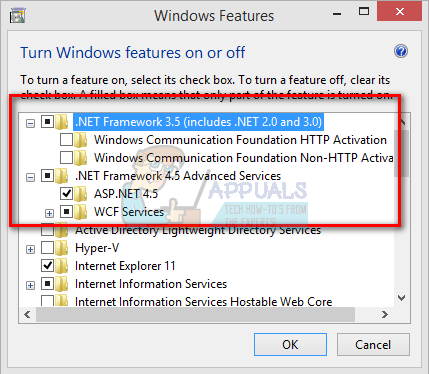
Turning on .NET Frameworks
7. Delete the CDPUserSvc_3e1f2 process
This method should be used if the ones listed above don’t make any difference. This service is known to cause a problem while downloading Steam games, causing them to download irregularly. First of all, you would need to enter safe mode with networking and check if your download is smooth. If it is, you will return to normal mode and end the process responsible. The steps are listed below.
- Get your computer to safe mode by selecting from various options available. Select ‘Enable Safe Mode with Networking. If you are running Windows 7, press F8 upon the startup of your PC and you will be directed to a similar window where you can select the required option.

Booting into safe mode
- Open Steam and try downloading/updating the game again. If it downloading smoothly, exit safe mode and after returning to the normal one, click the Windows button.
- In the dialogue box type “Control Panel”. Select the application which returns as a result. Select Administrative Tools from the list of options.
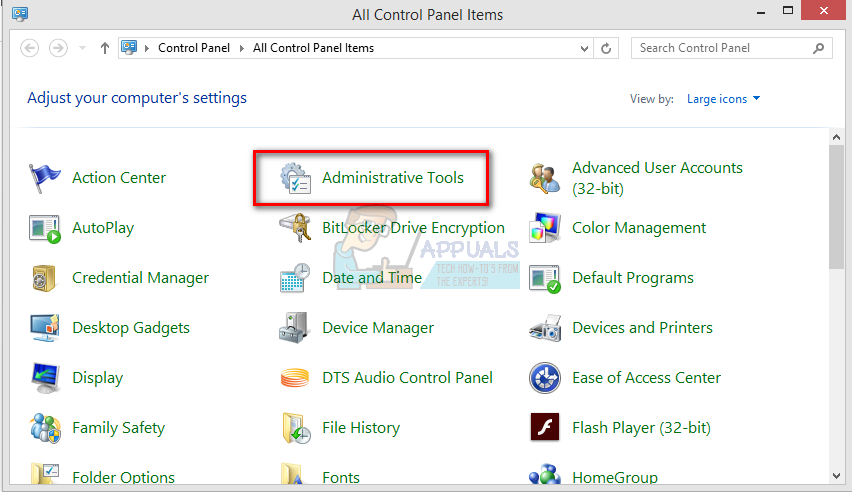
Using Administrative Tools to open Services utility
- After you open the tools, a window will come forward containing a lot of shortcuts to different tools. Scroll through them until you find the one named “Services”. Click it.

Opening Services.msc - Here you find a service named “CDPUserSvc_3e1f2”. Stop it from the options you get after double-clicking on it. After stopping it, click properties and choose startup type to “manual”.

Disabling the CDPUserSvc_36fb4
8. Clear the HTML cache
Before we reinstall Steam, it is worth a shot to clear the HTML cache and try to check if the problem persists. We will also flush config to make sure we try everything.
- Exit Steam client.
- Press ⊞ the Win + R button. This should pop up the Run
- In the dialogue box write “%localappdata%\Steam\htmlcache’’.
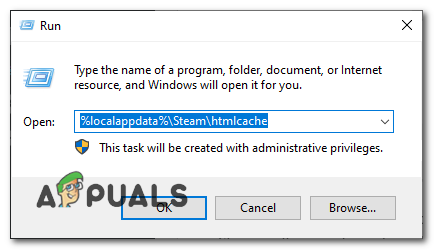
Deleting HTML Cache
Once you are in the cache folder, select all the items and delete them.
- After you are done with the deletion, press ⊞ the Win + R button again to bring up the Run application.
- In the dialogue box type “steam://flushconfig”.
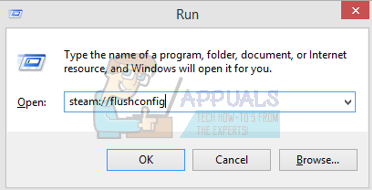
Resetting Steam Configurations
- After you press “Ok”, a window will pop up to confirm your action. Please note that after clearing the cache, Steam will prompt you to re-login using your credentials. Only perform this action if you have your Steam username and password at hand.
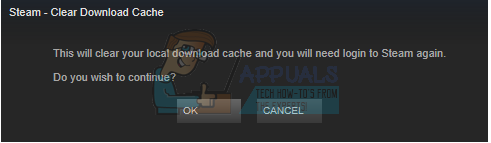
Confirming to Delete Download Cache
- Launch Steam using the client and hopefully, the downloads will be smooth without giving any problem.
9. Reinstall Steam Properly
If your problem still didn’t get fixed, it means there is something wrong with your Steam client. You would need to reinstall while keeping some files safe to save your game data. Please note that after this process you will be required to enter your Steam credentials; don’t try this method if you don’t have the correct ones at hand.
Exit all Steam applications before starting this solution. Please note that this won’t delete your gameplay data.
- Launch your Task Manager by pressing ⊞ Win + R button. This should pop up in the Run application.
- In the dialogue box write “taskmgr”. This should open up the task manager.
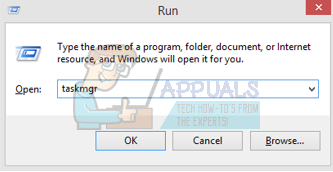
Opening Task Manager - End all Steam-related processes starting from the process ‘Steam Client BootStrapper’.
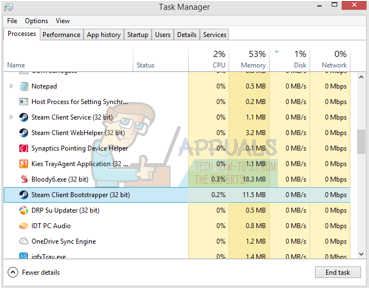
Finding Steam Process - Press ⊞ the Win + R button. In the dialogue box write “C:\Program Files (x86)\Steam”.
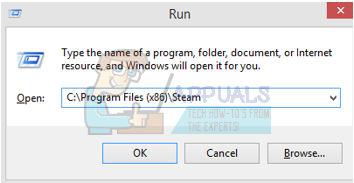
Deleting the Directory of Steam Or if you installed Steam in another directory, you can browse to that directory and you will be good to go.
- Locate the following files and folders:
- Steamapps Folder (This is where all your games are located)
- Userdata Folder (This is where the progress of your games is saved)
- Skins Folder (This is where your steam skins are located)
- Steam.exe Application (This is the launcher for Steam)
- Ssfn files They may be more than one and each one may have a number in front of it (Keep it so you don’t have to wait 7 days for trade cooldown).
- Delete all the other files except the ones mentioned above and launch steam from the launcher. Steam will download some files and update itself. After completing the installation, it will prompt you to enter your credentials. After you successfully log in, the downloads will work as expected. Remember to launch Steam using administrator privileges by right-clicking on the Steam launching and clicking on the option.
10. Changing Download Region
In some cases, the download region in which you are downloading the game might be experiencing some technical difficulties or the servers might be glitching. Therefore, in this step, we will be changing the download region and check if that fixes our issue.
- Run steam and wait for it to log you into your account.
- Click on “Steam” in the top right corner and select “Settings”.
- Click on “Downloads” and select the “Download Region” dropdown.
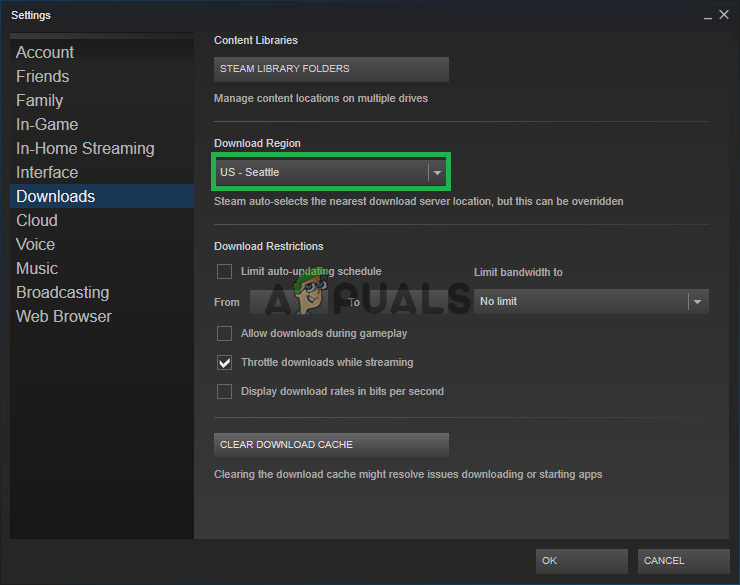
Clicking on “Downloads” from the left pane and then changing the region. - From here, select any location that is at a great distance to your current residing location and try to use the locations that are rarely used such as “Polish” and other servers.
- Click on “OK” and check to see if the changes that we made have fixed the issue.
11. Reset the Network Configuration
Your Network configurations can also be an issue as they can conflict with the router’s default network settings crippling the performance of your overall network. To reset your network configurations follow the steps shown below:-
- Click on the search bar and type “Command Prompt”.
- Now click on “Run as administrator”.
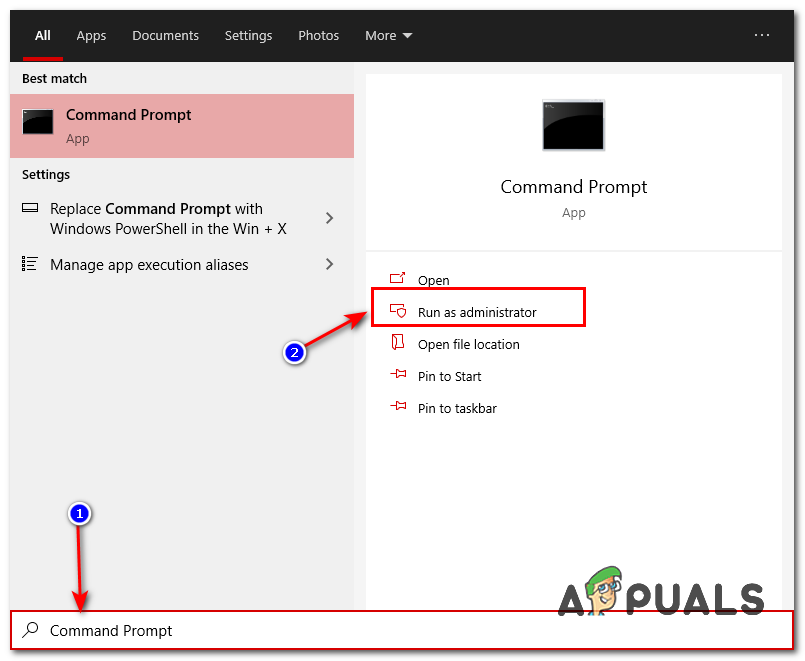
Running Command Prompt as an administrator - Once the Command Prompt pops up, type the following commands one-by-one:-
ipconfig /release
ipconfig /renew
ipconfig /flushdns
netsh winsock reset
netsh int ip reset
- Restart your computer and check to see if the issue still persists.
If you are still facing this issue you can try changing the IP address from your router.