Fix: Standard VGA Graphics Adapter Driver Issues
If you see an entry of “Standard VGA Graphics Adapter” in the category of Display adapters in your device manager, it means that the driver for your graphics hardware isn’t configured properly or is corrupted. The most common solution to this problem is updating the driver.
This issue particularly arises in a case where you have a dedicated graphics hardware installed (such as NVIDIA or AMD) but your computer doesn’t detect it properly and you only see the VGA graphics adapter entry.
Solution 1: Installing Default Drivers
Before updating the driver by downloading it, we can try restoring the default driver for the hardware by uninstalling it first.
- Press Windows + R, type “devmgmt.msc” in the dialogue box and press Enter.
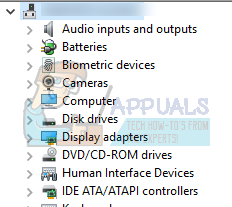
- Once in the device manager, expand the category of “Display adapters”. Right-click on the adapter and select “Uninstall”.
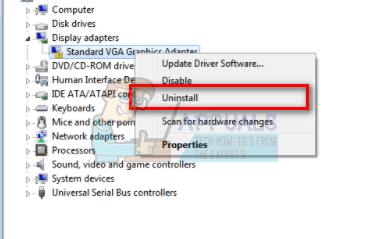
- The display adapter will disappear from the device manager. This means that the device was successfully uninstalled.
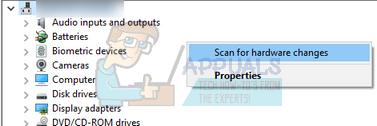
- Right-click on any empty space and select “Scan for hardware changes”. Your computer will now scan the all the hardware connected. After it comes across the display hardware, it will automatically install the default drivers.
- Open the “Display adapters” category again and check if the driver was successfully installed.
- Now you can check if the option is back in the settings. If it isn’t, restart your computer and check again. Do note that you might have to scan for hardware changes more than once if it doesn’t detect it on the first try.
Solution 2: Updating the Driver
If installing the default driver doesn’t fix anything, we can try updating the driver manually after downloading the latest one from the manufacturer’s website. You should only download the driver specific to your hardware and make sure you are downloading the latest one. Save it to an accessible location which you can easily access later on.
- Follow the instructions on our article on how to boot your computer in safe mode. Make sure to disable your Antivirus and your internet connection before proceeding.
- Once booted in the safe mode, right click on Windows key and select Device Manager from the list of options available.
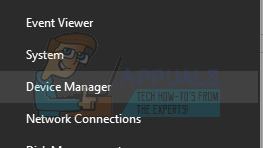
Another way to launch the device manager is by pressing Windows + R to launch the Run application and typing “devmgmt.msc”.
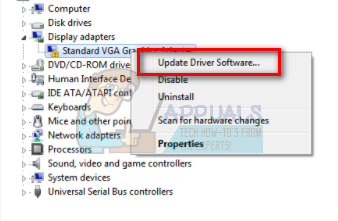
- Right-click on the adapter and select “Update Driver”.
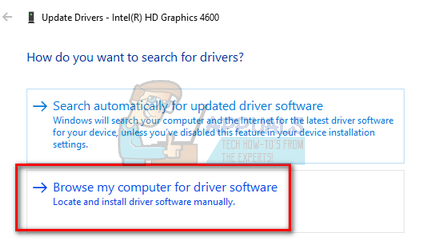
- Now a new window will pop up asking you to whether update the driver manually or automatically. Select “Browse my computer for driver software”.
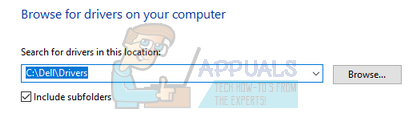
- Now browse through the folders to where you downloaded the drivers. Select it and Windows will install the required drivers. Restart your computer and check if the problem got solved.
If the methods shown above didn’t help you, it’s possible that your manufacturer has custom drivers for your device. To download those custom drivers you will have to go to the official driver’s website of your device and get the drivers from that website. Simply download the driver and you can install them using the method shown above.