Fix: Sorry, there Was a Problem Mounting the File
Several users report receiving the “Sorry, there was a problem mounting the file” when trying to mount a file on Windows Server 2012 R2, Windows 7, Windows 8.1 or Windows 10. The issue is only reported to occur with the built-in ISO mounter.
What is causing the “Sorry, there was a problem mounting the file” error
We investigated this particular issue by looking at various user reports and the repair strategies that they used to get the issue resolved. Based on what we gathered, there are several common scenarios that will trigger this particular error message:
- Internet-downloaded ISO file is blocked – This is the most common reason why the error message occurs in the first place. If you downloaded the file over the Internet, a Windows security feature might have blocked it.
- The ISO file is already mounted – Another common reason why this error occurs is if the ISO file is already mounted by Windows. Keep in mind that with certain procedures, Windows might mount the ISO automatically as soon as the download completes.
- MicroSD card is interfering with the mounting – A couple of affected users have reported that for them the issue was occurring due to a MicroSD memory card that was inserted.
- ISO file is not set to Read Only – Keep in mind that the built-in disk imaging utility will have trouble mounting the ISO file if it doesn’t have a read-only flag. Reports suggest that the initial verifications are specifically looking for that.
- The disk imaging driver is corrupted – This is known to happen quite often on Windows 7 and Windows 8. Several affected users have managed to repair it to a working state using Registry Editor.
- ISO file has the sparse attribute set – This scenario is typically reported to occur on Windows 10 and Windows Server 2012. Several users have managed to resolve the issue by removing the sparse attribute.
If you’re currently struggling to resolve the “Sorry, there was a problem mounting the file” error, this article will provide you with a selection of verified troubleshooting steps. Below you have several methods that other users in a similar situation have used to resolve or circumvent the issue.
For the best results, follow the methods below in order until you encounter a fix that resolves the problem in your particular scenario. Let’s begin.
Method 1: Verifying if the ISO is already mounted
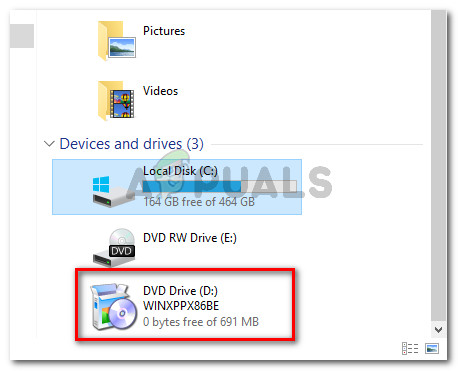
Before trying anything else, it’s important to ensure that the ISO file that is triggering the error is not already mounted. Quite a few of users that were struggling with the “Sorry, there was a problem mounting the file” error discovered that the reason it was not working is that the file was already mounted.
Apparently, with certain ISO files Windows will automatically mount the drive at the end of the procedure. This is known to occur on Windows 8.1. So, with this in mind, open File Explorer and see if the ISO file is already mounted.
If it isn’t, move down to the next method below.
Method 2: Making a copy of the ISO and mounting it
The most popular fix for this particular error message is to make a copy of the ISO file and mount it using the same built-in Windows mounter. Several users encountering the same error have reported that the error is no longer occurring with the new ISO copy.
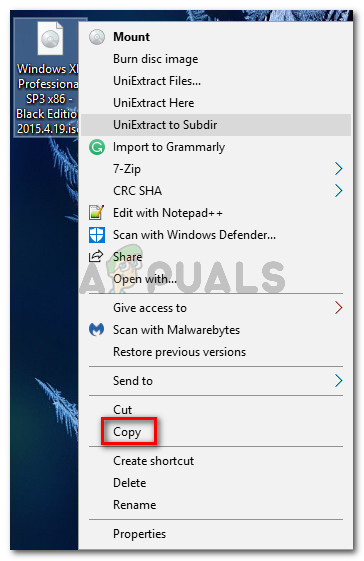
So, in order to circumvent the error message, simply right-click the ISO file that is giving your troubles and choose Copy. Although there is no official explanation why this method was successful for so many people, Windows users speculate that it’s probably because creating a new copy of the ISO file get’s rid of the blocked property that was preventing the ISO from being mounted. Essentially, the sparse flag is avoided when creating a copy of the file.
Next, right-click on an empty space (in a different or the same location) and choose Paste, then wait for the process to finish. Once you have two versions of the same ISO, right-click on the copied version and choose Mount.
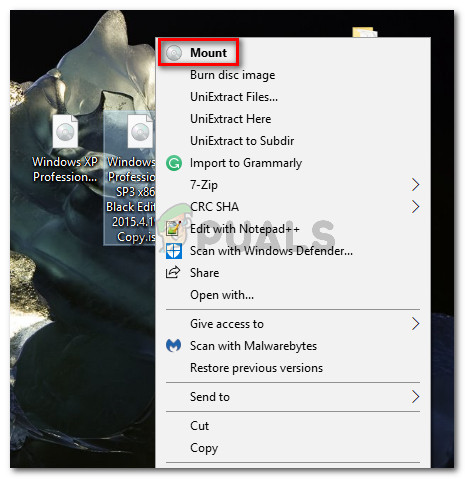
The mounting process should complete without the “Sorry, there was a problem mounting the file” error.
If this method didn’t allow you to resolve the error message, move down to the next method below.
Method 3: Unblocking the ISO file
Another way to go around resolving this issue is to unblock the file using File Explorer. Several users encountering the same error message have reported that the error was resolved in their case after they unblocked Internet-downloaded files.
Here’s what you need to do:
- Open file Explorer and navigate to the location of the ISO file.
- Select the ISO file and press Alt + Enter to open up the Properties menu. You can also right-click on it and choose Properties.
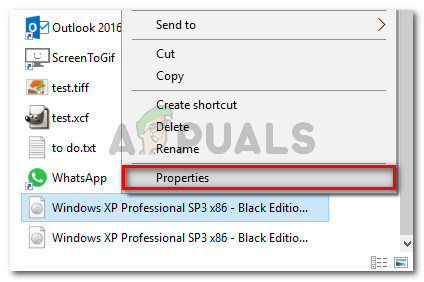
Right-click and choose Properties or select and press Alt + Enter - In the Properties window of the ISO file, go to the General tab and check the Unblock box associated with Security and hit Apply to confirm the changes.
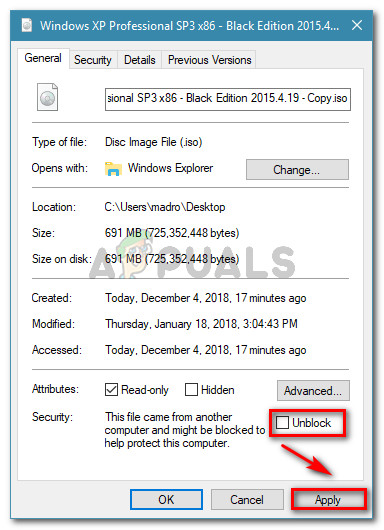
Unblocking the ISO file - Attempt to mount the file again and see if the procedure is successful.
If you’re still seeing the “Sorry, there was a problem mounting the file” error, move down to the next method below.
Method 4: Removing the microSD card
Another verified reason why the “Sorry, there was a problem mounting the file” error occurs is if you have an active microSD card when you’re trying to mount an ISO file. On Windows 7 and Windows 8.1, this is reported to interfere with the mounting procedure, producing the error message.
If this scenario is applicable to your current situation, simply remove the microSD card from your computer and see if the error message is resolved.
If you’re still encountering the same error message when you try to mount the ISO file with the built-in disk imaging utility, move down to the next method below.
Method 5: Setting the ISO file to Read-Only
Some users struggling to resolve the same error message have reported that the issue was resolved entirely on Windows 7 and Windows 8.1 after they modified the properties of the ISO file to specify that it’s Read-only.
Apparently, the built-in disk imaging software will specifically look for this tag whenever it needs to mount the file. If the tag is missing, you might encounter the “Sorry, there was a problem mounting the file” error.
Here’s a quick guide on setting the Read-Only tag to your ISO file:
- Navigate to the location of your ISO file, right-click on it and choose Properties. You can also select it and press Alt + Enter to reach the same screen.
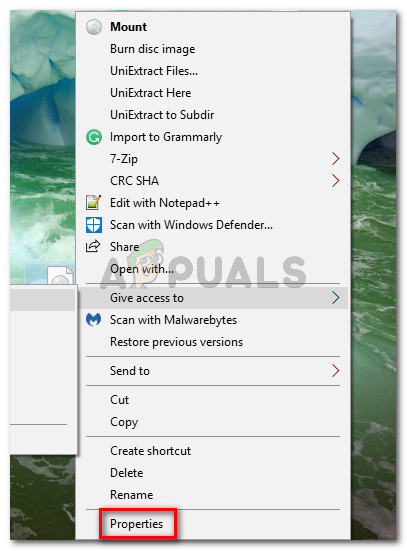
Accessing the Properties screen of the ISO file - In the Properties screen of the ISO file, go to the General tab and make sure that the Read-only checkbox (next to Attributes) is checked. Then, click Apply to save the changes.
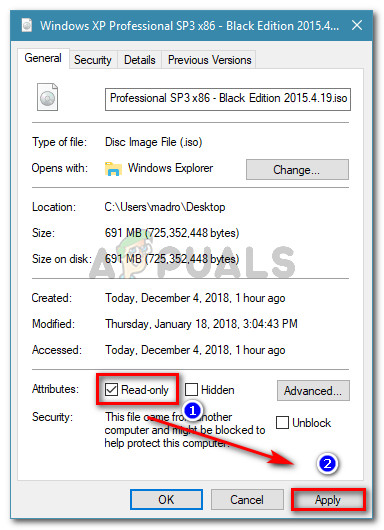
Enabling the Read-Only tag - Mount the image again and see if you’re still facing the same error message. If you are, move down to the next method below.
Method 6: Repairing the disk-imaging driver with Registry Editor
Several users encountering the same error message have managed to resolve the issue after discovering that the issue was caused by the disk imaging driver (some registry problems related to it). Some affected users were able to resolve the issue by using Registry Editor to repair the integrity of the registry keys.
Note: This guide has only been confirmed to work with Windows 7 and Windows 8.1.
Here’s a quick guide on how to do this:
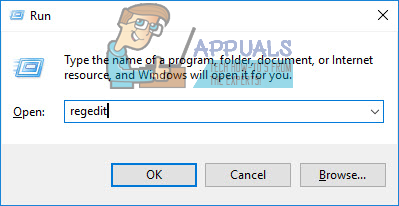
- Press Windows key + R to open up a Run dialog box. Then, type “regedit” and press Enter to open Registry Editor. When prompted by the UAC (User Account Control), press Yes to grant admin privileges.
Run dialog: regedit - Let’s start by creating a registry backup just in case things don’t go our way. To do this, in Registry Editor, go to File > Export.
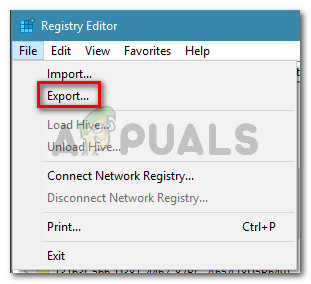
Export” width=”311″ height=”284″> Go to File > Export - Next, save your backup somewhere convenable, give it a name and make sure that the Export range is set to All.

Creating a registry backup Note: In case you ever need to use the backup that we’ve just created, go to File > Import and select the backup file.
- Once the backup has been created, use the navigation pane (left pane) to arrive at the following registry subkey:
HKEY_LOCAL_MACHINE\SYSTEM\CurrentControlSet\Control\Class\{4D36E965-E325-11CE-BFC1-08002BE10318} - Once you get there, move over to the right- pane, right-click on UpperFilters and choose Delete.
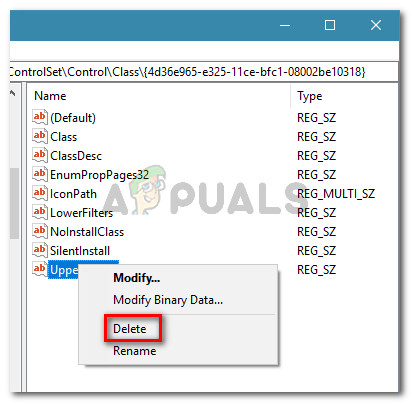
Deleting the UpperFilters string value Note: Do not delete the UpperFilters.bak registry.
- Right-click on LowerFilters and choose Delete.
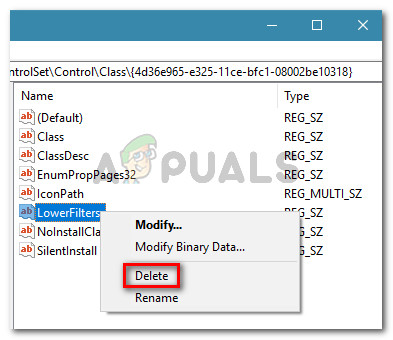
Deleting the LowerFilters value - Close Registry Editor and restart your computer.
At the next startup, see if the issue has been resolved by attempting to mount the ISO file again with the built-in imaging disk utility.
Method 7: Removing the sparse attribute
If you’ve come this far without a result, it’s very likely that the ISO file is not mounting correctly because it has the sparse attribute set. This is typically reported to occur on Windows Server and Windows 10.
If this scenario is responsible for the “Sorry, there was a problem mounting the file” error, you can fix it by removing the sparse attribute. This can be done by either doing things manually or using a freeware utility. Follow whichever guide seems more convenable to your current situation.
Using Remove Sparse to delete the sparse attribute set
If you decide to go with the route that involves using a GUI, follow the guide below to install and use Remove Sparse:
- Visit this link (here) to download Remove Sparse. Then, extract the contents of the .zip file in an accessible folder.
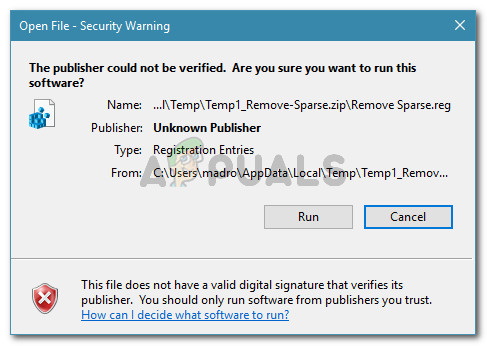
- Open the Remove Sparse.reg and click Run at the Security Warning.
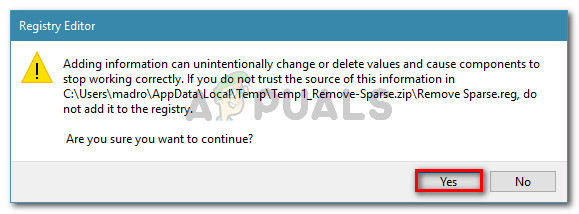
Running the .reg file - After clicking Yes at the UAC (User Account Control) prompt, click Yes at the Registry Editor prompt to operate the required changes to the Registry.
Operating the changes to the Registry - Once the operation is complete, simply right-click the ISO file. You should now have the option to Remove Sparse if the ISO file still has the sparse attribute set.
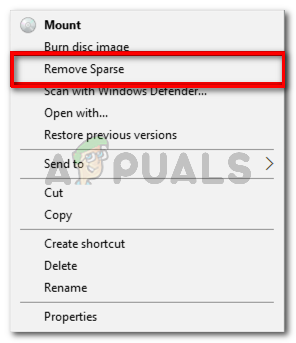
Removing the sparse attribute
Using an elevated Command Prompt to remove the sparse attribute
Another way to go around resolving the problem is to recreate the functionality added by the .reg file above from an elevated Command Prompt. Here’s what you need to do:
- Press Windows key + R to open up a Run dialog box. Then, type “cmd” and press Ctrl + Shift + Enter to open up an elevated Command Prompt with administrative privileges.

Run dialog: cmd - When prompted by the UAC (User Account Control), click Yes to grant administrative privileges.
- In the elevated command prompt, type or paste the following command and press Enter (but be careful to replace the placeholders with your own):
fsutil sparse setflag {PathToISO} 0 fsutil sparse queryflag {PathToISO}Note: Keep in mind that PathToISO is merely a placeholder for the actual location of the ISO file. Replace it with the full location in your particular situation.
If this method didn’t enable you to resolve the “Sorry, there was a problem mounting the file” error, move down to the next method below.
Method 8: Using a 3rd party application
If you’re you are prepared to let go of the disk-imaging utility, you can use a 3rd party disk imaging utility to mount the ISO file. Several users encountering the same error message have managed to circumvent the issue by using an external solution.
Here’s a quick guide on avoiding the error file by mounting the ISO file with Daemon tools:
- Visit this link (here) to download the free version of Daemon Tools.
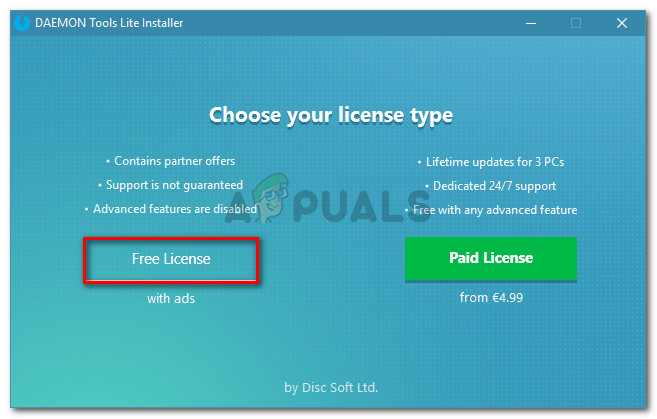
- Open the installation executable and follow the on-screen prompts to install a Free license of Daemon Tools.
Installing Daemon tools FREE - When asked if you want to install the Storage controllers, click the Install button.
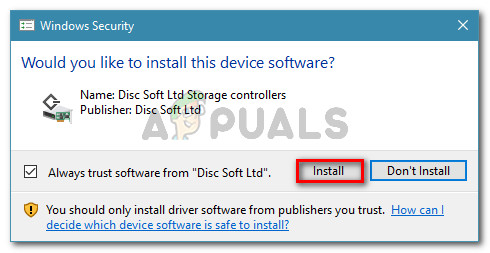
Installing the Storage Controllers - Once the installation is complete, right-click on the Daemon Tools icon in the taskbar and choose Mount.
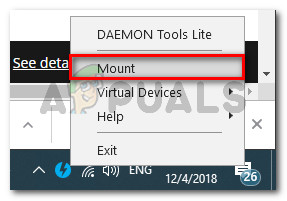
Mounting the iso image with Daemon tools - Use the navigation window to navigate to the location of the ISO that you’re trying to mount. Then, select the ISO file and click Open.
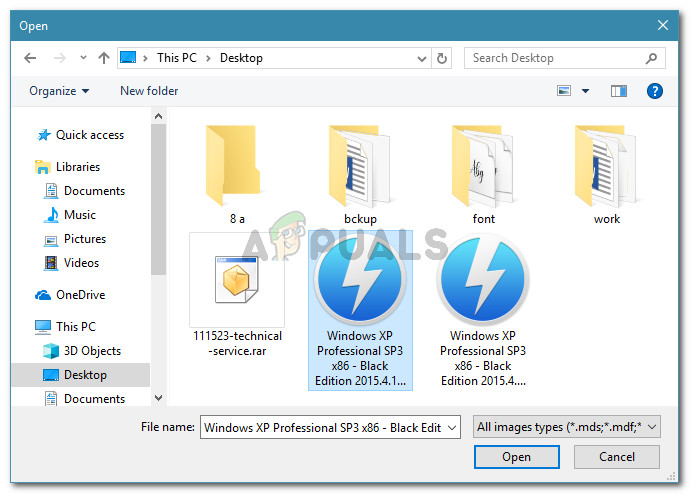
Open ISO file - The ISO file should be mounted momentarily. This way, you’ll be able to circumvent the “Sorry, there was a problem mounting the file” error.


