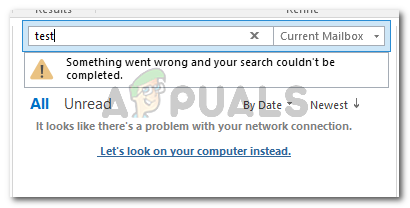
Fix ‘Something went wrong and your search couldn’t be completed’
Some Outlook users are seeing the “Something went wrong and your search couldn’t be completed” error when trying to search for something. The issue is only reported to occur on Windows computers and is known to appear on multiple Outlook versions including Outlook 2016, Outlook 2010.
What is causing the “something went wrong and your search couldn’t be completed error?
We investigated this particular error message by looking at various user reports and the repair strategies that they used to get the issue resolved. From what we gathered, there are several common scenarios that are known to trigger this particular error message:
- The error is caused by a Windows update – KB4022722 (Windows 7), KB4021558 and KB4022722 (Windows 10) are updates released around June 2017 that Microsoft acknowledges that they have the potential of creating this particular error message. Since then, Microsoft patched this potential problem with several hotfixes.
- Outlook add-in is interfering with the search function – Several affected users have gotten the issue resolved after uninstalling every 3rd party add-in that was active inside Outlook. Apparently, some add-ins have the potential of affecting the search function.
- Corrupted Office installation – Based on several user reports, the issue can also occur due to an incomplete/corrupted installation. In this case, the issue can most likely be resolved by repairing the Office installation.
- PreventIndexingOutlook Registry key is stopping the search functionality – Several bad Windows updates and a couple of 3rd party applications might have added a registry value that effectively stops the search function of Outlook.
- Outlook indexing is broken – Several users encountering the same error message have reported that the issue was resolved after they reset the Outlook Indexing.
If you’re currently struggling to resolve this particular issue, this article will come to your aid. Down below, you have a collection of methods that other users who were in a similar situation have used to get the issue resolved.
To ensure the maximum efficiency, follow the methods below in order until you discover a fix that is effective in your particular scenario.
Method 1: Installing Microsoft’s hotfix for Windows 7
If you suspect that this issue might be occurring because of a Windows update, you’d want to start by installing Microsoft’s hotfix – this addresses this particular issue (along with a few other problems).
The easiest way to install this particular update is to download the standalone package from this link (here) – according to your Windows version. Once the download is complete, open the installation executable and follow the on-screen prompts to install it on your system.
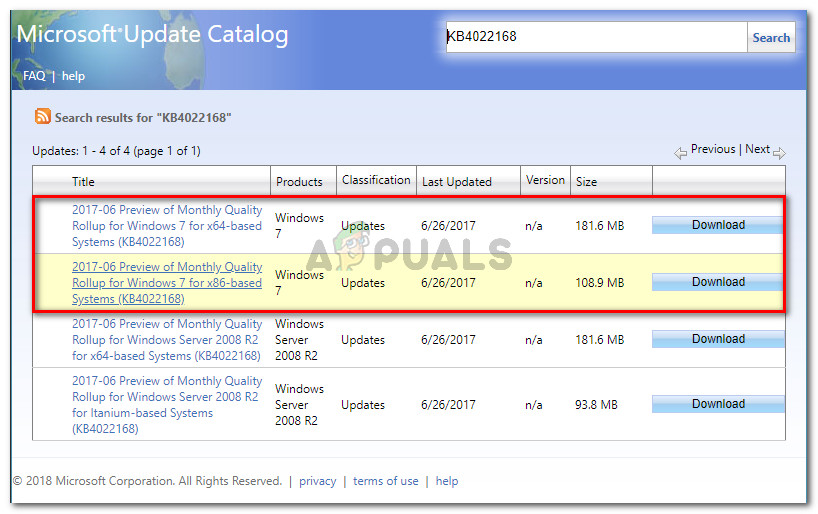
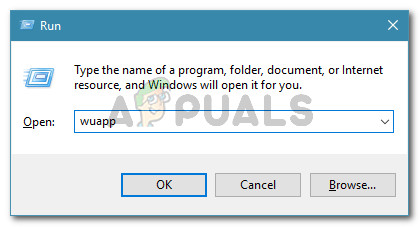
Another way to install the hotfix is to open Windows Update and install the KB4022168 from the Optional section. To open Windows update, press Windows key + R to open a Run dialog box. Then, type “wuap” and press Enter to open the Windows Update utility.
Whichever method you choose, make sure to restart your computer to allow the update to install completely. At the next startup, open Outlook and see if the “Something went wrong and your search couldn’t be completed” error is still occurring.
If you’re still seeing the error message or this method was not applicable to your Windows version, move down to the next method below.
Method 2: Installing Microsoft’s Hotfix for Windows 10
If you’re encountering this issue on Windows 10 and it only started occurring after you installed one (or more) Windows updates, you might need to install a couple of hotfix updates.
Microsoft was very slow releasing a fix for Windows 10 when it comes to this error – Windows 7 got almost two months earlier. If you’re on Windows 10, the appropriate hotfix for this particular error depends on your Windows 10 build.
As it turns out, the issue only affects a couple of Windows 10 builds, and the fix is different depending on which version you’re using.
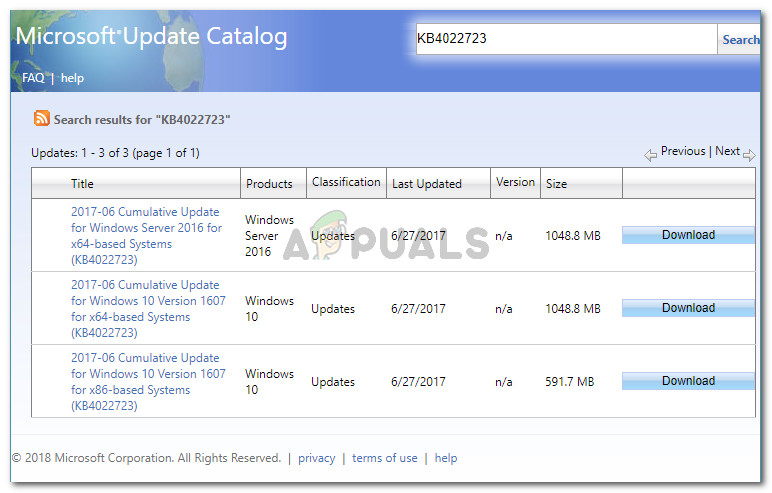
If you’re using build version 1511, download the following hotfix (here). For version 1607, use the following hotfix (here).
Note: We also recommend that you install every pending Windows Update by opening a Run box (Windows key + R), typing “ms-settings:windowsupdate” and pressing Enter. Then, click the Check for updates button and follow the on-screen prompts to install every pending update.
Once the download is complete, open the installation executable and follow the on-screen prompts to apply the fix to your system. Then, restart your computer to see if this method has been successful.
If you’re still seeing the “Something went wrong and your search couldn’t be completed” error when trying to search for something inside Outlook, move over to the next method below.
Method 3: Removing any 3rd party add-in from Outlook
Some users encountering the same error message have reported that the issue has been resolved after they uninstalled every 3rd party add-in that they had working under Outlook. As it turns out, several 3rd party add-ins have the potential of breaking the search function inside Outlook.
Here’s a quick guide on inspecting and removing any 3rd party add-in from Outlook:
Note: The steps below might vary slightly depending on your Outlook version.
- Open Outlook and go to File > Options.
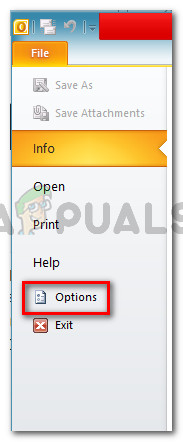
Opening the Options menu inside Outlook - Inside the Outlook Options screen, click on the Add-ins menu from the left menu. Then, move over to the right menu, set the drop-down menu associated with Manage to Com Add-ins and click Go.
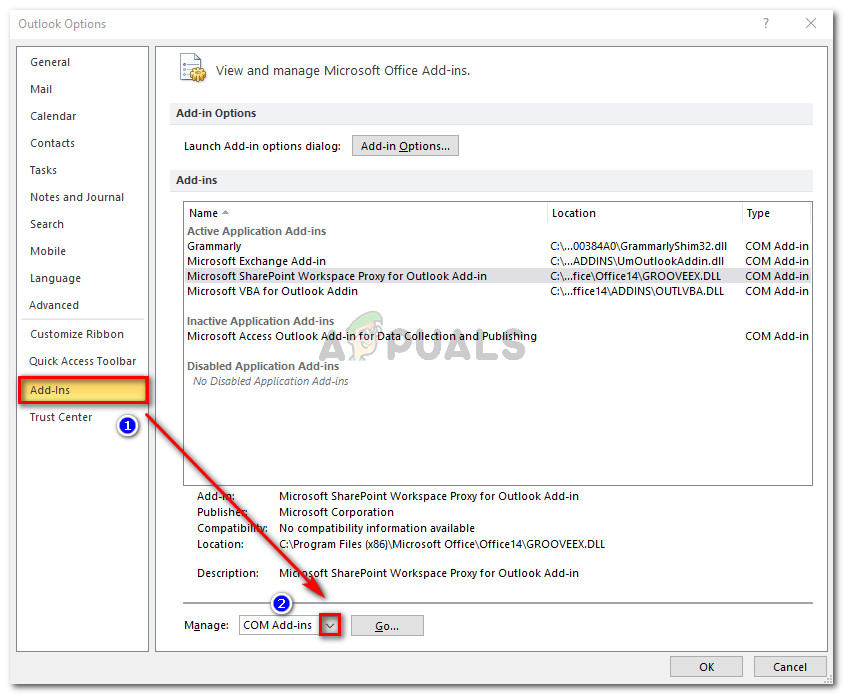
Opening the COM Add-ins menu in Outlook - In the COM Add-Ins menu, select each add-in and click Remove to uninstall it from your Outlook application.
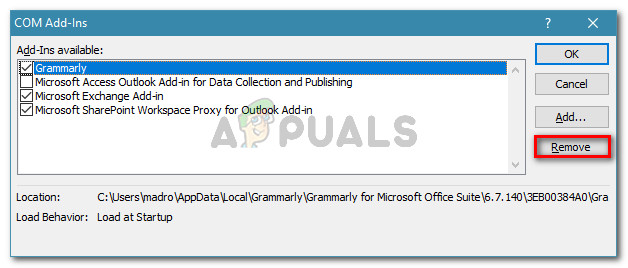
Removing every 3rd party add-in from Outlook - Once every 3rd party update has been removed, restart Outlook and see if the issue has been resolved.
If Outlook’s search function is still showing the “Something went wrong and your search couldn’t be completed” error, move down to the next method below.
Method 4: Repairing the Office installation
Several users encountering the same error message have reported that the issue was completely resolved after they repaired the entire Office installation. This seems to suggest that the issue might also occur due to some kind of corruption among the Office files.
If you suspect that the issue might be occurring due to a corrupted Office installation, here’s a quick guide on repairing it from the Programs and Features window:
- Press Windows key + R to open up a Run dialog box. Then type “appwiz.cpl” and press Enter to open up Programs and Features.
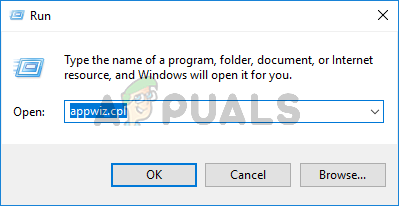
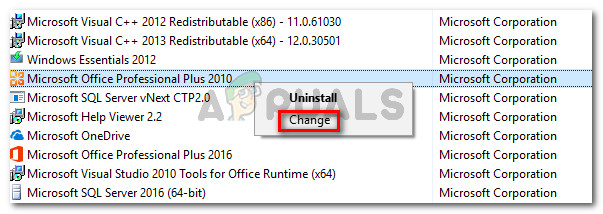
Running dialog: appwiz.cpl - Inside Programs and Features, scroll through the list of applications, right-click on the Office installation and choose Change. If prompted by the UAC (User Account Control), click Yes to grant administrative privileges.
Accessing the repair menu of the Microsoft Office installation - Inside the repair menu, select the Repair option and click Continue.
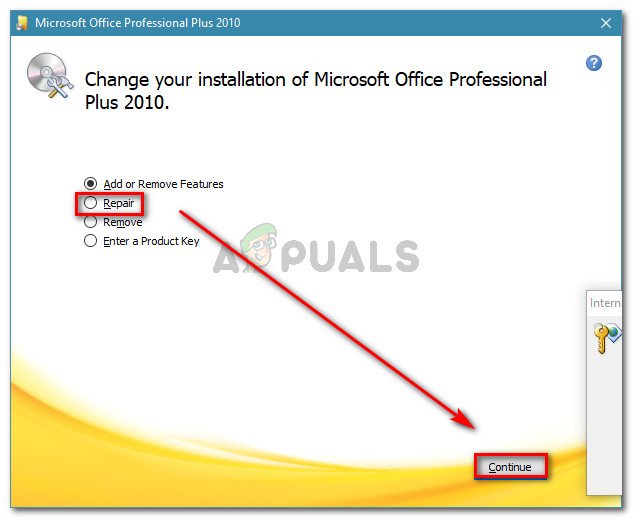
Repairing the Office Installation Note: This menu will look different depending on your Office version.
- Wait until the process is complete, then restart your computer and see if the error message is resolved.
If you’re still encountering the “Something went wrong and your search couldn’t be completed” error when using the search function inside Outlook, move down to the next method below.
Method 5: Deleting the PreventIndexingOutlook key
As it turns out, this particular issue can also occur even after you apply the Microsoft provided a hotfix. Apparently, the issue might still remain because some registry keys might not get deleted from the Registry. Also, several 3rd party applications might also add this registry key to the Registry, which ends up breaking the search function entirely in Outlook.
Several affected users have reported that for them, the issue was resolved indefinitely after they followed the instructions below:
- Press Windows key + R to open up a Run dialog box. Then, type “regedit” and press Enter to open up a Run dialog box. When prompted by the UAC (User Account Control), click Yes to grant administrative privileges.
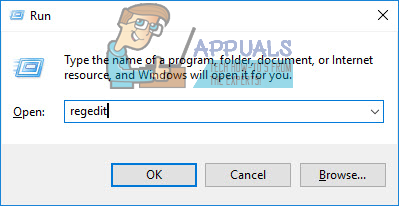
Running dialog: regedit - Inside Registry Editor, navigate to the following location using the left-hand menu:
HKEY_LOCAL_MACHINE\SOFTWARE\Policies\Microsoft\Windows\Windows Search
Note: For a quicker access, you can also paste the entire path in the navigation bar at the top.
- Once you arrive at this particular location, move over to the right-hand menu and see if you have a value named PreventIndexingOutlook. If you do have it, simply right-click on it and choose Delete to get rid of it.
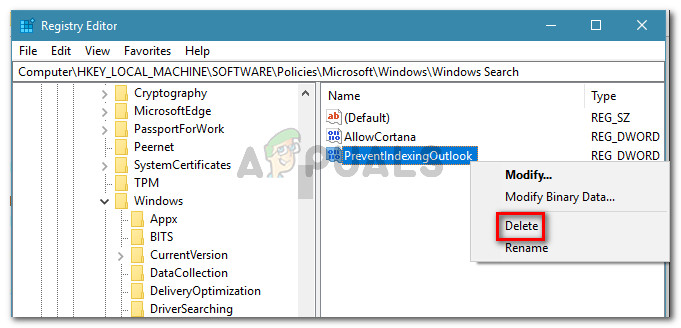
Deleting the PreventIndexingOutlook value - Repeat step 3 with the following locations and see the same value is present here. If it is, deletes it just like we did above:
HKEY_CURRENT_USER\Software\Policies\Microsoft\Office\16.0\Outlook\Search
HKEY_CURRENT_USER\Software\Microsoft\Office\16.0\Outlook\Search
- Once all the PreventIndexingOutlook values have been purged, close Registry Editor, restart your computer and see if the issue has been resolved at the next startup.
If you’re still seeing the same error message, move down to the next method below.
Method 6: Enabling Search Indexing for Microsoft Outlook
Some users have managed to resolve the issue after noticing the Search Index was disabled for Outlook. As it turns out, this can either occur due to 3rd party interference or due to manual user intervention.
If this is what’s causing the “Something went wrong and your search couldn’t be completed” error, you will be able to resolve the issue by going to Indexing Options and enabling Search Indexing for Microsoft Outlook. Here’s a quick guide on how to do this:
- Make sure that Outlook is completely closed.
- Press the Windows key to bring up the Start menu. Then, type “index” and click on Indexing Options.
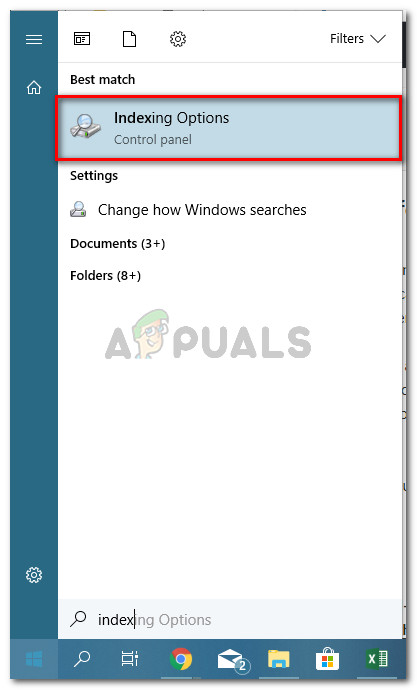
Opening the Indexing options menu - Inside the Indexing Options menu, click Modify.
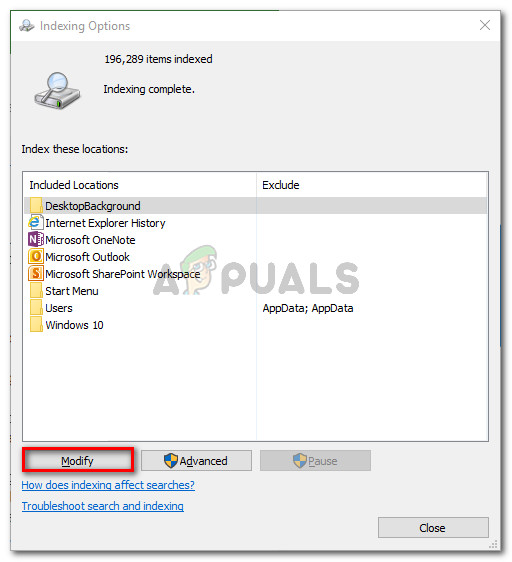
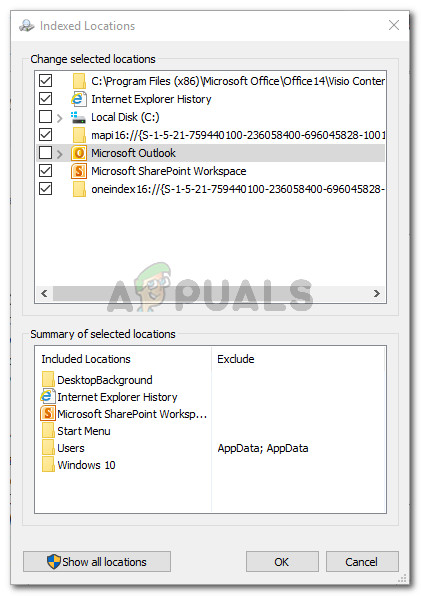
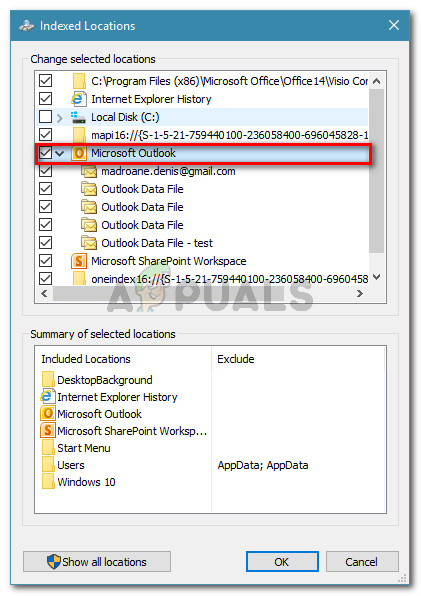
Modifying the Indexing Options - In the Indexed Location menu, check the box next to Microsoft Outlook to include it among the selected locations. Skip this step if Microsoft Outlook already appears under Summary of selected locations. Then, hit Ok to save the changes.

Making sure that Microsoft Office is included among the Selected Locations - Restart your computer and see if the error message is resolved at the next startup.
If you’re still seeing the “Something went wrong and your search couldn’t be completed” error even after following the steps below, move down to the next method below.
Method 7: Resetting Outlook Indexing
Several users that were struggling to resolve the issue for days have reported that they finally got a breakthrough after they followed a set of instructions used to reset Outlook Indexing.
Here’s a quick guide on how to do this:
- Open Outlook and go to File > Options.
Opening the Options menu inside Outlook - Inside Outlook’s Options menu, go to the Search sub-menu and click Indexing Options under Sources.
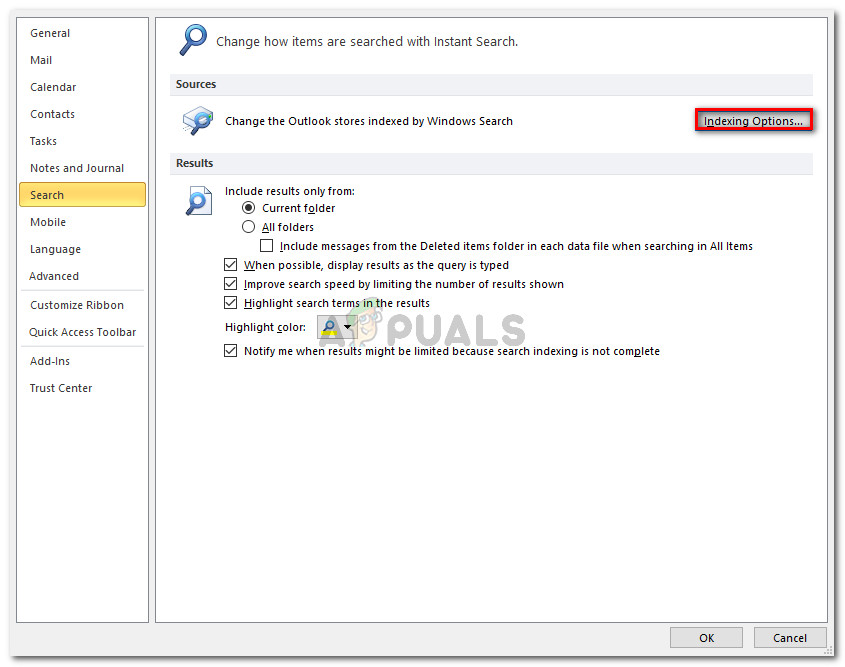
Accessing the Indexing Options Menu from Outlook’s settings - Inside the Indexing Options menu, click on Modify, then uncheck Microsoft Outlook. Once the entry is deselected, click Ok and then Close to save the changes.
Disabling Outlook indexing - Return to Outlook and go to File > Account settings and click on Account Settings from the newly appeared drop-down menu.
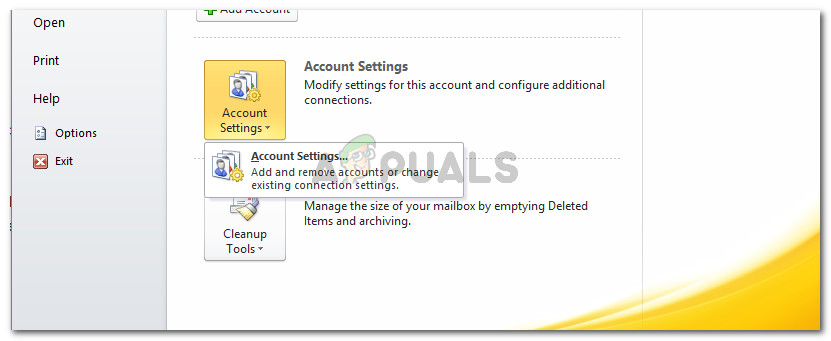
Accessing the Account Settings menu in Outlook - In the Account Settings window, go to the Data Files tab. Then, note down the location of the OST or PST file that is set as the default.
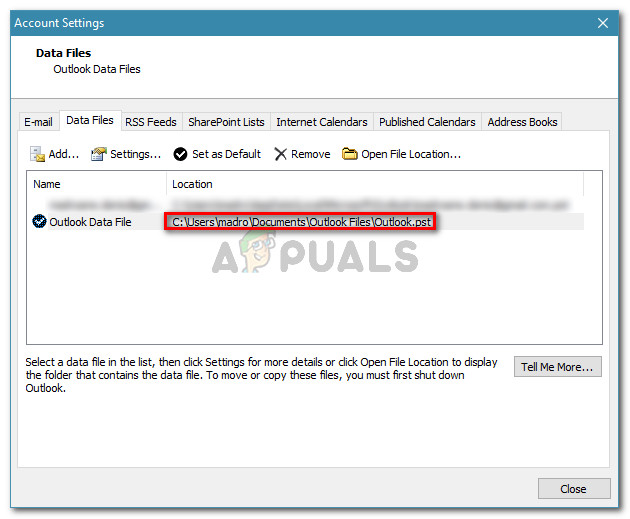
Discovering the location of the active PST (OST) file - Close Outlook, open Windows Explorer (File Explorer) and go to the location you previously noted down. Once you arrive at that location, hold down Ctrl and click on each .pst (or .ost) file to select them all, then right click on one and choose Properties.
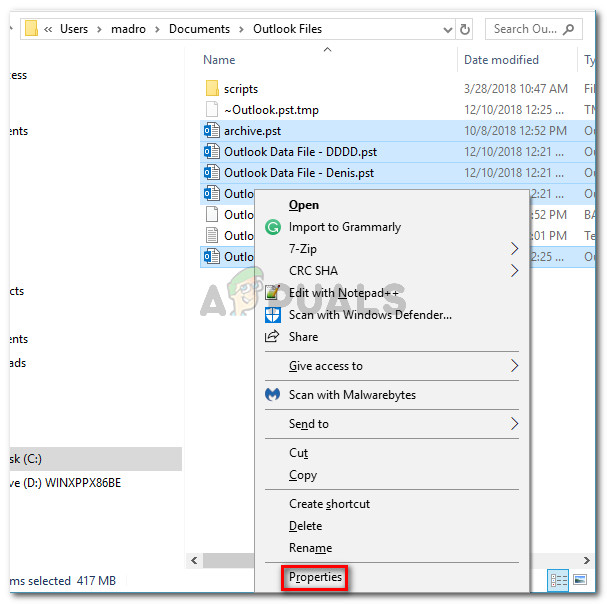
Accessing the Properties screen of every PST (OST) file - In the Properties window of the selected files, go to the General tab and click on Advanced.
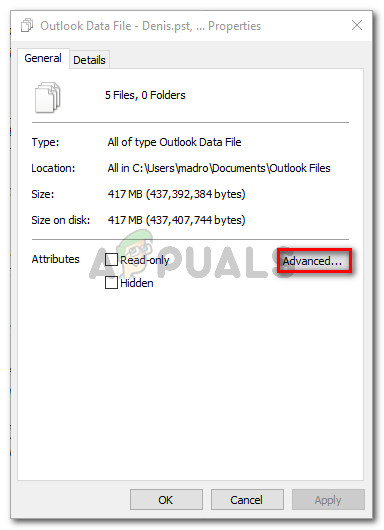
Opening the Advanced menu of the selected files - In the Advanced Attributes menu, make sure that the box associated with Allow this file to have contents indexed in addition to file properties is checked. Then, click Ok and Apply to save the changes.
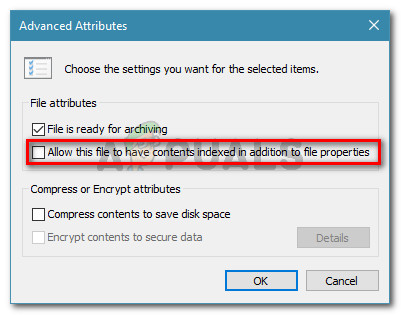
Allowing the selected files to have their contents indexed - Finally, return to File > Options > Search > Indexing Options > Modify and recheck the box associated with Microsoft Outlook.
Re-enabling Microsoft Outlook search indexing - Click Close, then restart your computer. At the next startup, the “Something went wrong and your search couldn’t be completed” should be resolved.


