Fix: Slack Notifications not Working
Several users are reporting that they don’t receive any notifications from Slack. Even though it’s widely regarded as the best team collaboration service, Slack has a long and painful with the delivery of notifications. Whether it’s the desktop version or the UWP (Universal Windows Platform) Slack version on Windows or the iOS app, this notification problem has been around for years now.

What is causing the Slack notifications to stop functioning?
We investigated this particular issue on Windows by looking at various user reports and the repair strategies that some affected users have deployed in order to resolve the problem. Based on what we gathered, there are several fairly common scenarios that will trigger this particular issue:
- Notifications Manager has determined that Slack notifications are not important – The notification manager on Windows 10 got smart, meaning that it will decide on the notifications that go through based on the user interest. If you got a lot of Slack notifications and ignored all of them, you will start seeing less and less of them until you start showing interest.
- Desktop notifications are disabled for Slack – You might not be seeing Slack notifications because the Slack notification functionality is disabled from Slack’s settings menu. In this case, enabling notifications for All new messages and ensuring that they get delivered through Windows Action Center should resolve the issue in this particular scenario.
- Do Not Disturb mode is preventing the notifications from going through – The Do Not Disturb mode is designed to spare you from receiving notifications during resting hours, but if you’re working with a team that has a different timezone, this mode might kick in during your working hours. To resolve this issue, you’ll need to either disable this mode completely or modify its settings to reflect your own working hours.
- Corrupted Slack application cache – As some users have reported, as cached data piles up, you might start noticing delays in the deliverance of notification. Since these delays are known to get bigger and bigger, it’s best to form a habit of cleaning your Slack application cache from time to time. This procedure is different depending on the type of Slack application that you’re using.
- New notification behavior is not functioning correctly – The new Windows 10 notification behavior is known to cause some problems (particularly with the desktop version of Slack). Fortunately, there is a Run command that will allow you to revert back to the previous notification behavior extremely easily.
- Quiet Hours (Focus Assist) is blocking Slack notifications – If Quiet Hours (Focus Assist) is enabled on Windows 8.1 or Windows 10, it could be the reason why you’re notifications fail to be delivered. In this case, either disable the feature altogether or configure it to the proper hours.
If you’re currently looking for troubleshooting steps that will fix your Slack notifications, this article will help. Down below, you’ll find a collection of methods that other users in a similar situation have used to correct this broken behavior.
The methods are ordered by efficiency and severity, so please follow them in the order that they are presented. One of them is bound to resolve the issue in your particular scenario.
Method 1: Read all your pending messages
If you’re no longer receiving Slack notifications (but you used to see them), chances are your operating system has determined that those messages are not that important to you so it stopped sending them. This is a new feature introduced with Windows 10.
If this particular scenario is what’s causing the lack of Slack notifications, the fix is to simply read all pending Slack messages. This will send the right signals to Windows 10, making it aware that you’d like to receive more in the future.
With this in mind, simply open your Slack application (desktop or UWP) and click on each new messages to read it. Once every message has been read, close Slack and restart your computer. If Windows was previously considering Slack notifications as not important, this behavior should have changed now.
Once the next startup is complete, monitor Slack’s behavior and see if you start receiving notifications. If you still can’t see Slack notifications, move down to the next method below.
Method 2: Make sure that desktop notifications are enabled
If you never received Slack notifications, chances are this functionality is disabled from Slack’s Settings menu. Keep in mind that workspace administrators have the ability to change the default notification behavior.
Even more, notification settings are not application wide – If you’re part of multiple workspaces, you’ll need to establish default behaviors for all of them.
Here’s a quick guide on making sure that desktop notifications are enabled on Slack:
Note: The steps below will work on both the desktop and the UWP version of slack.
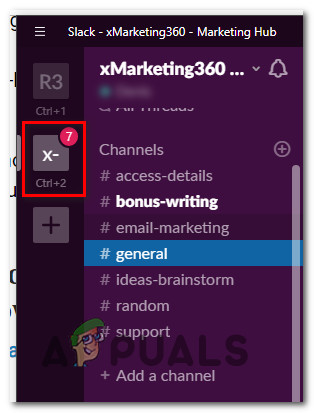
- Open Slack (desktop or UWP) and press Ctrl + Comma key (‘,’) to open up the Preferences menu.
- Then, go to the Notifications tab and make sure that the All new messages toggle is selected.
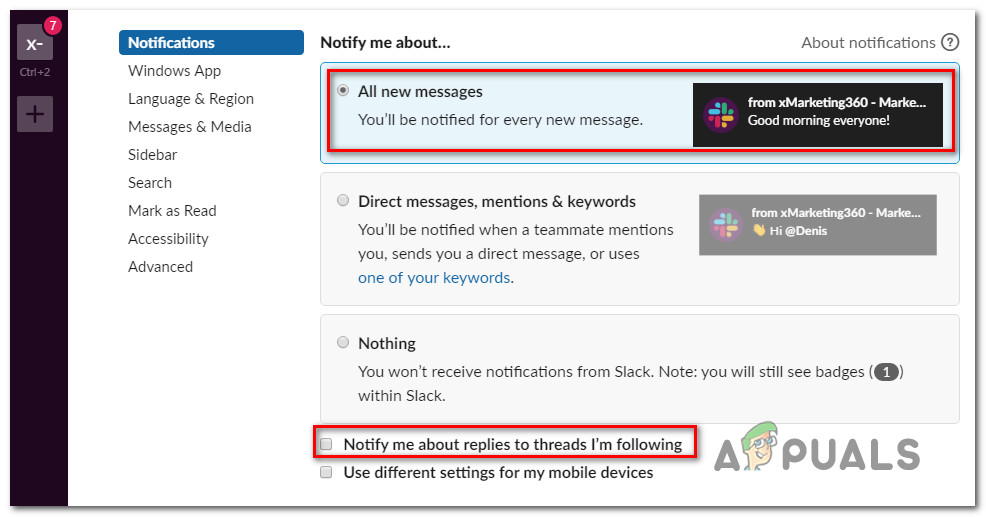
Ensuring that notifications are enabled on Slack Note: If you’d like to get notifications about every thread reply, check the box associated with Notify me about replies to threads I’m following.
- Next, scroll down to the Sound & appearance tab and make sure that the drop-down menu associated with Deliver notifications via… is set to Windows Action Center or Windows Action Center (abbreviated).
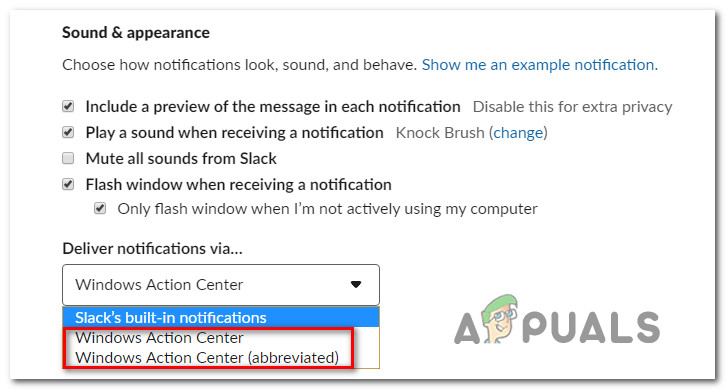
Changing the notification deliverance method on Slack - Keep in mind that on top of these master notification options that we’ve just modified, there are also individual channel settings that will override the general settings. To adjust the notification behavior on individual channels, open each workspace that you’re part of and click on the Cog icon and click on Notification preference.
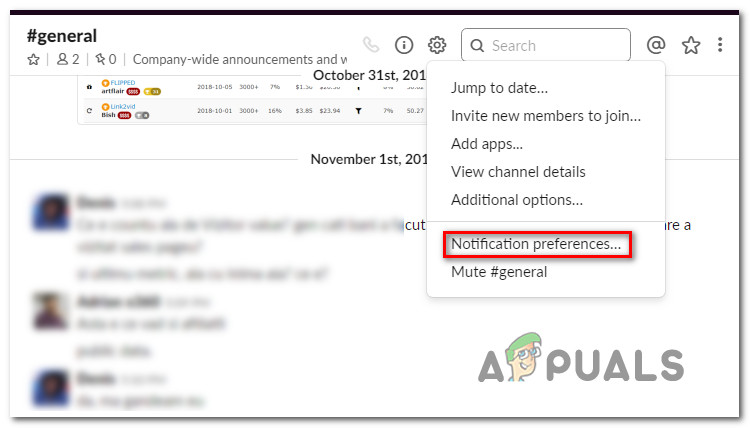
Accessing the Notification Preferences menu - Then, from the Notifications Preferences menu, set the Desktop toggle to All new message and click Done.
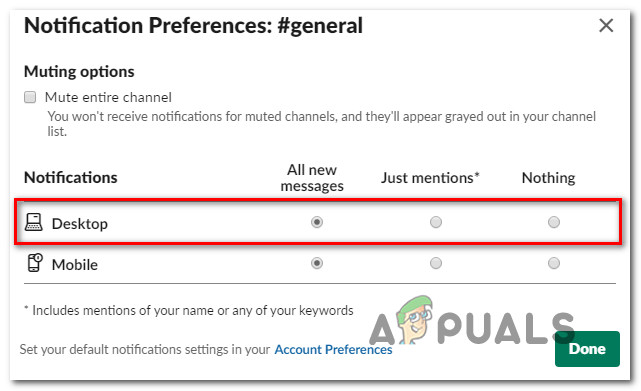
Modifying the Individual Notifications on Slack. - Restart your Slack application and see if you start receiving notifications.
If you still can’t see notifications even after ensuring that notifications are enabled for your application, move down to the next method below.
Method 3: Disabling or adjusting the Do Not Disturb Mode
Another potential setting that could end up disabling your Slack notifications is the “Do not disturb” mode. While this mode is turned on, Slack will not send you any notifications. This setting is typically adjusted by the workspace creator according to the team member’s time zone but can be overridden quite easily.
If you’re in a completely different time-zone than the one established by the workspace creator, that could be the reason why you don’t see any notifications. If this scenario is applicable to your situation, here’s a quick guide on modifying the “Do Not Disturb Mode” settings accordingly:
- Open Slack (desktop or UWP) and press Ctrl + Comma key (“,”) to open up the Preferences menu. Then, click on Notifications and scroll down to the Do Not Disturb section.
- Now, depending on what you’re after, you can either disable or modify the Do Not Disturb feature to reflect your needs. To disable it, simply disable the checkbox associated with Automatically disable notifications from.
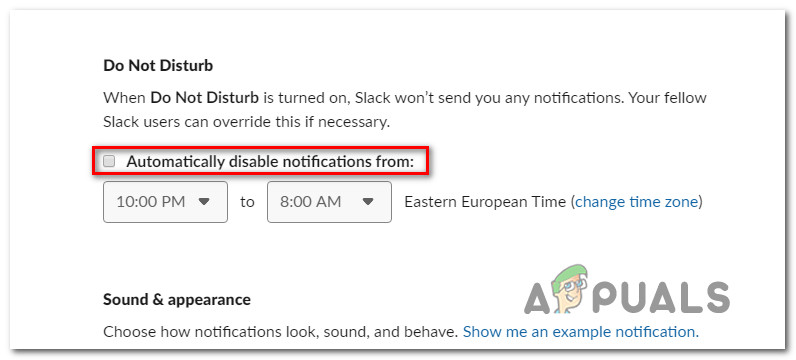
Disabling the Do Not Disturb mode Note: If you’d like to preserve your quiet hours, you can leave the box associated with Automatically disable notifications from checked and adjust the hours manually. But make sure that you set the correct time zone according to your location.

Changing the time zone on Slack - Restart your Slack client and see if you start receiving notifications.
If you’re still not receiving notifications on Slack, move down to the next method below.
Method 4: Clearing the Slack application cache
As it turns out, failure to show notifications can also be traced back to a Slack application cache error. Several users struggling to resolve the same behavior have managed to get the issue resolved by clearing the Slack application cache.
Slack stores cached data to speed up the loading times and improve on the user experience. But as a lot of user reports have shown, as cached data piles up, you might start seeing negative effects (including the disappearance of the notifications or large delays).
Fortunately, it’s quite easy to clear the cache is quite easy, but the procedure is different depending on what version of Slack you’re using. Please follow the appropriate guide depending on which Slack version you’re using:
Clearing Slack’s cache for UWP version
- Press the Windows key and start searching for Slack. Then, right-click on Slack and choose
Note: If you have both versions of Slack, ensure that you’re targeting the UWP version. The UWP version has a small text with “Trusted Microsoft Store App” under it.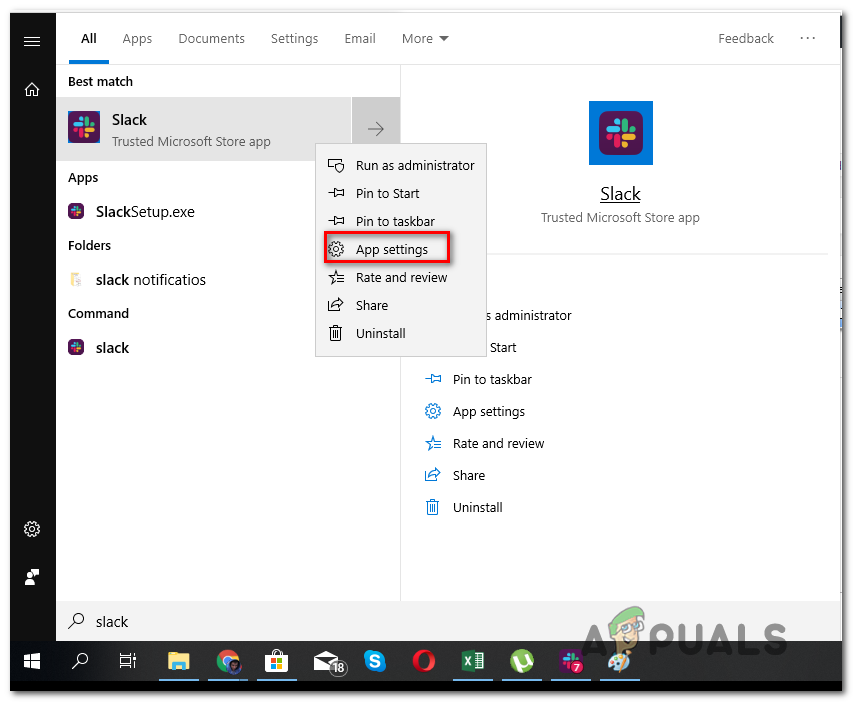
Accessing the Settings menu of Slack’s UWP app - Inside the Slack options menu, scroll down and click on Repair. Once the procedure is complete, restart your computer and see if you start seeing Stack notifications. If you aren’t, return to the Reset menu again and click on Reset.
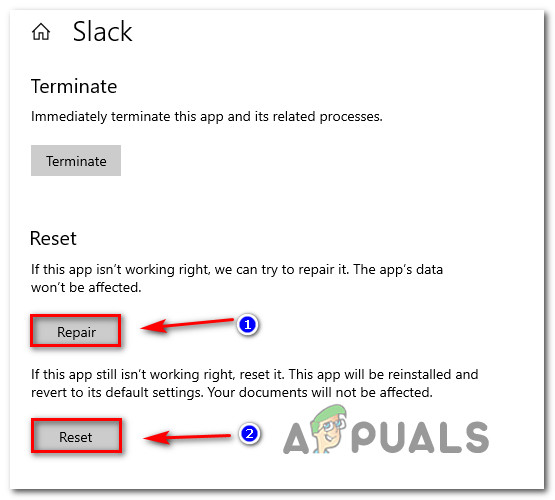
Repairing or resetting slack - After the cache is cleared, sign into your workspace again and see if you start receiving notifications. If you aren’t, move down to the next method below.
Clearing Slack’s cache for Desktop version
- If you’re using the desktop version of Slack, click on the Hamburger menu (top-left corner of the screen).
- Go to File > Help > Troubleshooting, then click on Clear Cache and Restart.
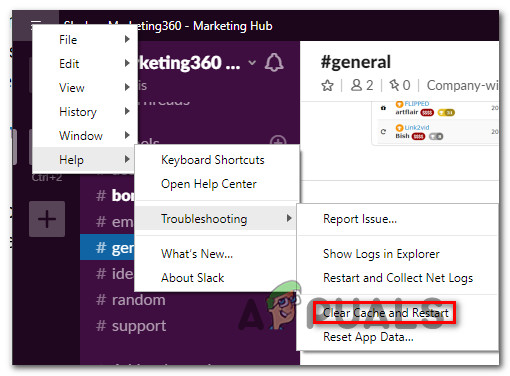
- Your Slack application will restart in a couple of seconds with the cache cleared. See if you start receiving notifications.
If you’re still not receiving any notifications even after clearing the application’s cache, move down to the next method below.
Method 5: Reverting back to the previous notification behavior
Several affected users have reported that the issue was fixed after they disabled Slack’s integrations with Windows Action Center and reverted back to the previous notification behavior. This can be done quite easily with a simple Run command.
Here’s what you need to do:
- Press Windows key + R to bring up the Run dialog box.
- Inside the Run dialog box, type or paste the following command and press Enter:
slack://notReallyWindows10

Reverting to the default Slack notification behavior - Restart your computer and see if you start receiving notifications at the next startup.
If you’re still unable to see Slack notifications, move down to the next method below.
Method 6: Disabling Quiet Hours (Focus Assist) on Windows
Another popular reason why you might be seeing this particular issue due to a Windows productivity feature called Quiet Hours (rebranded as Focus Assist). If you didn’t know, this feature will disable all notifications during a set time that you get to configure yourself.
The Quiet Hours feature works as a master filter, meaning that it will override any application settings (including Slack). So even if you have Slack configured to display a notification for every event in your workstation, Quiet Hours will disable them all.
Note: Quiet Hours is only available on Windows 8.1 and Windows 10.
If you’re suspecting that Quiet Hours might be causing this particular problem, here’s what you need to do:
- Press Windows key + R to open up a Run dialog box. Then, type “ms-settings:quiethours” and press Enter to open the Quite Hours (Focus Assist) tab of the Settings app.
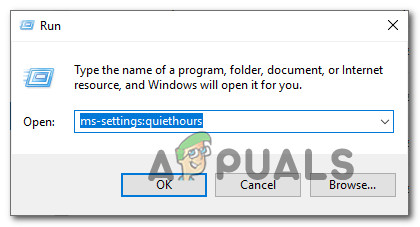
Accessing the Quiet Hours (Focus Assist) menu - Inside the Focus Assist (Quiet Hours) menu, set the toggle to OFF.
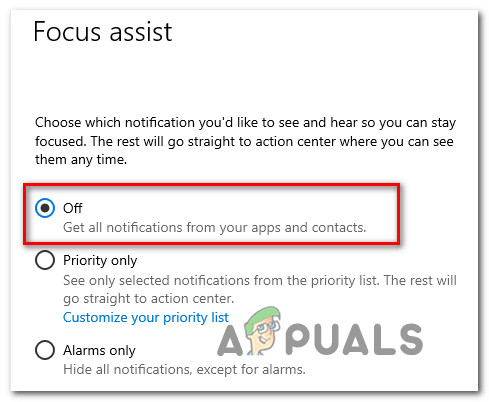
Setting Quiet Hours (Focus Assist) to Off - Restart your computer to save the changes and see if your Slack notifications are becoming visible.


