Fix: Skyrim Crash to Desktop
Skyrim came out a long time ago but the game still has a massive player base due to its sheer size and the number of different side quests. However, users who either installed too many mods or simply regular users encounter this weird error while playing Skyrim regularly.
Skyrim sometimes simply won’t work properly and the game crashes to desktop on its own without producing an error code of any kind which would point out to the solution. The fixes for this problem vary in complexity and they are also quite different from each other. However, we recommend you try each one of them out before one of them works out for you.
Solution 1: Use a Manual Save
While playing Skyrim, the game is often auto-saved during your progress every couple of minutes which prevents you from losing your progress often. Also, there is an option to quicksave your game without too much hassle. However, you should try and switch to a manual save you created for your character and delete the rest since the error may occur because of a faulty quicksave or auto-save.
- Open the game you are using and start playing. Press the Esc button to bring up the pause menu. Choose the Save tab.

- Save your progress to the new slot you should create and make sure you use this saved file all the time.
- Learn to always use the manual save option and not the autosave one to load your games as this functionality is known to become buggy after different mods become involved.
- Navigate to the following folder where your saved files should be located by default:
C:\Users\[UserName]\Documents\My Games\Skyrim\Saves
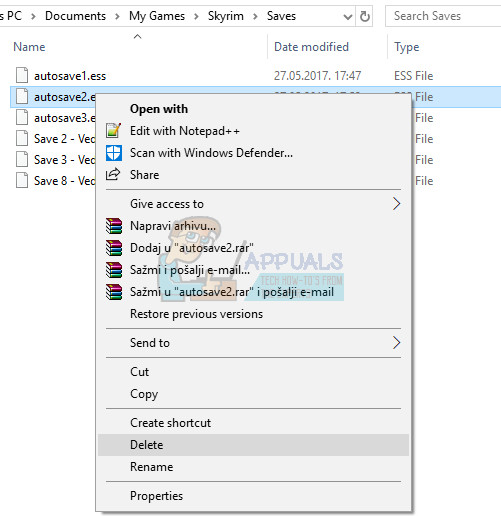
- Delete the saved files you are not using, especially the autosaved or quicksaved ones.
Note: If you are not able to see some of the folders we mention below, you will need to enable the Show Hidden Files and Folders option from within the folder.
- Click on the “View” tab on File Explorer’s menu and click on the “Hidden items” checkbox in the Show/hide section. File Explorer will show the hidden files and will remember this option until you change it again.

Solution 2: Reinstall the Game
Reinstalling Skyrim on a PC can be easy and it can also prove to be one of the easiest possible options in which you can solve the crash to desktop error. Reinstalling the game should reset the settings which went wrong and caused the error to start appearing so you better check this solution out.
Uninstalling the game:
- First of all, make sure you are logged in with an administrator account as you won’t be able to delete programs using any other account.
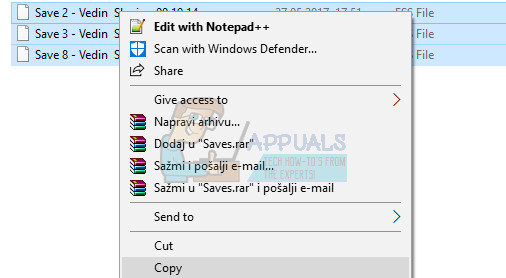
- Backup the saved files from the location in the Solution 1 by copying them to another folder because uninstalling Skyrim will remove them.
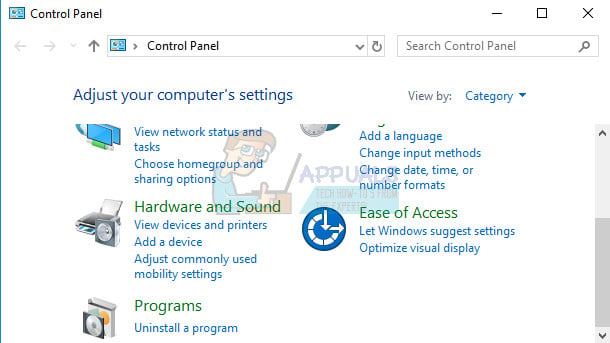
- Click on the Start menu and open Control Panel by searching for it. Alternatively, you can click on the gear icon to open settings if you are using Windows 10.
- In Control Panel, select to “View as: Category” at the top right corner and click on Uninstall a Program under the Programs section.
- If you are using the Settings app, clicking on Apps should immediately open a list of all installed programs on your PC.
- Locate Skyrim in Control Panel or Settings and click on Uninstall.
- Skyrim’s uninstall wizard should open or, if you bought the game using Steam, its client should open and prompt you with a choice.
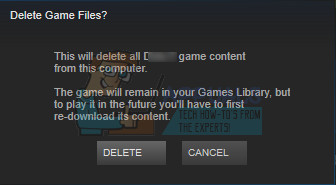
- A message will pop up asking “Do you want to completely remove Skyrim from Windows?” Choose Yes.
- Click Finish when the uninstalling process finishes.
To reinstall Skyrim, you will either need to insert the disc you bought with Skyrim on it and follow the instructions which appear on screen or you will need to download it again from Steam. The game will still be located in your library so just right-click on it and choose the Install option. Check to see if the game still crashes.
Solution 3: Tweak Your Shadow Settings
Most users claim that the random crashing to desktop while playing Skyrim can be attributed to your shadow settings. No matter how good your PC is, this problem can affect you and you can try to solve it using the simplest of all tweaks: lowering the quality of shadows or turning them off completely.
- Click on the Skyrim icon on your Desktop or somewhere where you have it installed to open the Skyrim Launcher.
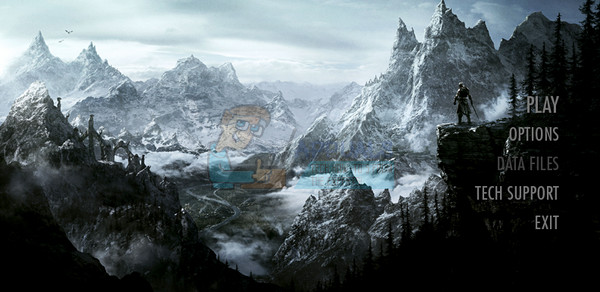
- Click on Options and then click on the Advanced option under the Detail section.
- Under the Detail tab, you should be able to see the Shadow detail option. Click on the arrow button next to it and choose Low.

- Open Skyrim and check to see if the error still appears.
Solution 4: Turn Off ffdshow Audio And Video Decoders
Users suggested turning off these audio and video decoders if you have them installed on your computer, which can be done easily by settings these programs as exceptions in the game itself. If you are not able to locate these programs on your computer, that means that you don’t have them installed and you can simply skip this solution.
- Click either on the Start menu or the Search button located next to it and type ffdshow in the search bar.
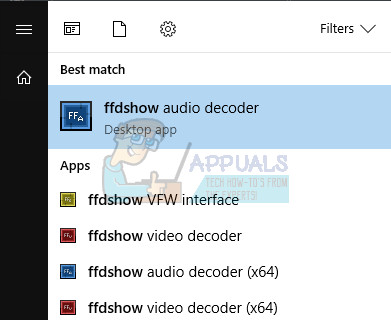
- Click on either the audio or the video decoder (you will need to repeat the same process for both of them) and wait for them to open.
- You will be able to see a menu on the right which consists of several options. Navigate to the DirectShow control section.
- Check the box next to the “Don’t use ffdshow in:” option and click on Edit.

- Locate Skyrim.exe either from the list which will open up or click on the Add button and locate Skyrim’s executable file on your computer.
- Repeat the process for the other decoder you haven’t opened and check to see if the error appears again.
Solution 5: Verify Integrity of Game Cache
Verifying the integrity of game cache is an option available solely to Steam users who have downloaded the game from there. This is quite a good fix since this option will search through your Skyrim files in search of a broken one and it will also automatically download any missing or corrupt files. Follow the steps below to achieve this.
- Open your Steam client and navigate to the Library tab.

Library In Steam - Right-click on the game which is causing these issues and select Properties.
- Navigate to the Local Files tab and click on the Verify Integrity of Game Cache… option

- Try running the game and check if the issue persists.
Solution 6: Adjust Windows Sound Settings
Changing the sound settings in Control Panel on your PC is an official fix by Bethesda which seems to have helped plenty of people in dealing with random crashes to the Desktop. This will, however, change the sound settings on your PC but the change will probably go unnoticed and the error will be gone forever. Sound problems in Skyrim is a known problem.
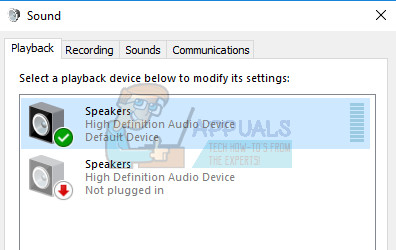
- Right-click on the Volume icon located at the bottom right part of your desktop screen (system tray) and choose the Playback devices option.
- In the Playback tab of the Sound window (which just opened up), select your default playback device (Speakers).
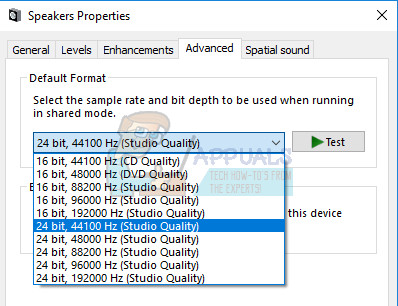
- Right-click on the device and choose the Properties option. When the Properties window opens, navigate to the Advanced tab.
- Under the Default Format section, click the arrow button next to the quality mode and choose this option:
24bit 44100 Hz
Then Click OK to apply the changes and open Skyrim to see if the crashes still occur.
Solution 7: Use these .ini Files
The .ini extension is used for Skyrim preferences files which can be located in the folder where you have installed the game and it contains all settings which can be changed in Skyrim. You should always be careful when dealing with these kinds of files as changing them in a wrong way or deleting them may lead to serious consequences.
NOTE: This solution will only work for 32 operating systems so please check this out only if your Windows is 32bit.
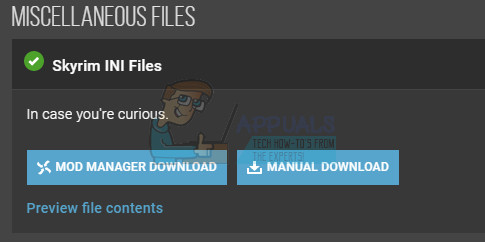
- Visit this link to locate the “mod” for Skyrim which consists of modified .ini files which you need to use to fix Skyrim once and for all.
- Navigate to the Files tab and click on Skyrim INI Files >> Manual Download.
- The download should start immediately so click on the .zip file after it downloads and extract the files somewhere in a folder located on your Desktop, named “Skyrim INI”.
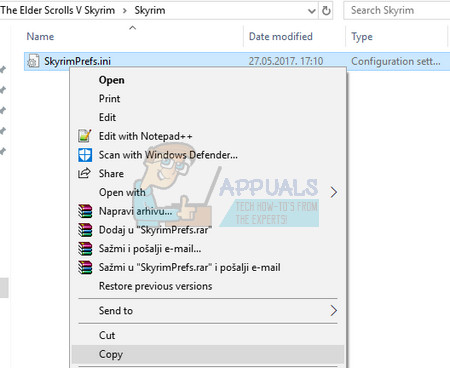
- Navigate to the folder below, right-click on the file called SkyrimPrefs.ini and click on copy. Paste the file in a different folder named “Skyrim backup” on your desktop.
C:\Program Files\Steam\SteamApps\Common\Skyrim\Skyrim or
C:\Program Files (x86)\The Elder Scrolls V Skyrim\Skyrim
- Open the “Skyrim INI” folder on your desktop where the downloaded files should be located and copy the SkyrimPrefs.ini file to the folder above.
- Navigate to the folder below, right-click on the file called Skyrim.ini and click on copy. Paste the file in the same “Skyrim backup” folder on your desktop.
C:\Users\<Name>\Documents\My Games\Skyrim\Skyrim.ini
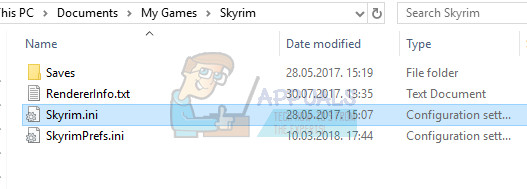
- From the Skyrim INI folder, locate the Skyrim.ini file and paste it to the folder above. This way, we have applied the changes in the files which should lead to the error code disappearing from your PC but we have also backed up your all settings just in case something goes wrong.
Solution 8: Disable the Touch Keyboard Service
This was discovered by a user on Steam and he was able to manage the problem by disabling the service at hand. Note that this solution applies to Windows 8 or 10 users. Most other users tried this method out and the results are outstanding. Even though the method may seem obscure and you may have never heard of this Touch Keyboard, give this a shot and you may be surprised.
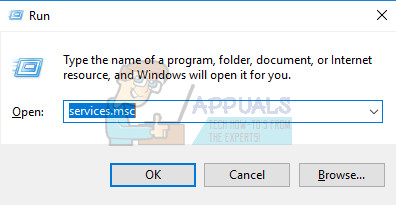
- Open the Run dialog box by using the Windows Key + R key combination.
- Type “services.msc” without the quotation marks in the Run dialog box and click OK.
- Locate the Touch Keyboard and Handwriting Panel Service, right-click on it and select Properties.

Open Properties of Touch Keyboard and Handwriting Panel Service - Make sure that the option under Startup type in Touch Keyboard and Handwriting Panel Service’s Properties is set to Disabled.
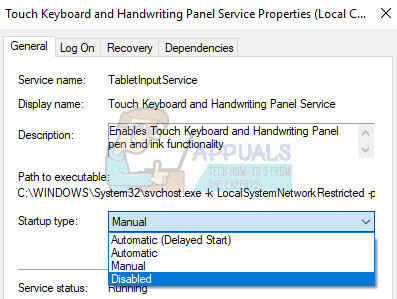
- If the service is running (you can check that just next to the Service status message), you can stop it immediately by clicking on the Stop button.
Note: You may receive the following error message when you click on Start:
“Windows could not stop the Touch Keyboard and Handwriting Panel Service on Local Computer. Error 1079: The account specified for this service differs from the account specified for other services running in the same process.”
If this occurs, follow the instructions below to fix it.
- Follow steps 1-3 from the instructions above to open Touch Keyboard and Handwriting Panel Service properties.
- Navigate to the Log On tab and click on the Browse button.
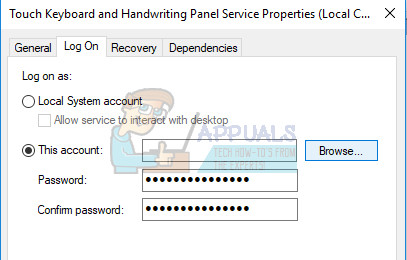
- Under the “Enter the object name to select” box, type in your computer’s name and click on Check Names and wait for the name to become authenticated.

Check Names of Your Computer - Click OK when you are done and type in the administrator password in the Password box when you are prompted with it.
- Click OK and close this window.
- Navigate back to Touch Keyboard and Handwriting Panel Service’s properties and click Start.
Solution 9: Install the Latest Patch:
Skyrim developers release new patches to troubleshoot existing/known bugs of the game. If the crash you are facing is a result of a known bug that is already patched in the latest version, then installing the latest patch will solve the problem. Make sure that you have your credentials at hand so you can log back in after the update.
- Visit the Skyrim official development page to check if there is a latest version of the patch. If so, then download and install the latest patch.
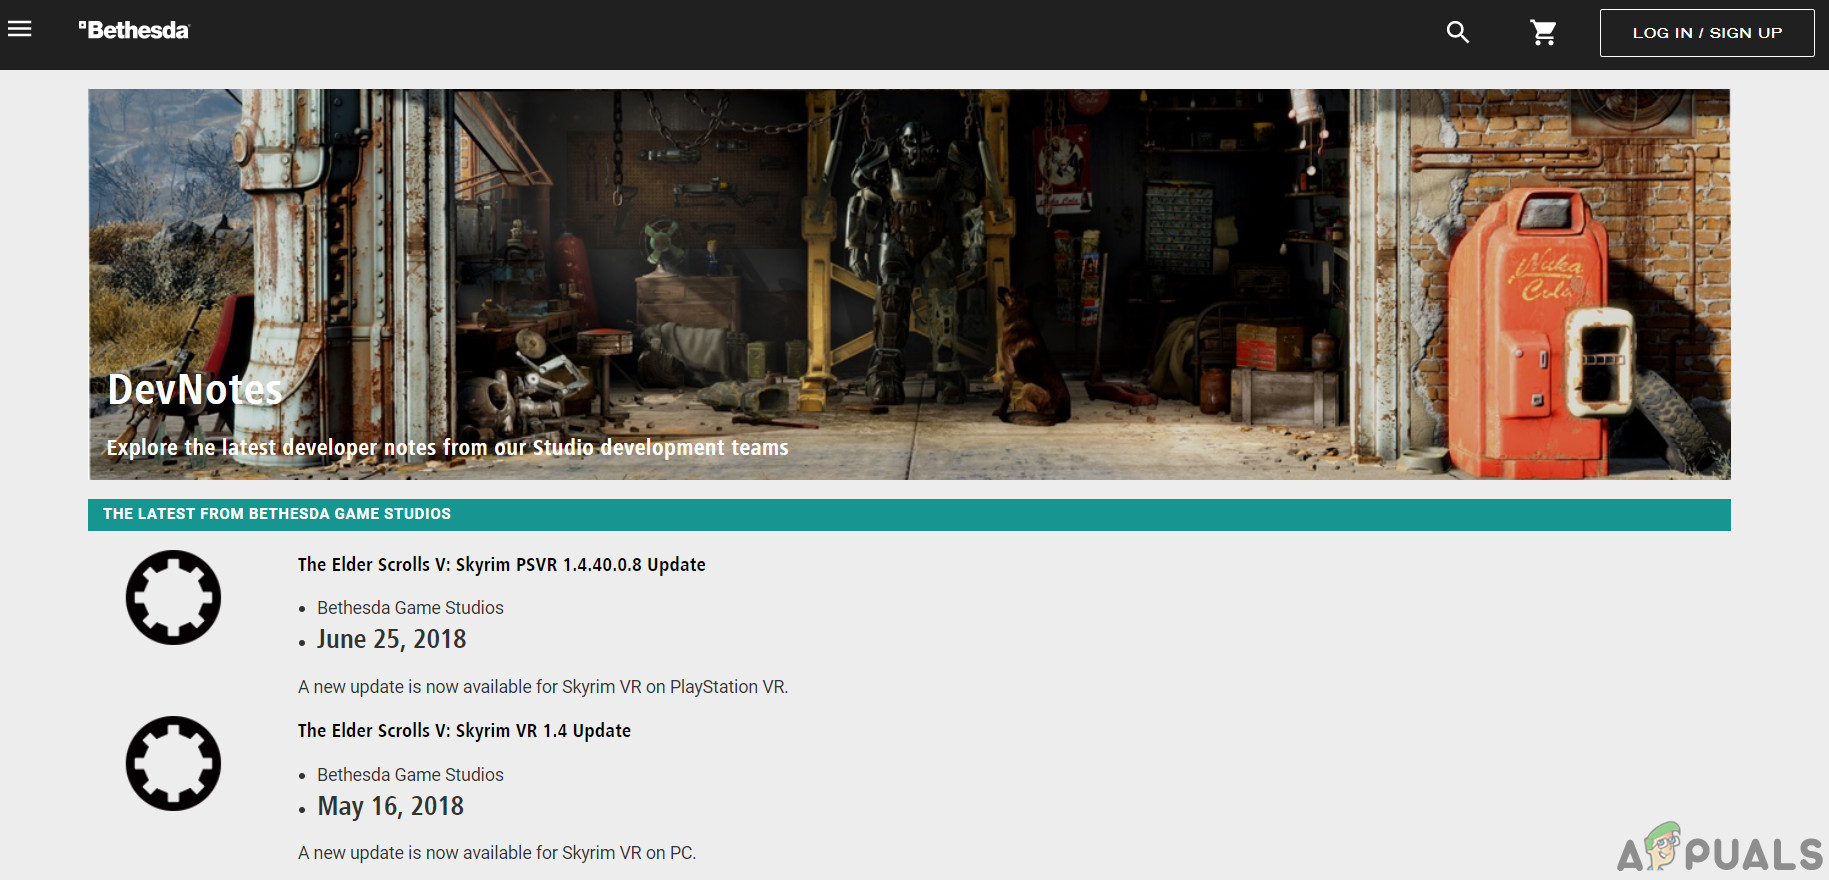
Update to the Latest Patch - Now launch Skyrim to check if it is functioning properly.
Solution 10: Update Graphics Drivers:
Graphics drivers are the driving force of your Graphics cards. If you are using an outdated version of the drivers, then it can cause the crashing of Skyrim. In that case, updating to the latest version of drivers may solve the problem. There are two ways through which you can update the drivers; either update them automatically using Windows update or update them manually after downloading the drivers from the manufacturer’s website.
- Update to the latest version of the driver.
- Restart your system and launch Skyrim.
Do you have a video explaining all this?