Fix: Skype Video Not Working
Skype is the most popular telecommunication application yet. Despite its reliability, it is not short of faults. One of the most common of these problems is an error that says “Can’t start video. Try closing other programs that might be using your webcam.” A similar error states “Please plug in a supported device.” When testing the camera. These errors mean that these users can’t be able to initiate a video call, even when all other running programs are closed. Some users report a brief moment of the video working and then it goes blank. However, they can still see the person from the other end. The problem is more common with integrated webcams than external/USB webcams. This issue is explained in this article and solutions provided along with it.
Why Skype video / webcam does not work
To test your camera, you can download the official apps for your laptop webcam. YouTube and Facebook also allow webcam recordings and you could try testing your webcam there. To test your webcam with the Windows 8/8.1/10 Camera application: In the Start screen type “camera” and press Enter to open the Camera app > If asked, select Allow to give your computer permission to use the camera > Check if you get any output on your screen > Close the Camera app. To choose your Skype webcam, open Skype, click ‘Tools’ on menu bar in Skype window, then choose Options… click ‘Video settings’ on the open window, and then choose your webcam from the drop-down menu.
As the error states, the video cannot start because your webcam cannot be successfully initiated. The obvious thing to the Skype is that your webcam is being used exclusively by another program. This might not always be the case. Sometimes this problem is caused by bad or incompatible drivers. If your webcam works on other applications, then the issue might be the incompatibility between your webcam and the version of Skype you are running.
There also was an acknowledgement from Microsoft that a lot of webcams were ‘killed’ by the Windows 10 Anniversary update as reported here. Rarely, as seen in computers that sustained a mechanical knock or were recently opened up, the issue could be a mechanical problem where the webcam connector might be loose or disconnected. Here are the solutions to this problem.
Method 1: Uninstall and reinstall your webcam drivers
Windows usually comes with a drivers repository. Uninstalling the bad webcam drivers (especially for integrated drivers) will reinstall the correct drivers for your webcam and allow it to work on Skype.
- Press Windows Key + R to open Run
- Type devmgmt.msc and hit enter to open device manager

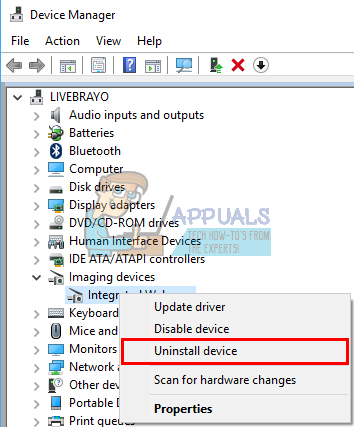
- Expand the ‘Imaging Devices’ section
- Right click on your webcam drivers and select ‘Uninstall device’
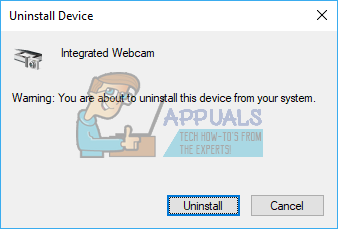
- On the warning message that appears, click on ‘Yes’ or ‘Uninstall’ to remove these drivers
- Restart your computer. Windows will reinstall the drivers automatically. Check if Skype now functions.
Method 2: Update your webcam drivers with the modern Windows drivers
If you are using Windows 10, or you upgraded from Windows 7 to Windows 8/10, you will need to get the drivers for Windows 8/10 from your manufacturer. The best way to get your drivers is to go to your computer or webcam manufacturer and download the drivers that are compatible with your OS and your computer. We recommend you get your integrated webcam drivers from your computer manufacturer e.g. Dell, or hp, because these manufacturers usually add some features and supports that the generic drivers might not have. Dell users can go here, hp users can go here, while Lenovo users can go here. Windows also provides updates via device manager.
- Press Windows Key + R to open Run
- Type devmgmt.msc and hit enter to open the device manager
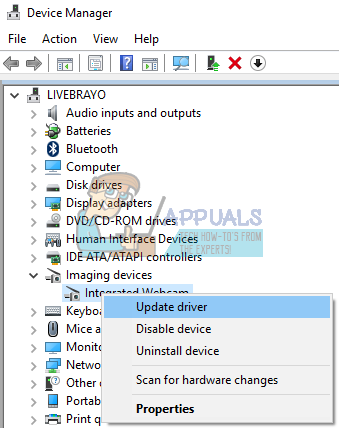
- Expand the ‘Imaging Devices’ section
- Right click on your webcam device, and select ‘update driver software’. An internet connection will give you better results.
- On the next window click “Search automatically for updated driver software”
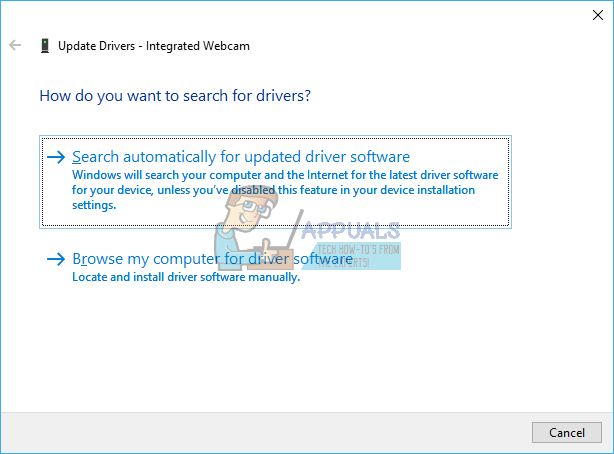
- Device manager will search for drivers online and install them.
- You might need to restart your PC if prompted for effect to take place.
Method 3: Update your Skype app
Skype is regularly updated to resolve bugs and patch security risks besides adding new features. The problem of some webcams not working, especially Dell integrated webcams is well known. Newer versions might resolve this problem.
- Simply go to the Skype download page here and download the latest version for your operating system.
- Open the downloaded file and follow the prompts to update your Skype app

Method 4: Revert to an older Skype version
Newer versions might seem better but, if a newer version of Skype does not work, older versions might work. While patches and bugs might have been fixed for newer versions, interfaces might have changed hence causing a function, or call procedure problem. Earlier versions can resolve this issue.
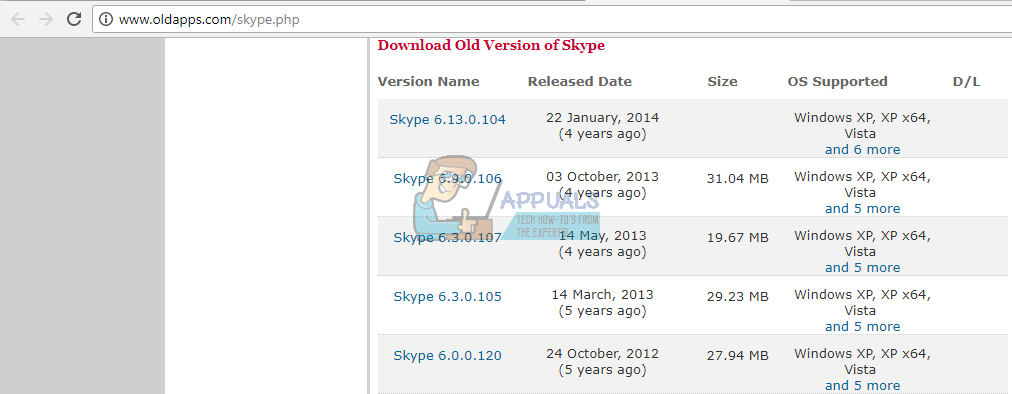
- Go to this page here and download an earlier version of Skype. Skype version 6.3.0.105 and 6.1.0.129 have been noted to be working for this problem. If this version is no longer supported, try the version after it.
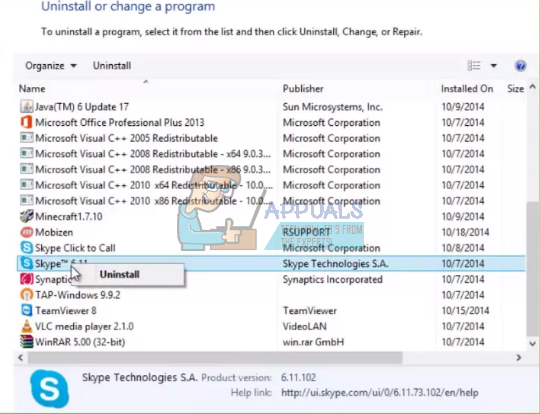
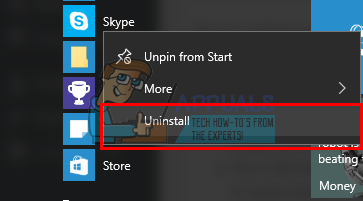
- You will need to uninstall your current Skype application. Press Windows + R to open Run > Type appwiz.cpl to open programs and features > look for Skype and right click on it and select ‘Uninstall/Change’ > Follow the screen prompts to remove Skype. For Windows 10 metro apps, press start and type Skype in the search box > right click on the Skype app and select ‘Uninstall’ and follow screen prompts to complete the uninstallation.
- Open the downloaded older version of Skype and follow the screen prompts to install it. Run the program and check if the issue is resolved.
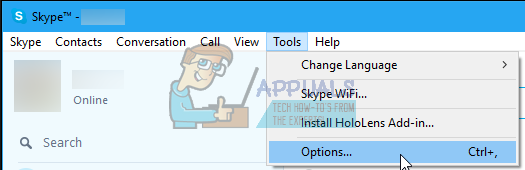
- If your issue is resolved, you will now need to disable automatic updates. From the Skype menu, go to, Tools and click on Options
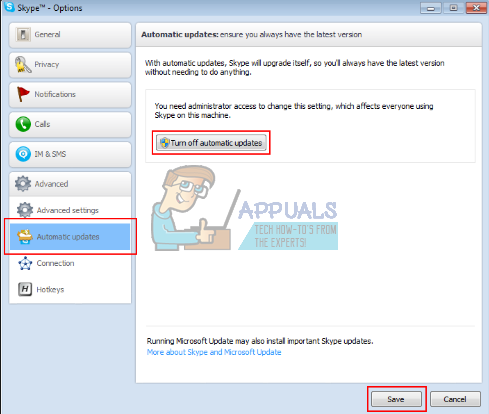
- Click on Advanced -> Automatic updates ->Turn off automatic updates
Method 5: Reseat your webcam connector
If other programs including Skype still have a problem accessing the webcam, you might want to retry reseating your webcam. If your laptop was dropped or sustained any mechanical shock, the integrated webcam might get loose. The connector might also have been loosely attached, or may have not have been reattached correctly the last time the laptop was taken apart.
Simply pry you’re your laptop screen bezel. You might need to remove a few screws around it first depending on your laptop model. Unplug your webcam connector and then plug it back all the way in before mounting back the bezel. Here are a few tutorials on how to reseat your integrated webcam. If you are not comfortable opening your computer, get a professional to do it.
Method 6: Update ASUS AI Charger +
A bug that comes with the ASUS AI Suite distributed with ASUS laptops has been known to cause this problem especially with Logitech webcams. The Version 1.00.03 and 1.000.5 had a bug within the AI Charger + component. You would previously need to remove this suite using the cleaner available here, but now you can simply get an updated version of the AI charger +.
- Download an updated version of AI charger + from here or use the AI suite II V 2.04.02 from here or AI Suite II V 1.02.40 from here

- Double click the downloaded file to run and install the updated version.