Fix: Skype Problem with Playback Device on Windows
Skype is an application used for video, voice and text communication. A lot of people use Skype for personal as well as business purposes. A very common problem that most of the users face is they see a “Problem with playback device” error while using the Skype application. The problem can appear when you are trying to call from Skype. Sometimes, the call will automatically drop after the first ring. This can happen while you are calling as well as when someone else is calling you. Once the call drops you might see this error (in some cases, user might not see the error). In some cases, you will see this error and won’t be able to call after a single successful call. This means that the error will show up on every second call. There are several other variations of this problem. The bottom line is, you won’t be able to call or communicate and you will see this error either while trying to call or during a call session.
This error generally means that the Skype cannot find/use your audio device e.g. speaker or headset. That is why the first thing we tell the users is to make sure that your audio device is connected and in working condition. If the device is working then the issue might be in the audio drivers. Lastly, the problem might also be related to Skype. There can be a problem in the Skype configuration files preventing the Skype to properly communicate with your audio device.
There are quite a few methods that can help you resolve the issue. There are some workarounds as well if the issue isn’t rectified properly. So, go through each method below and if none of the methods works then go for a workaround to make Skype usable.
Tips
- Make sure you have the latest Skype version installed on your computer. If you aren’t sure, open Skype > Click on Help > Select Check for Updates.
- Uninstall and reinstall the Skype. This might solve the problem temporarily. You can uninstall the Skype application by going to the control panel and selecting Uninstall a program.
Method 1: Audio Troubleshooter
This is the most basic thing and it resolves the issue for the majority of the users. The Audio Troubleshooter can be found in the control panel and solves the issue pretty quickly. This is available in all latest versions of Windows so you don’t have to worry about the Windows version as well. The steps for running Audio Troubleshooter are given below
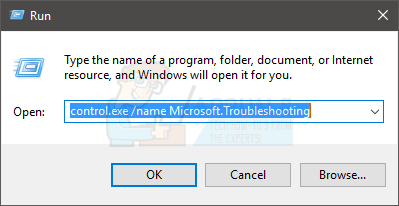
- Hold Windows key and press R
- Type control.exe /name Microsoft.Troubleshooting and press Enter
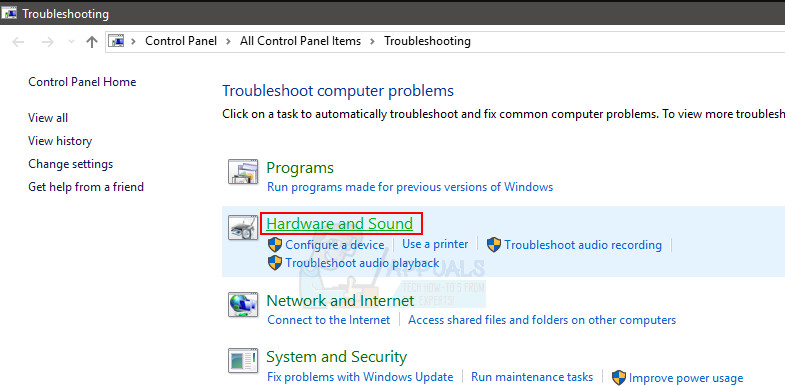
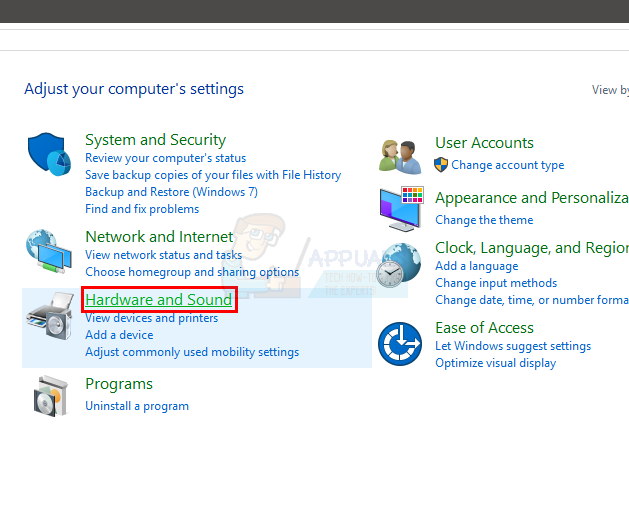
- Click Hardware and Sound
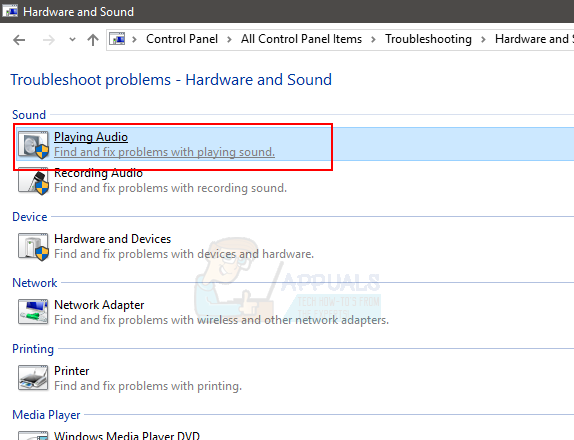
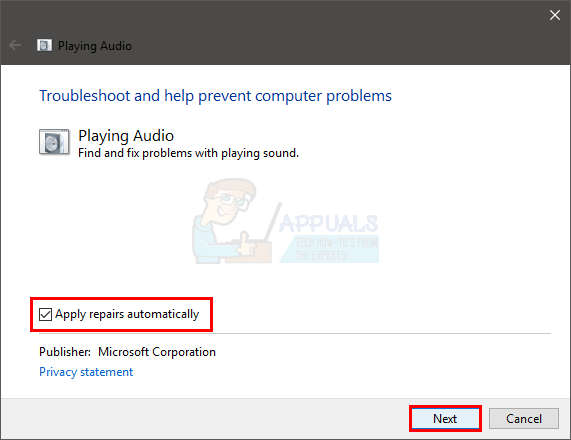
- Click Playing Audio
- Click Advanced
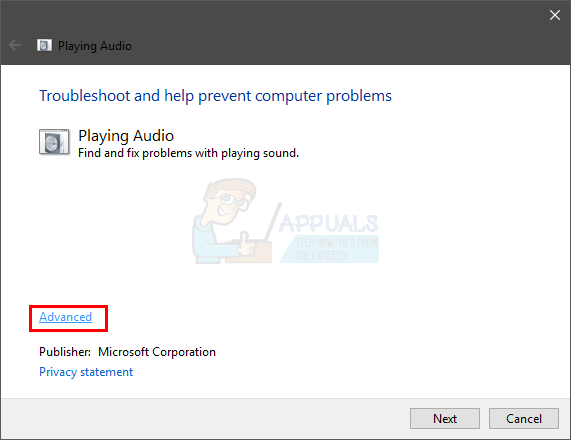
- Check the box Apply repairs automatically
- Click Next
Wait for the troubleshooter to fix the issue. Once done, try again and see if you can use Skype without any problems.
Method 2: Check Default Devices
Make sure your audio devices are enabled and selected as the default devices. You can easily check and change the status of the devices from the Sound window.
Follow the steps given below to check the default devices
- Hold Windows key and press R
- Type control panel and press Enter

- Click Hardware and Sound
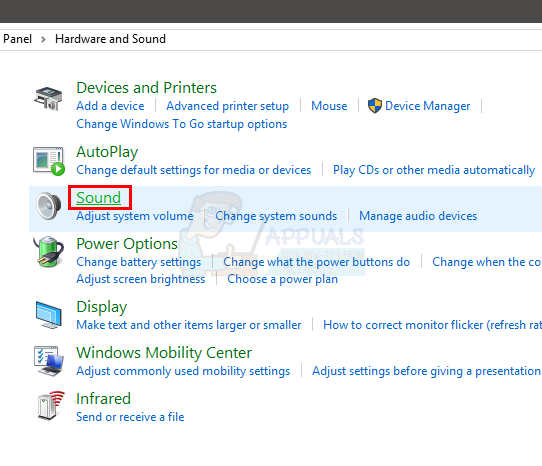
- Click Sound
- In the Playback tab, right click in the main box (where the devices are showing) and check the Show Disabled Devices option. If the option have a check mark then leave it as it is. Otherwise, click the option Show Disabled Devices.
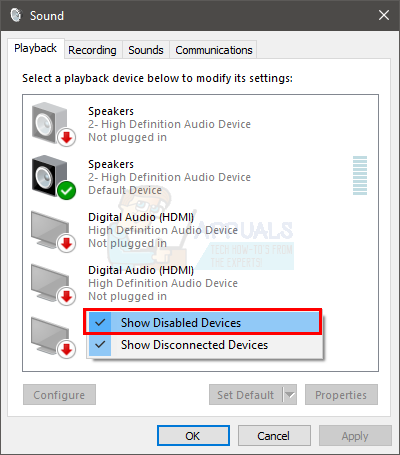
- If your device is showing up in the list and it doesn’t have a green tick mark then the device isn’t selected as the Default Device. Right click your device and select Set as Default.
- Click Recordings tab
- Check the Disabled Devices and make your device as the default device by repeating the 5 and 6 step given above
Once done, click Apply then select Ok. Now, check if the problem is resolved.
Note: Open Skype and click Tools then select Options. Click Audio settings from General section. Make sure your audio devices are selected. If they aren’t, select the devices (mic and headset/speaker) from the drop down menu.
Method 3: Check and Update Audio Drivers
Checking and making sure you have the right drivers will also solve the issue for you. Your drivers might be corrupted or your device might have outdated drivers. So, updating your drivers will fix the issue. If your devices are working perfectly on other applications then drivers might not be the culprit here. But, updating the drivers will only take a few minutes. So, we will advise you to follow the steps.
- Hold Windows key and press R
- Type devmgmt.msc and press Enter

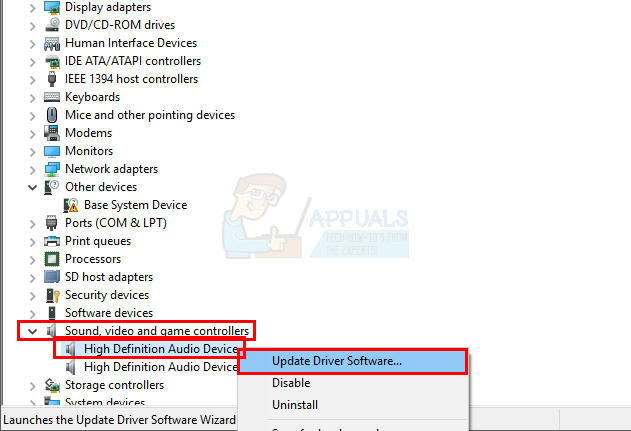
- Double click Sound, video and game controllers
- Right click your audio device and select Update Driver Software…
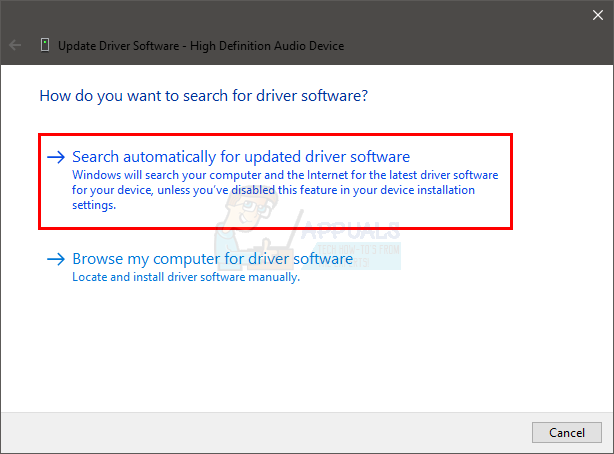
- Select Search automatically for updated driver software and wait for it to find a new version. If the Windows find a new version then follow any additional screens to install the driver.
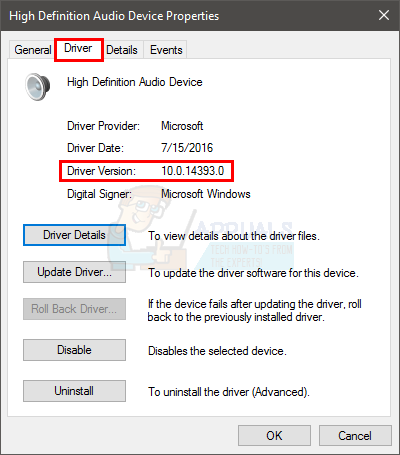
- If Windows didn’t find any drivers then double click your audio device (from the device manager)
- Click the Driver tab and keep this window open
- Go to your audio device manufacturer’s website and search for the drivers
- Once you find the latest driver, check if it is the same version as you already have (step 7 window). If it isn’t, download the driver and follow the instructions given on the website. If it is a setup file then run the file and follow the on-screen instructions.
- Repeat these steps for all the audio devices (mic and headsets)
Once done, check if the problem is resolved.
Method 4: Close and Re-open Skype
This isn’t a solution but a workaround of the problem. If none of the methods given above solve the issue and you really have to use the Skype then close the Skype and restart the application. This has resolved the issue (temporarily) for a lot of users.
Method 5: Uninstall and Reinstall Audio drivers
Uninstalling and letting Windows reinstall the audio drivers have solved the issue for plenty of people. This will work if the issue is caused by a problematic driver.
- Hold Windows key and press R
- Type devmgmt.msc and press Enter

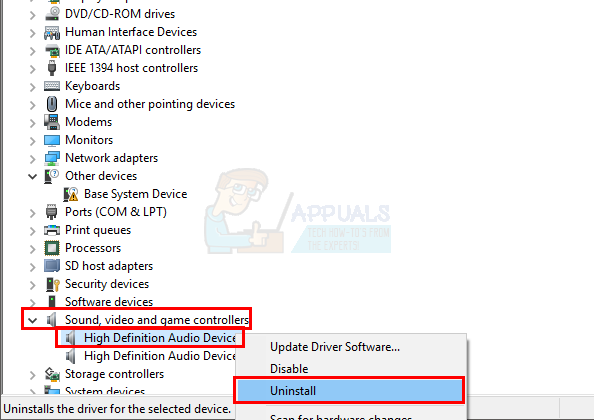
- Double click Sound, video and game controllers
- Right click your audio device and select Uninstall
- Follow any additional on-screen instructions
- Repeat steps 4-5 for all your audio devices
- Reboot once the uninstall process is finished
Windows will automatically install the most compatible drivers for your devices. Once the reboot is complete, you will see that the drivers are installed. Check if this resolves your issue.
Note for kamil: The source is from techcaption (not a forum). 2 users posted the link claiming that it resolved the issue for them. So, I am using this as a source. Exclude it if you want.
Method 6: Reset Skype
If nothing else worked then it is time to reset the Skype configuration. This will completely reset the Skype app and, hopefully, resolve your issue.
Note: This will remove the Skype threads from the application.
Here are the steps for resetting the Skype application
- Close Skype
- Hold Windows key and press R
- Type %appdata% and press Enter

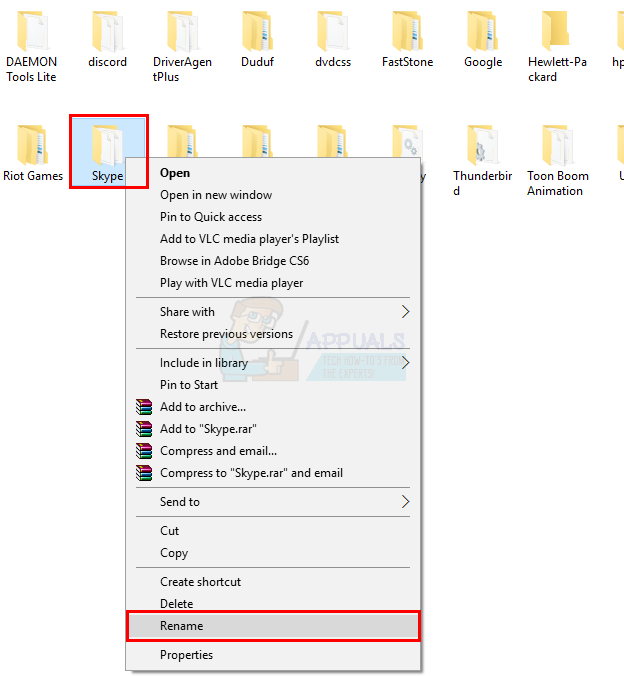
- Locate and right click the Skype Select Rename and name the folder Skype.old. Press Enter to confirm the name
Now, start Skype and check if it resolves the issue.
Note for kamil: The source is from techcaption (not a forum). 2 users posted the link claiming that it resolved the issue for them. So, I am using this as a source. Exclude it if you want.