Fix: Skype Crashing Windows
Skype used to be the number one solution to video calls among distant users besides other functionalities such as audio calls and chatting. With other social networks implementing the same features, its popularity has decreased but it’s still the number one choice among business users. Still, plenty of users have experienced the problem of Skype crashing on Windows quite too often.
The problem usually appears after users have updated to Windows 10 but this is not exclusive and it appears in random scenarios almost out of nowhere. There are quite a few ways to solve this problem so follow the solutions below in order to learn more:
Solution 1: Reinstall Your Skype App
The first solution is known as the most basic one and it involves reinstalling your Skype app completely. Still, this method is easiest for beginners to understand and it provides amazing results combined with the fact that your personal data will still be safe since it’s kept along with your account.
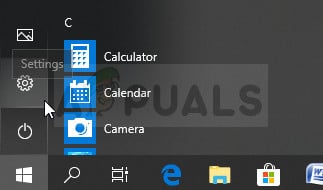
- Click on the Start menu and open your Control Panel by searching for it simply by typing with the Start menu window open. Alternatively, you can click the gear icon in the lower left part of the Start menu in order to open the Settings app if you are using Windows 10.
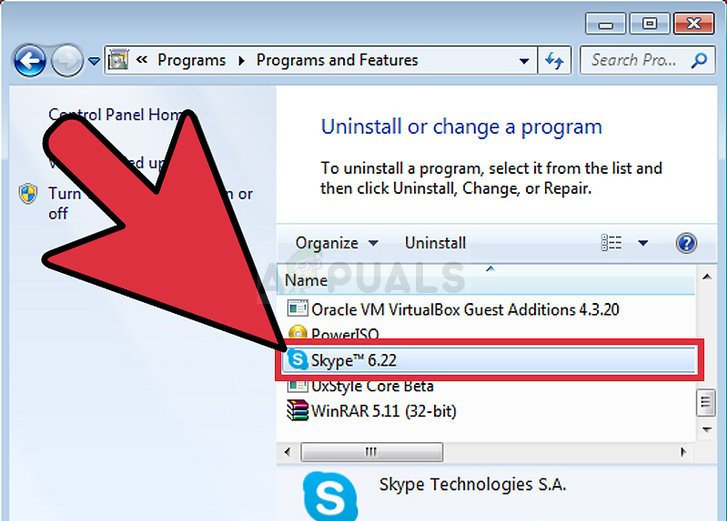
- In Control Panel, select to View as: Category option at the top right corner of the Control Panel window and click on Uninstall a Program under the Programs section.
- If you are using the Settings app, clicking on Apps should immediately open a list of all installed programs on your PC so wait for a while in order for it to load
- Locate Skype in Control Panel or Settings and click on Uninstall/Repair. Follow any instructions which appear afterwards in order to uninstall it completely.
- After the process is over, download the program again from the Internet or from a storage device you used to install it in the first place and check to see if the problem still appears.
Solution 2: Install Media Feature Pack for N edition of Windows 10
This media pack is quite useful on its own, regardless of whether it will solve your current problem regarding Skype installation since it will most likely prevent other media-related problems in the future. What’s even better is that there are users who claim that installing this pack has gotten rid of the Skype issue once and for all so make sure you try this out on your own.
- Navigate to this website (official Microsoft link) and scroll down through the page until you locate the Download information section where you will be able to see two links, one for 32 bit processors (x86) and one of 64-bit processors (x64).
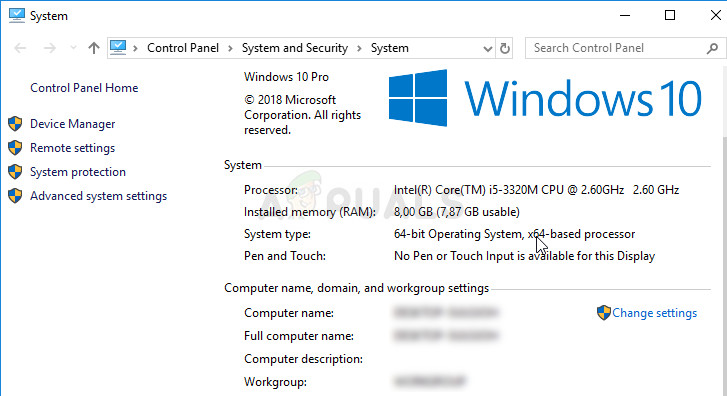
- If you are not sure on the architecture of your CPU, there is a quick way to find out. Open your file explorer on Windows, locate the This PC folder and choose Properties. In the general properties tab, you should be able to see the system information. Look under System type to see which version of the CPU you possess.
- Download the relevant file and run it from your Downloads folder. Make sure you follow the instructions which appear on-screen properly in order to install the tool properly After it has installed successfully, restart your computer and check to see if the same problem appears.


