Fix: Sending Error 0x80040201 on Outlook
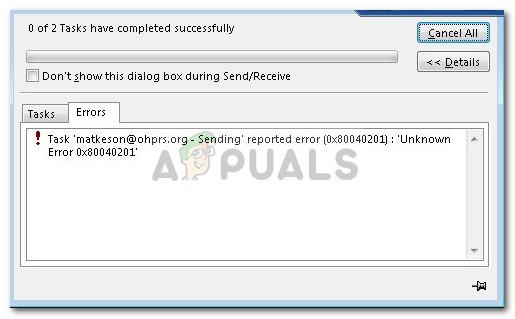
The Outlook error 0x80040201 can be caused by several factors which include incorrect SMTP settings, third-party antivirus, add-ins etc. Many users have reported that they are seeing the said error code while trying to send an email to a recipient. In some cases according to some user reports, they are able to send an email while replying to a received one. However, when they try to write an email from the scratch and then send it, the said error code arises with the following message code.
The desktop application of Outlook is being used by many users on their Windows 10 operating system. However, like every other application out there, it does encounter an issue now and then. You can fix the error by implementing the solutions given down below.
What causes the Outlook the Error 0x80040201?
Well, the error can arise due to a number of reasons as there’s not a specific cause to which we can blame everything on. Thus, to make a list of the possible reasons, the error is often due to the following factors —
- Incorrect SMTP Settings: There are certain scenarios where your account is changed from Exchange to POP3 email. In such cases, deleting the Autocomplete list seems to fix the issue.
- Third-party antivirus: In some cases, the third-party antivirus on your system can be a guilty party as well. The antivirus might be blocking the request to send the email which is causing the issue.
- Third-party add-ins: Many users use third-party add-ins in Outlook. These add-ins can occasionally cause certain problems in which case you will have to remove them.
Now that you have a basic understanding of the possible causes of the error, you can implement the following solutions to circumvent the issue.
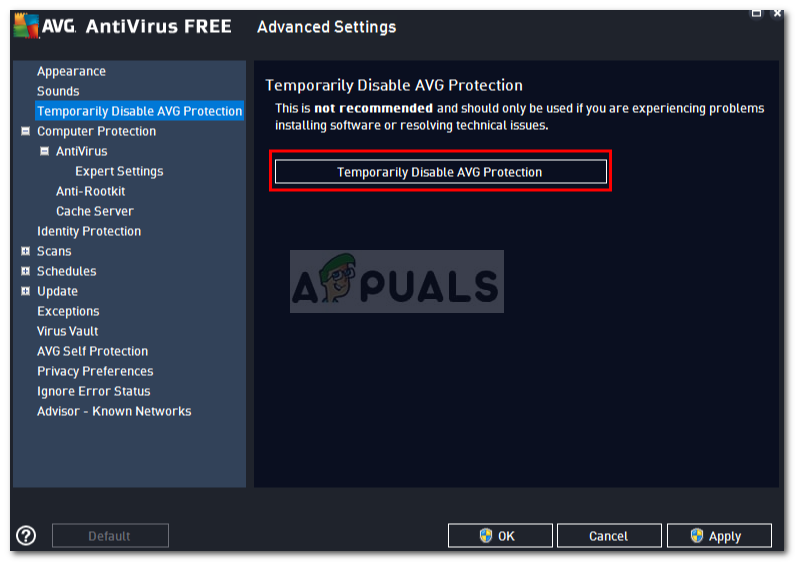
Solution 1: Disable Third-party Antivirus
The first step towards isolating the issue would be turn off the third-party antivirus that you are running on your system. Antivirus often put forth restrictions and block various requests that are being sent out by the system due to which several errors are caused. Therefore, before you try the other solutions, make sure to turn off the third-party antivirus, if you are using one.
Solution 2: Run Outlook in Safe Mode
Getting onto the second solution, as we have already mentioned, another possible factor of the issue would be the third-party add-ins on Outlook. These add-ins are often responsible for causing certain issues with the application, therefore, in such cases, removing them is necessary.
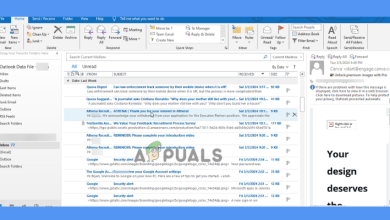
First, you will have to run Outlook in Safe Mode to see if it isolates the issue. Running in Safe Mode will not include the third-party add-ins, thus, you can verify if the add-ins are indeed the cause of the error. In case you are able to send an email smoothly in Safe Mode, that means the third-party add-ins are indeed the cause of the issue. In such a scenario, you will have to remove them. Here’s how to run Outlook in Safe Mode:
- Press Windows Key + R to open the Run dialog box.
- Type in the following and then hit Enter:
Outlook /safe
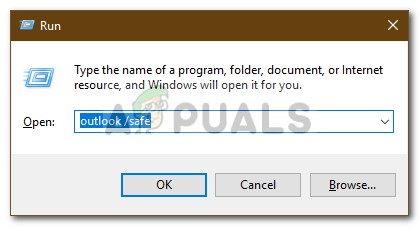
Running Outlook in Safe Mode - This will open up Microsoft Outlook in Safe Mode.
If you are able to send an email successfully, you can remove the add-ins by doing the following:
- Open up Outlook.
- Go to File and then navigate to Options.
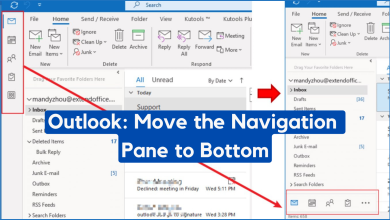
- Switch to the Add-ins tab and remove all the third-party add-ins that you have added.

Outlook Addins - Restart the application.
Solution 3: Emptying Autocomplete List
As we have mentioned above, in some scenarios, if you had created an Exchange account, your email is converted to POP3 due to which the Outlook application looks for Autocomplete contacts that were in Exchange Autocomplete list. Once you empty the list, the Outlook application will then start looking in the .PST file for the Autocomplete contacts. This will also rebuild the Autocomplete list steadily. Here’s how to empty the list:
- Open up Microsoft Outlook.
- Go to File and then navigate to Options.
- Switch to the Mail tab and scroll down until you find ‘Send Messages’.
- Click the ‘Empty Auto-Complete List’ button.
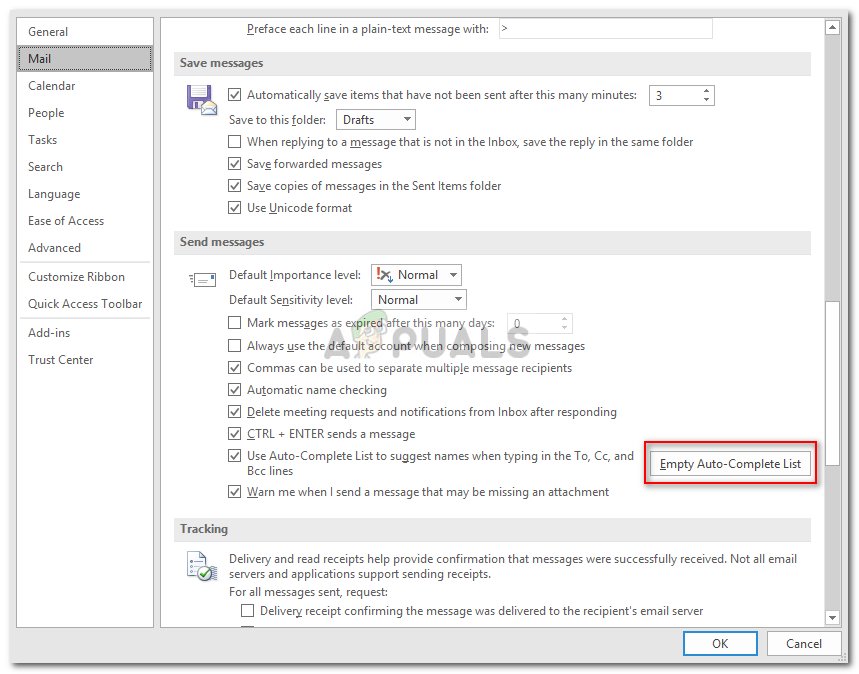
Emptying Autocomplete List - Afterward, click OK.
This will most hopefully fix your issue.
the third solution worked for me thanks