Fix: Samsung Galaxy Phones Lagging
Smartphones manufactured by Samsung are very popular among consumers and they make up for more than 46% of the total Android phones currently being used. However, the phones don’t age well as many issues arise as they get older one of those being a decrease in the performance. After the Android on the older smartphones is updated, users experience increased lag while using the UI and applications on the phone.

What Causes the Lag on a Galaxy S Phones?
After receiving numerous reports from many users we decided to investigate the issue and devised a set of solutions which solved the issue for most of our users. Also, we looked into the reasons due to which the error is triggered and listed them below:
- Cache: Cache is stored by applications to decrease loading times and provide a smoother experience. However, over time this cache can pile up and cause increased resource usage resulting in decreased and sluggish performance.
- Software Updates: In some cases, newer software updates on the device can cause sluggish and decreased performance. These updates are further optimized for the phone and many fixes are released by the company afterward. Therefore, it is recommended to install newer updates that are released after an Android Update.
- Third Party Applications: Many third-party applications can use up a lot of resources due to which can limit the number of resources for certain system functions and applications. If the resources are not available for these system functions users might face lag while using the device.
- Outdated Applications: All applications are optimized and improved with every update therefore if the applications installed on your device have not been updated it can cause increased resource usage due to less optimized applications.
Now that you have a basic understanding of the nature of the problem we will move on towards the solutions. Make sure to implement these solutions in the specific order in which they are provided to avoid conflicts.
Solution 1: Updating Device Software
Often developers provide updates to the device that come with performance improvements and increased optimization. Therefore, in this step, we will be checking to see if an update is available for the device. For that:
- Drag down the notifications panel and tap on the “Settings” icon

Dragging down the notifications panel and tapping on the “Settings” icon - Inside the settings, scroll down and tap on the “About Device” option
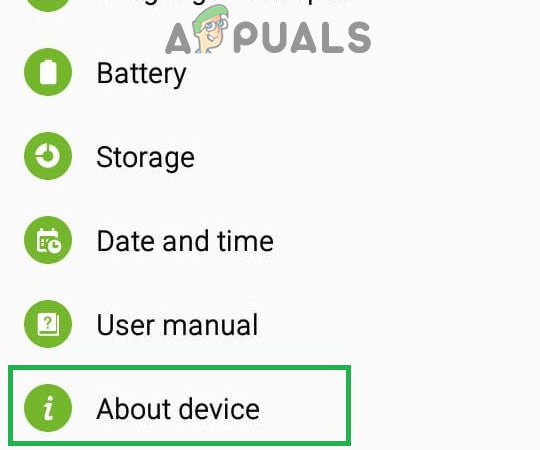
Scrolling down to the bottom and clicking on the “About Device” option Tap on the “Software Update” option in newer devices.
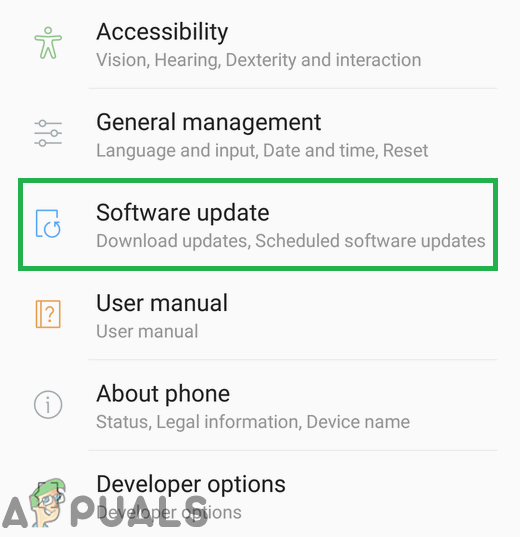
Tapping on the “Software Updates” option - Tap on the “Software” and then on the “Software Updates” option.
- Tap on the “Check for Updates” option and wait while the phone checks for new updates.
- Tap on the “Download Updates Manually” option and wait for the downloading process to finish.
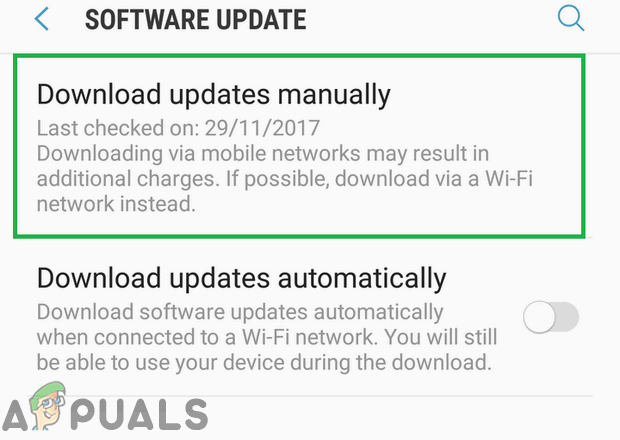
Clicking on the “Download Updates Manually” option - Tap on the “Install Now” option.
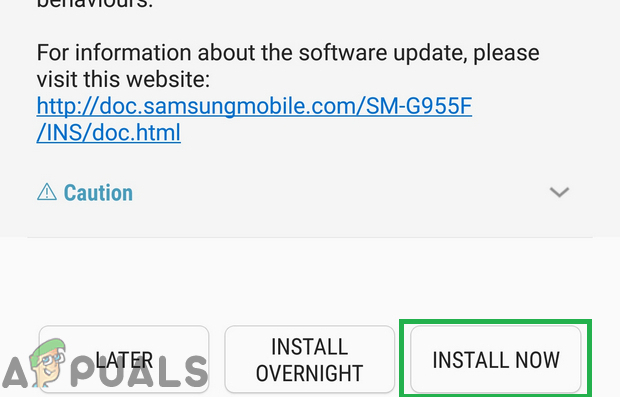
Tapping on the “Install Now” option - Now the device will be restarted and the new update will start installing.
- The phone will automatically be rebooted when the installation process finishes.
- Check to see if the lag still exists while using the phone.
Solution 2: Checking for Applications Updates
Application optimization and performance is enhanced in newer updates to the application. Therefore, in this step, we will be updating both the Galaxy Apps and the Play Store Apps.
For PlayStore Applications:
- Tap on the Google Play Store icon and then on the “Menu” button in the top left corner.
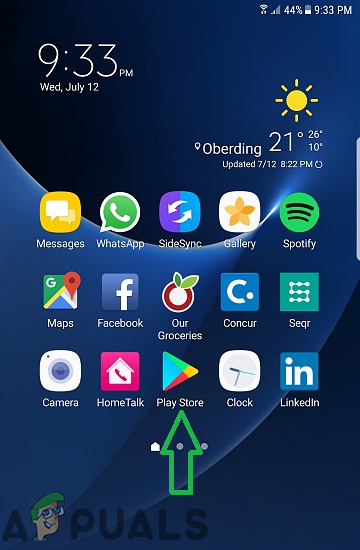
Tapping on the PlayStore icon - Inside the Menu, click on the “My Apps & Games” option.
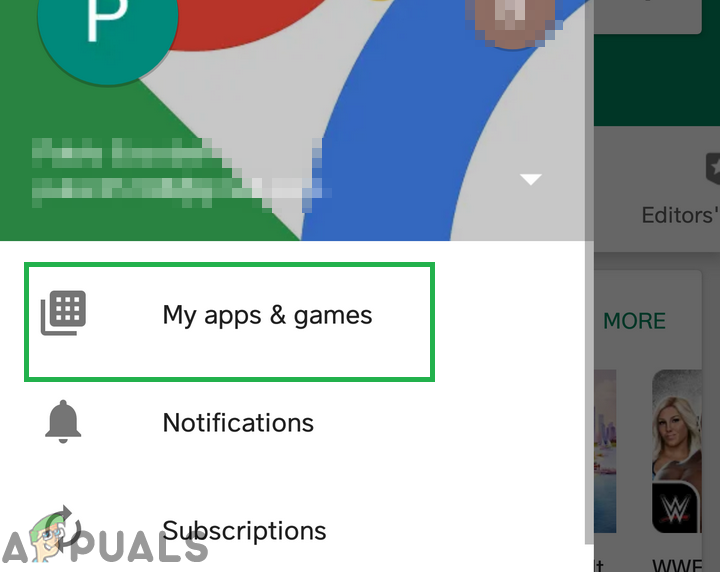
Clicking on the My Apps & Games option - Tap on the “Check for Updates” option or on the “refresh” icon if the checking process is already completed.
- Click on the “Update All” if there are any updates available.
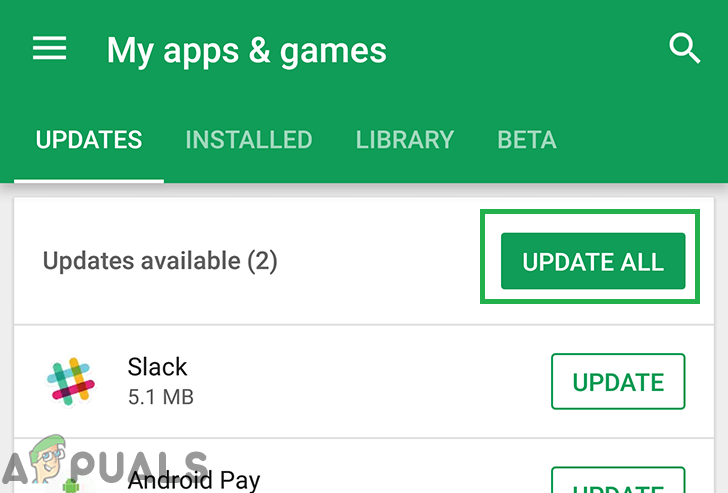
Tapping on the “Update All” option - Wait for it to download and install necessary updates to the applications.
- Now connect your charger and check to see if the issue persists.
For Galaxy Store Apps:
- Tap on the “Galaxy Apps” application and click on the “Galaxy Apps” option on the top left side.
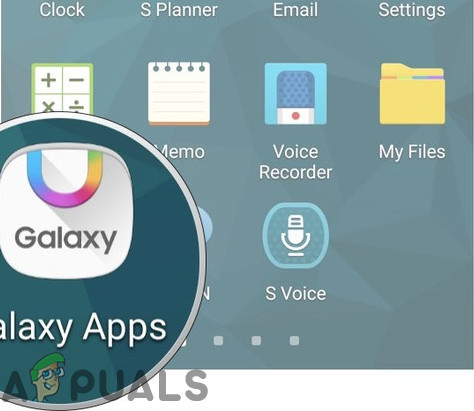
Tapping on the Galaxy Apps icon - Tap on the “My Apps” option and then tap on “Updates” to check for new updates.
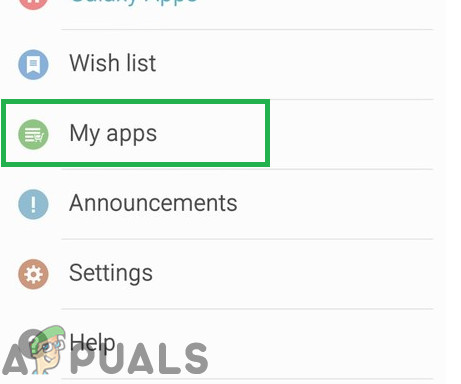
Tapping on the Galaxy Apps icon - Tap on the “Update All” if updates are available to the installed Galaxy Applications.
- Wait for the Updates to be downloaded and installed.
- Now connect your charger and check to see if the issue persists.
Solution 3: Launching in Safe Mode
In Safe Mode, only the default applications and important system features are launched. Therefore, if a third party application is causing the lag on the phone it will be solved in the Safe Mode. In this step, depending upon your device we will launch the phone in the Safe Mode.
For Older Devices:
- Press the power button and tap on the “Power Off” option.
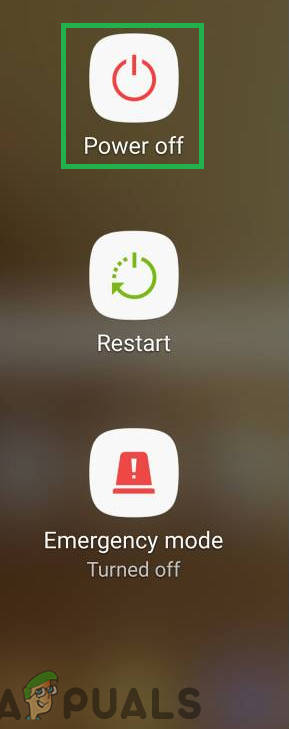
Tapping on the Power off option - Once the Samsung Logo is shown, release the “power” key.

Samsung Animation Logo while starting the device - Press and hold the “Volume Down” button when the Android Logo is shown
- When the phone launches the words “Safe Mode” will be shown on the lower left side of the screen.
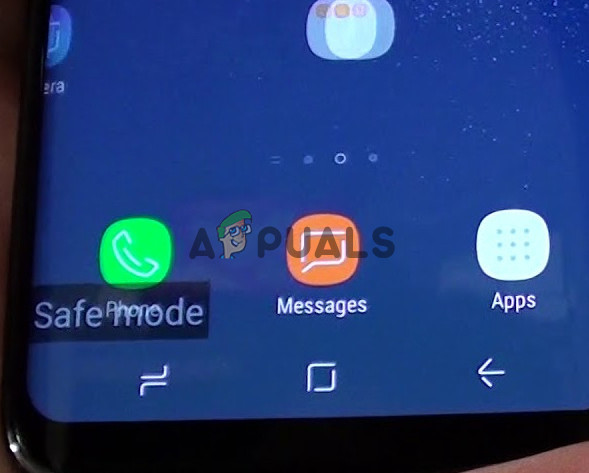
Safe Mode wrote in the lower left corner of the screen
For Newer Devices:
- Press and hold the “power button” until the restart options are shown.
- Press and hold the “Power Off” option and tap on the “Safe Mode” option.
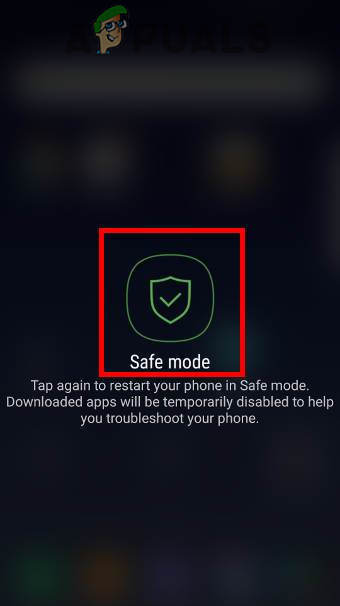
Tapping on the “Safe Mode” option to launch the device in the Safe Mode - The phone will now be restarted in the safe mode.
Deleting Applications:
Once the phone is booted into the Safe Mode, check to see if the issue persists.If the issue goes away in the safe mode it means that a third party application was causing the issue.
- Press and hold on the icon of a third party application and tap on the “uninstall” option to remove it from the device
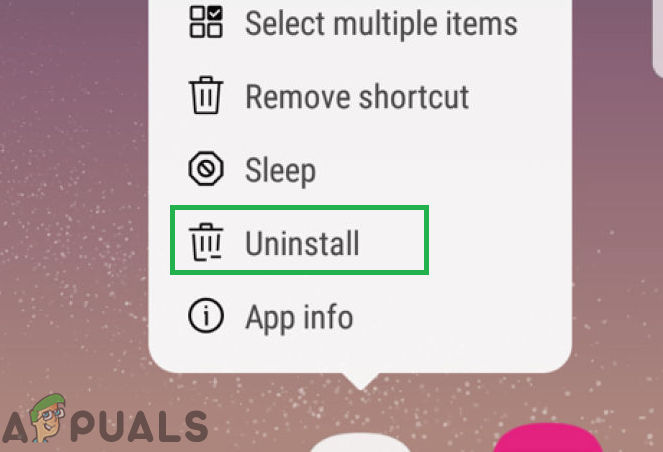
Long pressing on an application and selecting “Uninstall” from the list - Keep on uninstalling applications until the problem goes away.
- The last application that you uninstalled when the issue is fixed was causing the problem and you can download and install the rest of the deleted applications.
Solution 4: Wiping Cache Partition
If a lot of cached data is stored on the device it can decrease performance due to increased resource usage. Therefore, in this step, we will be deleting the device’s cache. For that:
- Press and hold the power button and tap on the “Power Off” option.

Tapping on the Power off option - Press and hold the “Volume Down“, “Home” and the “Power” button on the older devices and the “Volume Down“, “Bixby” and the “Power” button on newer devices.
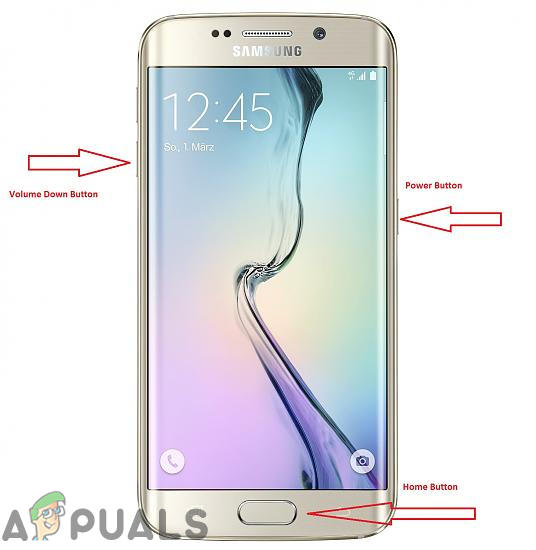
Button allocation on Samsung Devices - Release the “Power button” when the Samsung Logo is displayed and all the buttons when the “Android” logo is displayed.

Releasing the power key on Samsung’s Boot logo - The Device might display “Installing System Updates” for a while.
- Use the Volume down key to navigate down the list and highlight the “Wipe Cache Partition” option.
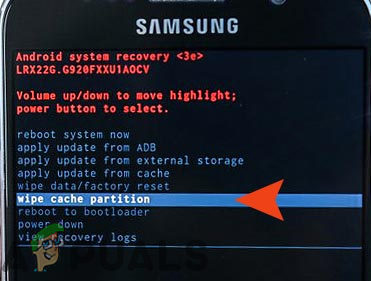
Highlighting the Wipe Cache Partition option and pressing the power button - Press the “power” button to select the option and wait for the process to be completed.
- Navigate through the list with the “Volume Down” button and press “Power” button when the “Reboot System Now” option is highlighted.
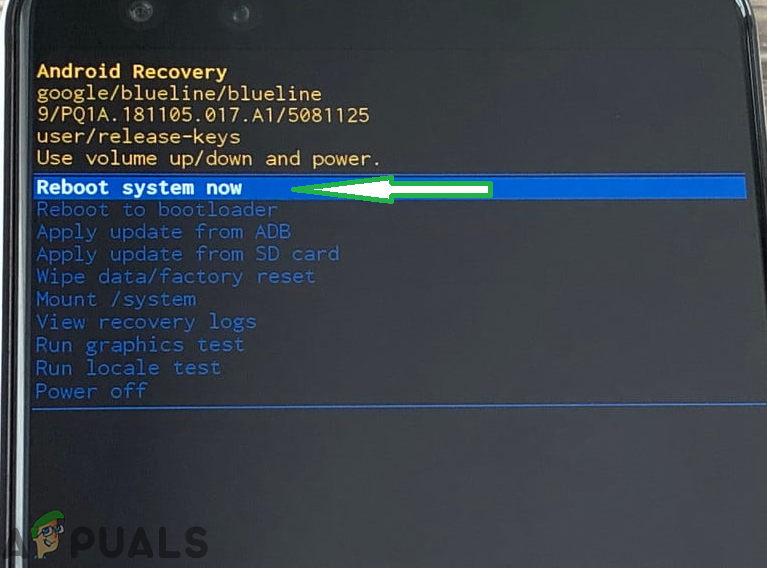
Highlighting the “Reboot System Now” option and pressing the “Power” button - The phone will now be rebooted, check to see if the issue persists.


