Fix: Reflector 2 Black Screen with iOS
Mirroring our smartphones on bigger screens is a common practice nowadays. There are a lot of devices and tools that makes the task of mirroring your iPhone screen a lot easier. One of these is the Reflector 2 which is a wireless mirroring receiver mainly used with Airplay. If you are an iPhone user then you must have at least heard about this issue if not experienced it firsthand. Usually, your video display won’t work while mirroring your device. The audio will most likely work after the successful connection with the Reflector software but you will see a black screen as a video display.
Keep in mind, this article is for people who can connect their iPhones and hear the audio but experience an issue with the video display. If you can’t even connect or the audio as well as the video doesn’t work then you might have a different problem.
Since the audio is working, the issue is most likely caused by an outdated driver related to your display card or DirectX. If you are using an old Windows version like Windows 7 then you might need an older version of the Reflector.
Method 1: Change Reflector Renderer
Changing the settings of Reflector 2 to use the classic renderer is recommended by the airsquirrels themselves. So, here are the steps for switching to a classic renderer of Reflector 2.
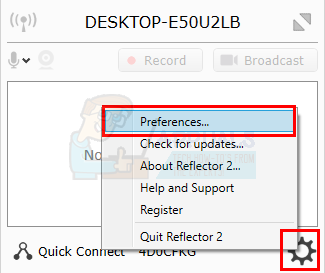
- Open the Reflector menu
- Click on the gear icon to open the settings
- Select Preferences
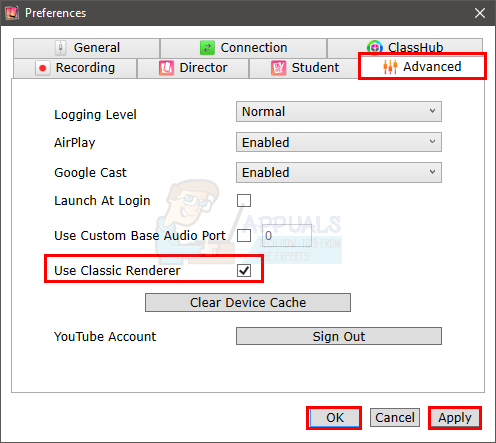
- Click Advanced tab
- Check the option Use classic renderer. A new dialog will show up telling you to restart the Reflector 2 for these changes to take effect. Click Ok
- Click Apply then select Ok
Now, reboot the Reflector 2 and try to mirror your device again. The problem should be solved.
Method 2: Older Version
If you are using an old iPhone or an old version of Windows then you might be experiencing this problem because of compatibility issues. You can easily solve the issue by getting the older installation file. You can get the previous version of Reflector by simply contacting the customer support of Reflector. They have done this with other users and gave them an older .msi installation file.
Method 3: Update Video Driver and DirectX
This problem can be caused by an outdated video driver or DirectX as well. Simply updating your video drivers and DirectX is worth a try. Even if updating drivers and DirectX doesn’t solve the issue, keeping these things up to date is good practice.
Update Drivers
Follow the steps given below to update your video drivers.
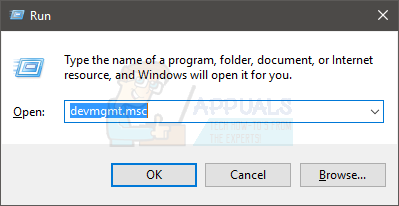
- Hold Windows key and press R
- Type devmgmt.msc and press Enter

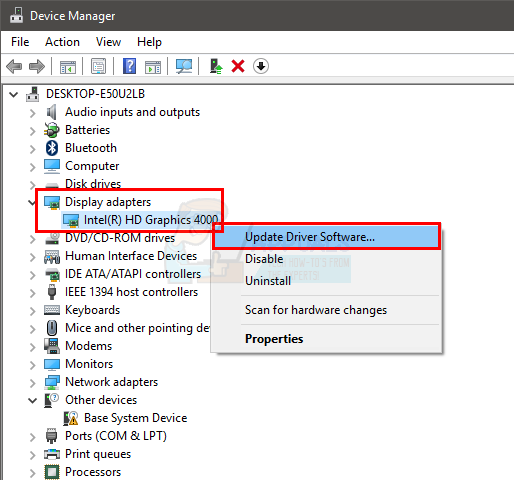
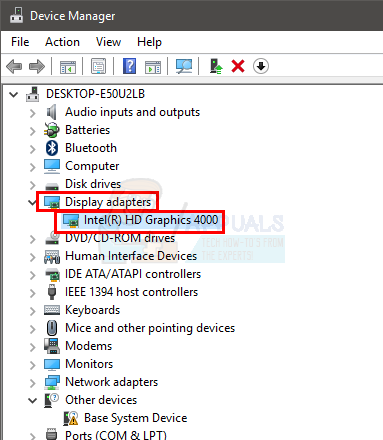
- Double click Display Adapters
- Right click your video device/card and select Update Driver Software…
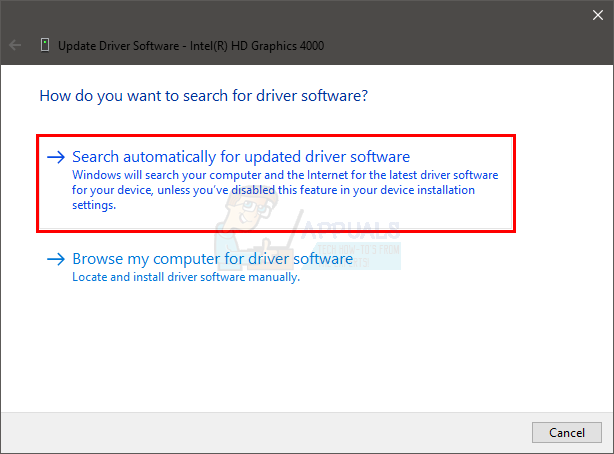
- Click Search automatically for updated driver software and wait for the Windows to update your driver.
If the Windows doesn’t find any updated version, you can manually check for the latest version driver as well. Follow these steps to manually update your driver
- Hold Windows key and press R
- Type devmgmt.msc and press Enter
- Double click Display Adapters
- Double click your video device/card
- Click Driver tab
- You should be able to see the driver version in this tab. Keep this window open and continue
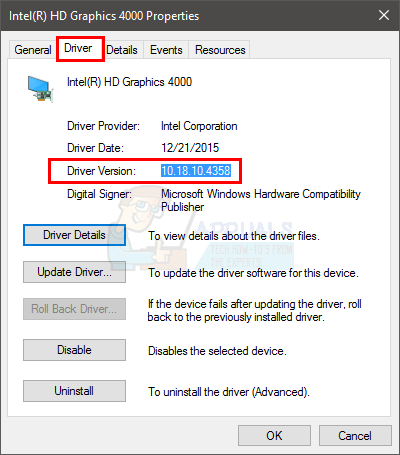
- Open your internet browser and go to your video card manufacturer’s website. Search for the latest drivers for your device. Check if the latest driver version available at the website is the same as you found in step 6. If you have the old version then download the newer version. Once the driver is downloaded, double click the setup file to install the driver or follow the steps 1-4 in the Update driver section above and select Browse my computer for driver software > Browse > Select driver file > Open > Next .
Once done, reboot your computer and your problem should be gone.
DirectX
While you are at it, check and make sure you have the latest version of DirectX as well. The steps for checking and updating your DirectX are given below
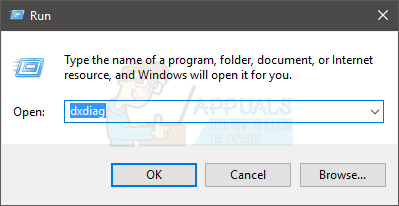
- Hold Windows key and press R
- Type dxdiag and press Enter
- In the System tab, you should be able to see the DirectX version in one of the lines. The information should be in the System Information section.
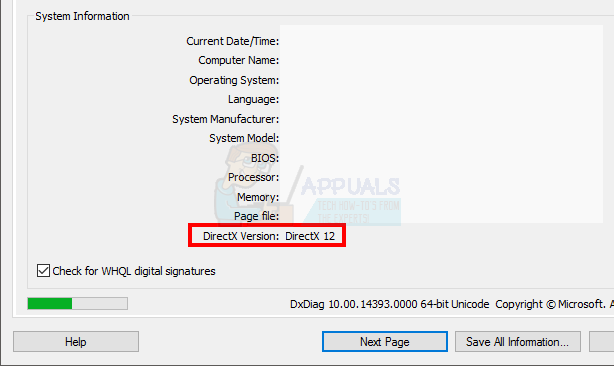
At the time of writing this article, we have the DirectX 12 as the latest version. Not every Windows version supports the latest DirectX version. So, if you have a Windows version other than the Windows 10 then you might have to check the maximum DirectX version your OS supports. Usually, if you keep your Windows up-to-date and install all Windows updates then your DirectX should be updated. In fact, the latest DirectX 12 and variants of 11 version are delivered via the Windows update. The DirectX 12 doesn’t have a standalone installer.
If you think you don’t have the latest version of the DirectX then simply click here and download the DirectX End-User Runtime Web Installer. Once downloaded, double click the downloaded file and follow the on-screen instructions. This will make sure that your operating system has the latest DirectX version. You can also click here for detailed information about the compatible DirectX versions in accordance to Windows versions.
Once done, check if updating both DirectX and video drivers solves your issue.