Fix: Realtek Audio Manager Won’t Open or Cannot Find Realtek Audio Manager
When the Realtek Audio Manager won’t open or is missing, it usually doesn’t appear in the system tray, Control Panel, or even when launched directly from its installation folder. This often indicates a problem with the Realtek audio drivers or a miscommunication between the software and Windows.

The most common cause is outdated or incompatible drivers, especially after Windows updates, which can conflict with Realtek’s software. Other potential causes include interference from other audio drivers, such as Nvidia’s HDMI drivers.
1. Uninstall and Reinstall the Drivers
Outdated drivers often cause issues with the Realtek Audio Manager. Uninstalling and reinstalling the drivers removes corrupted or incompatible versions. Installing the latest drivers ensures compatibility with your system’s hardware and Windows version, resolving conflicts and restoring the Realtek Manager’s functionality.
- Press Windows key + R
- Type devmgmt.msc and press Enter.

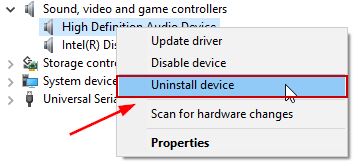
- Double-click Sound, video and game controllers
- Right-click your Realtek high definition audio device
- Select Uninstall and confirm any prompts.
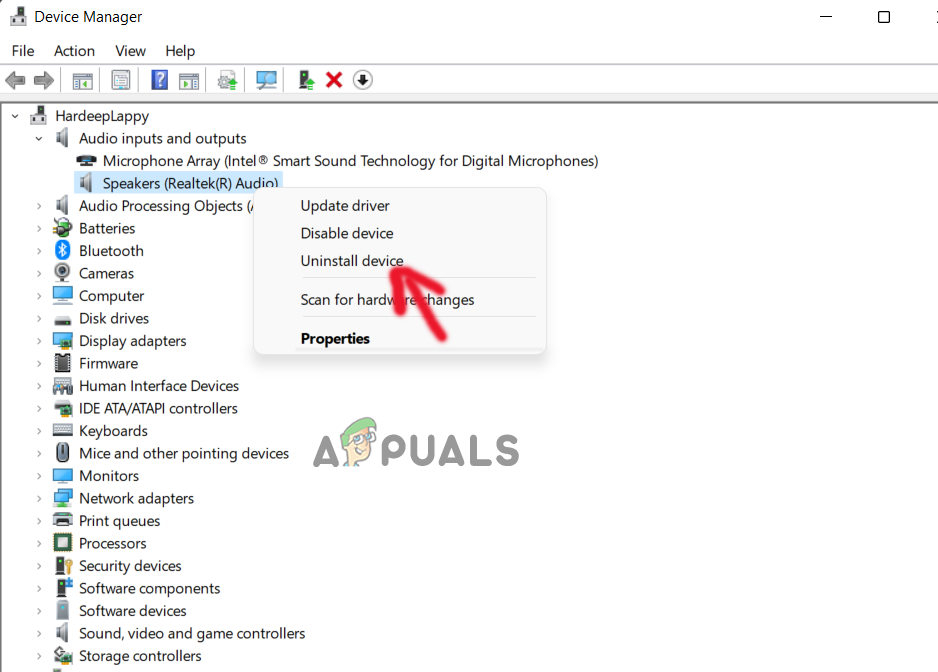
Uninstall Realtek driver - Click Action on the top menu
- Select Scan for hardware changes.
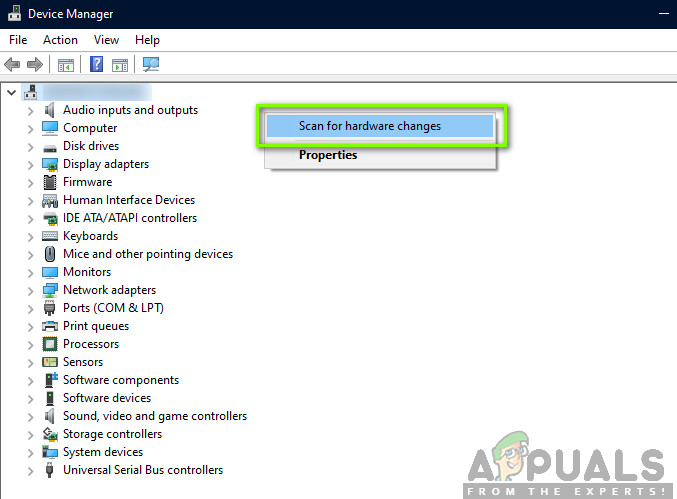
Search for hardware changes
This should reinstall the drivers and fix the issue.
Note: If it doesn’t resolve the issue then repeat the steps given above and skip steps 6 and 7. Once you uninstall the driver, reboot the system and check if that fixes your problem.
2. Repair Realtek Audio Manager
Repairing Realtek Audio Manager resolves software corruption or missing files by reinstalling core components and drivers. This fixes configuration issues, addresses driver conflicts, and restores access to audio settings and customizations.
- Press Windows key + R
- Type appwiz.cpl and press Enter.

Type “appwiz.cpl” into the Run dialog and press Enter - Select Realtek Audio Manager
- Click Repair and follow the instructions. If no Repair button, click Uninstall (or Uninstall/Change), then select Repair in the new window and click Next. Follow the instructions.
3. Run the Troubleshooter
The Windows Troubleshooter finds and fixes common audio problems, like incorrect driver settings affecting Realtek Audio Manager. It helps identify and correct issues, making it easier for those not familiar with technical details by resolving conflicts or corrupted drivers.
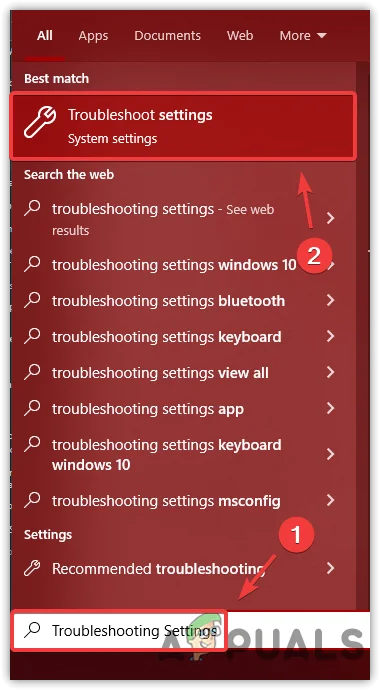
- Open the Start Menu and type “Troubleshoot Settings”.
- Click on Additional Troubleshooters.
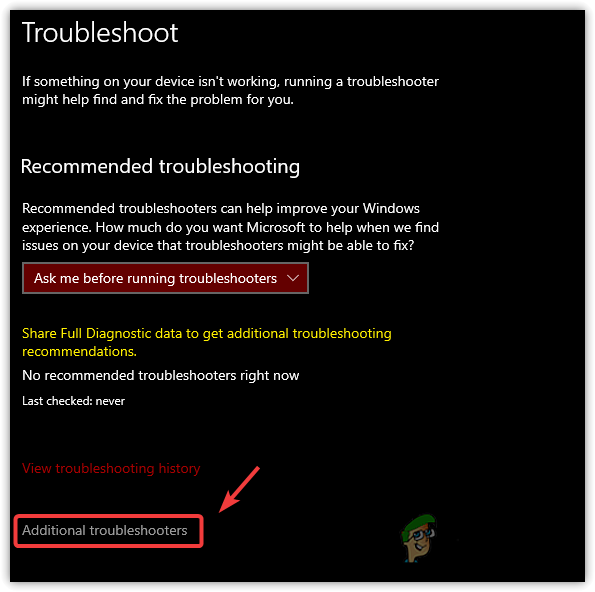
- Select Hardware and Devices.
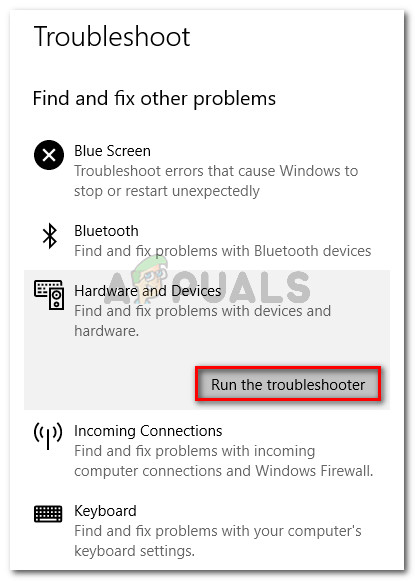
- Follow the on-screen instructions.
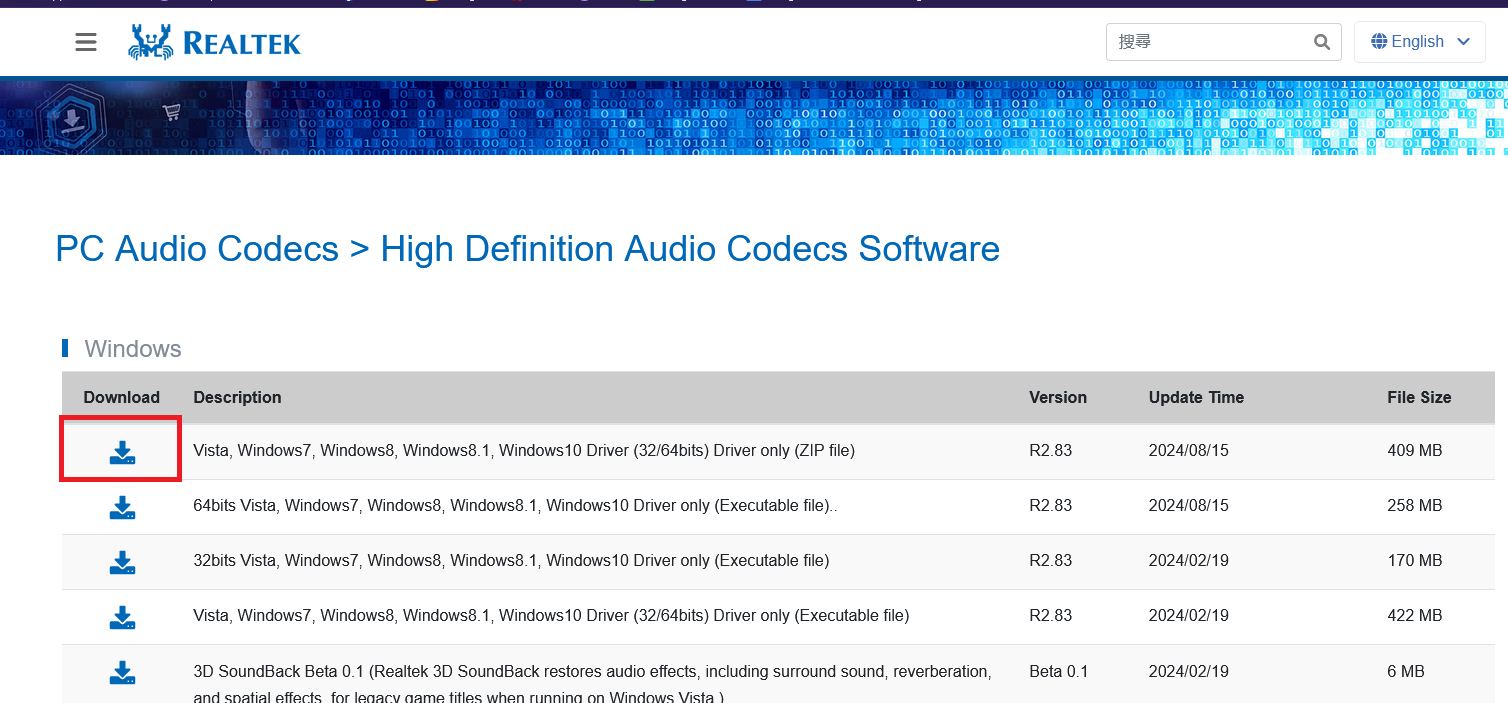
4. Update the Drivers
Updating your drivers can fix Realtek Audio Manager issues caused by outdated or corrupted drivers. This ensures proper communication with the operating system and applies the latest fixes. Using the correct driver version from the motherboard manufacturer’s site resolves conflicts and ensures smooth functioning of audio hardware and software.
- Click here and select the download icon.
- Check I accept to the above and click Download this file.
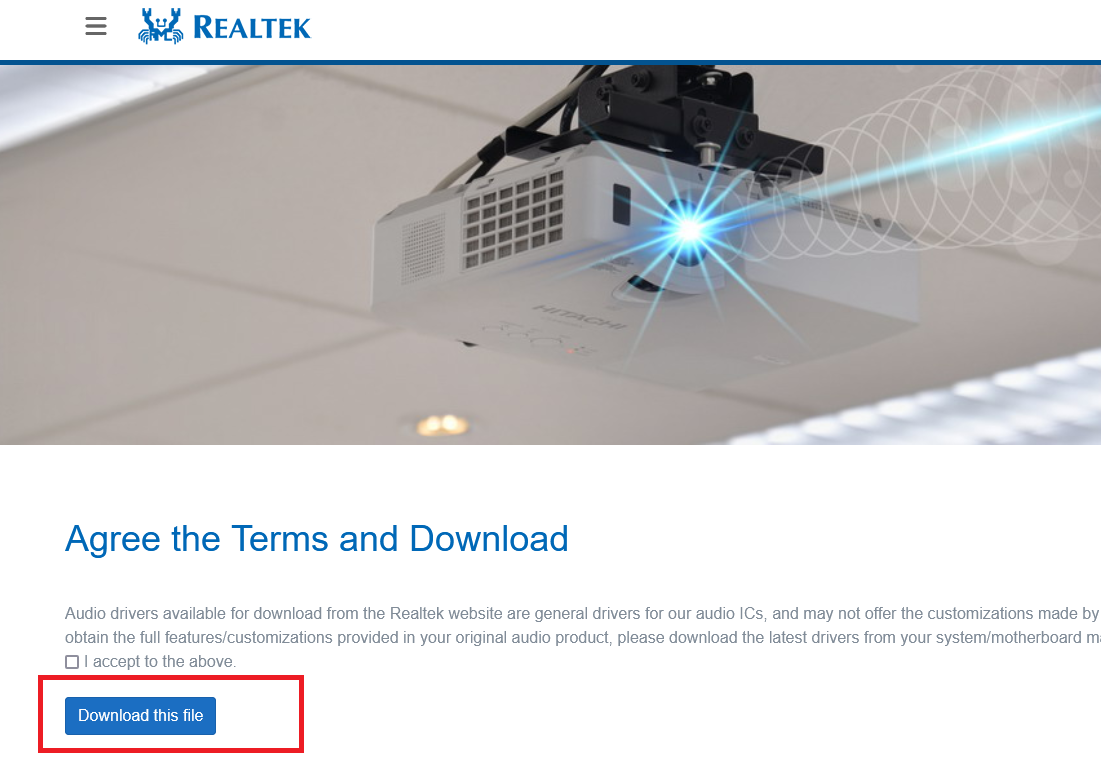
- After downloading, open the file and follow the installation steps.
5. Rollback Drivers
Updating to the latest driver can cause conflicts if it’s unstable or incompatible. Rolling back to a previous driver reverts to a stable version and can fix problems, allowing Realtek Audio Manager to work correctly. This is useful if issues started after a driver update.
- Press Windows key + R
- Type devmgmt.msc and press Enter.
- Double-click Sound, video and game controllers
- Double-click your sound card driver
- Open the Driver tab.
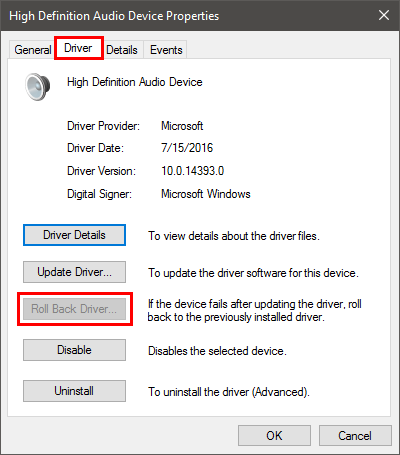
- Click Roll Back Driver… and follow instructions. If greyed out, no rollback is possible.
6. Install Drivers from Microsoft Update Catalog
Realtek Audio Manager issues can arise from missing or outdated drivers. Installing drivers from the Microsoft Update Catalog ensures you get compatible, up-to-date drivers verified by Microsoft. This resolves compatibility issues from system updates or incorrect installations, bypassing manufacturer drivers and ensuring stability with your Windows version.
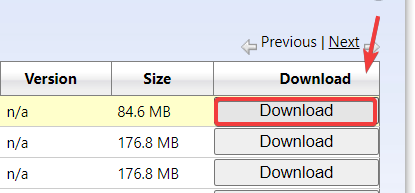
- Visit Microsoft Update Catalog and download the appropriate version.
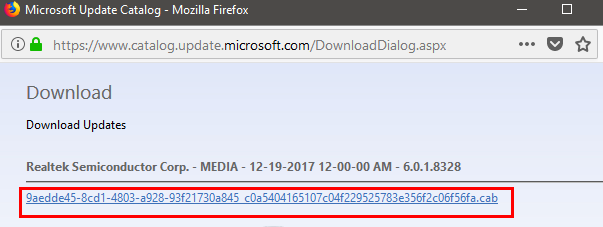
- Click the link in the new window to save the file.
- Create a new folder to extract the file’s content.
- Right-click the downloaded file, select Extract files…, choose the folder created, and click OK.
- Disconnect from the internet to prevent automatic driver installation.
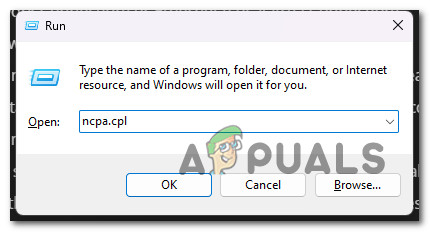
- Open Network Settings by holding the Windows key and pressing R, then type ncpa.cpl and press Enter.
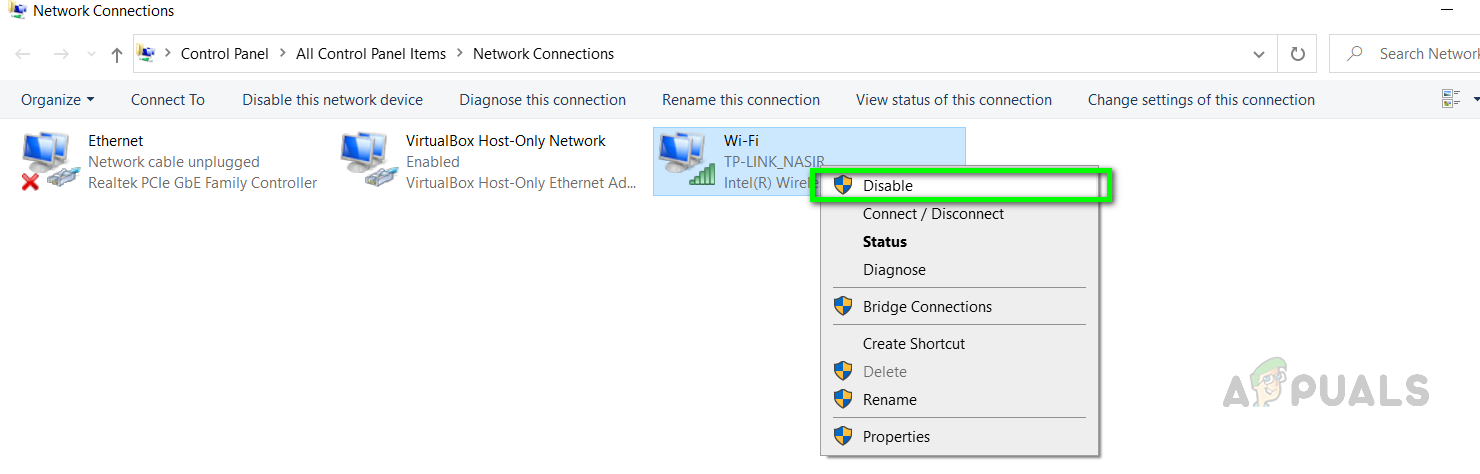
Open the Network Settings menu - Right-click your internet connection and select Disable.
Disable internet Adapter - Open Device Manager by holding the Windows key and pressing R, then type devmgmt.msc and press Enter.
- Double-click Sound, video and game controllers, right-click Realtek high definition audio device, select Uninstall, and confirm.
- Reboot your computer.
- Once restarted, open Device Manager again and double-click Sound, video and game controllers.
- Right-click Realtek high definition audio device, select Update Driver Software….

Update the Audio Drivers - Select Browse my computer for driver software, choose the folder with the extracted files, and click Open.
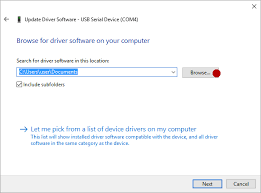
- Click Next and follow the instructions.
Realtek doesnt give audio downloads anymore I tried that website look completetly different