Fix: Radeon Settings Host Application Stopped Working ‘cnext.exe’
‘Radeon Settings: Host Application has stopped working’ will usually show up on startup or when you are turning off the computer. The error will show up for AMD Radeon users since the error is related to the AMD control center. If you open up your Task Manager, you will also see the Cnext.exe process running in their as well. Yu might also experience screen flickering or fan speed problems.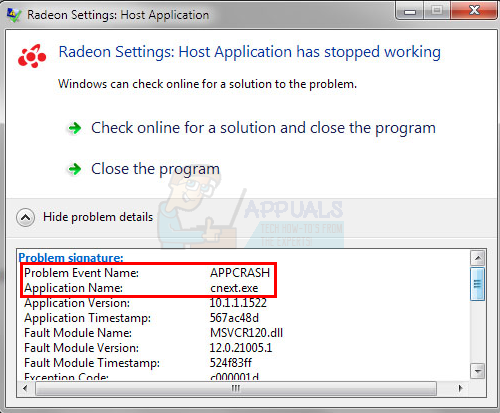
The first thing you need to know is that cnext.exe is a part of the AMD catalyst control center program for the Radeon graphics card. If you are seeing this error then you must be using the Radeon graphics card. The reason why this crash happens isn’t quite clear but it does get solved by updating the drivers. So, it is most likely related to your graphic card’s drivers. If the problem started happening after a driver update then it might have been caused by a faulty driver or improper installation of the driver.
Method 1: Clean Install Drivers
Since the problem is related to the driver issue, updating to the latest version will solve the problem. The AMD has released a fix for this in their latest driver version and it has been known to solve these issues for the majority of users. For a lot of users, simply downloading the drivers and installing them won’t work. In order to properly install the new drivers, you will have to uninstall the previous drivers and make sure there isn’t any file left.
Note: Before trying to install the drivers, make sure your anti-virus application is disabled. These security applications are known to cause some issues with the installation process. You can simply right click your anti-virus application icon from the system tray (right bottom corner) and select Disable. If you don’t see any Disable option then simply double click the anti-virus application icon from the system tray and look for the Disable option on that panel. Almost all the major anti-virus applications have an option to disable the application temporarily.
- Click here and download the Display Driver Uninstaller Utility. This utility basically clears up the previous graphic drivers and any of their left over files. This is useful because it makes sure that the newer driver is installed properly. A lot of the times your new driver won’t be installed properly because of the previous version and its conflicting left over files.
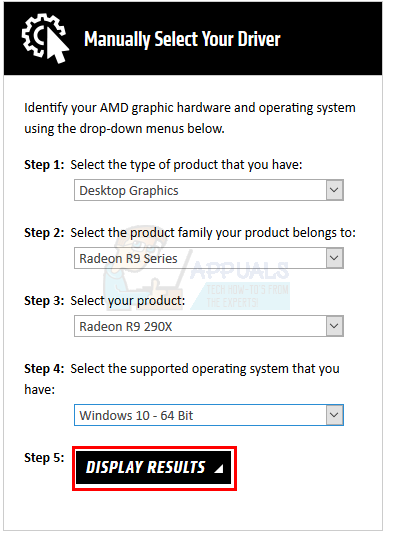
- Once done, click here. Select the appropriate settings from the Manually Select Your Driver section and click Display results. Download the drivers suitable for your Windows version. Note: We would advise you not to use their auto detect tool for driver installation. If you want the best results, download the drivers manually.
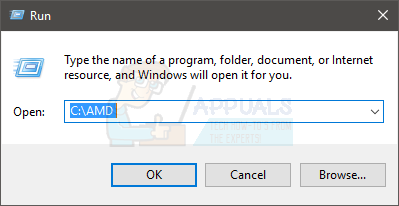
- Now, we will empty the contents of the AMD folder found in the C drive. Hold Windows key and press R
- Type C:\AMD and press Enter
- Hold CTRL key and press A (this will select all the files)
- Press the Delete key and confirm any additional prompts
- Now, it’s time to turn off Windows updates. This is to prevent Windows from downloading and installing the graphic drivers automatically. If your Windows is set to automatic then it might automatically download the graphics drivers. Turning Windows update off for a while will prevent this from happening.
- Hold Windows key and press R
- Type services.msc and press Enter

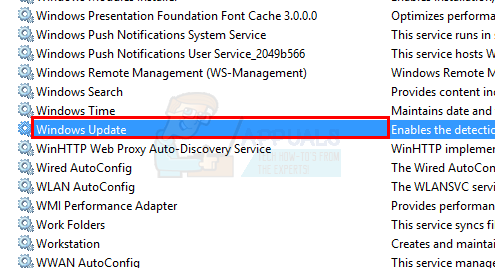
- Locate and double click Windows Update
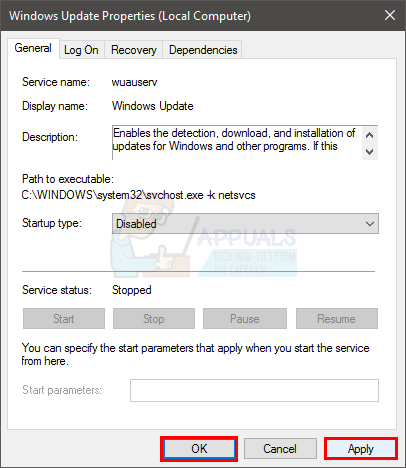
- Select Disabled from the drop down menu in Startup Type
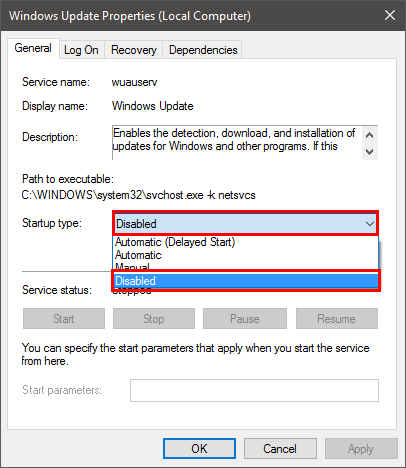
- Click Stop button if the Service Status isn’t set to Stopped
- Click Apply then select Ok
- If you are a Windows 7 or 8 user, make sure your Windows are up to date. To download and install the Windows updates, follow the steps given below
- Hold Windows key and press R
- Type control panel and press Enter
- Select Small icons from the drop down menu in front of View By
- Click Windows update
- Select Check for updates
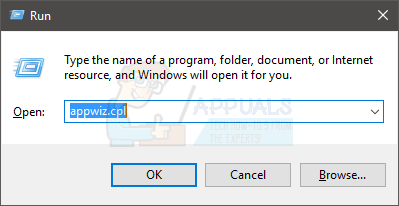
- Hold Windows key and press R
- Type appwiz.cpl and press Enter
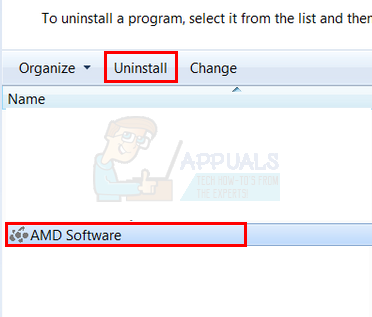
- Locate the AMD Software and select it
- Click Uninstall and follow any additional on-screen instructions. Make sure you uninstall everything
- Now we will log in to Safe Mode to run the Display Driver Uninstaller.
- Hold Windows key and press R
- Type msconfig and press Enter

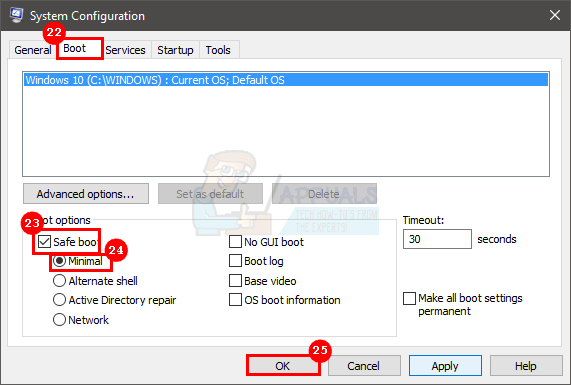
- Select Boot tab
- Check the option Safe Boot in the Boot options section
- Select the option Minimal under the Safe Boot option
- Click Ok
- Windows will ask you to restart. Click Restart
- Once the system reboots, you will be in Safe Mode. Run the Display Driver Uninstaller file
- Select AMD from the drop down menu and click the Clean and Restart (Highly Recommended)
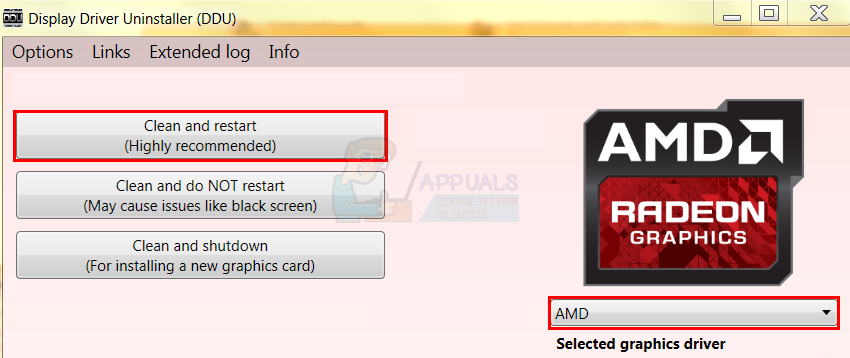
- Let Display Driver Uninstaller do its job. When it’s done, you PC will restart.
- Run the AMD drivers (that you downloaded earlier) once the system restarts. Follow the on-screen instructions to install the drivers
- When the drivers are installed, you need to turn off the Safe Mode option. Hold Windows key and press R
- Type msconfig and press Enter

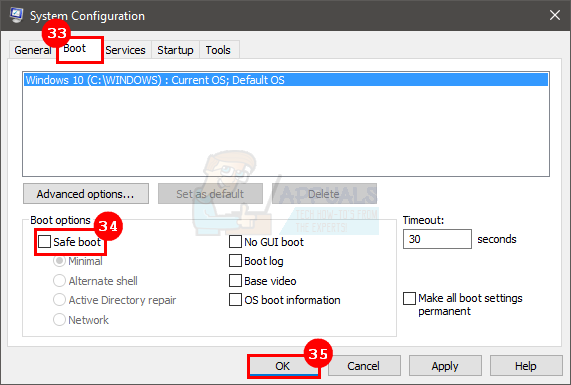
- Select Boot tab
- Uncheck the option Safe Boot in the Boot options section
- Click Ok
- Windows will ask you to restart. Click Restart
You should be good to go once the system reboots. You will have a clean installation of the new drivers.
Method 2: End Cnext.exe Process
This isn’t a solution but a workaround to the APPCRASH issue. If none of the above mentioned methods worked for you then you can use this workaround until your problem is resolved. Simply terminating the cnext.exe process from the Task Manager won’t create the APPCRASH error while turning off your system.
Here are the steps for terminating the cnext.exe
- Press and hold CTRL, SHIFT, and Esc keys (CTRL + SHIFT + Esc)
- Locate Cnext.exe and select it
- Click End Task
Once the cnext.exe is ended, turn off your computer. This will prevent the error message from popping up whenever you try to turn off your computer.
Method 3: Change Cnext.exe Properties
Making some changes in the Cnext.exe properties has helped plenty of users to get rid of this issue as well. So, here are the steps for changing the properties of Cnext.exe
- Hold Windows key and press R
- Type C:\Program Files and press Enter. Note: Replace Program Files with (or Program Files (x86)) if you cant find the folder in Program Files
- Locate and double click Cnext folder
- Right click the cnext.exe and select Properties
- Select Security Tab
- Click Edit button
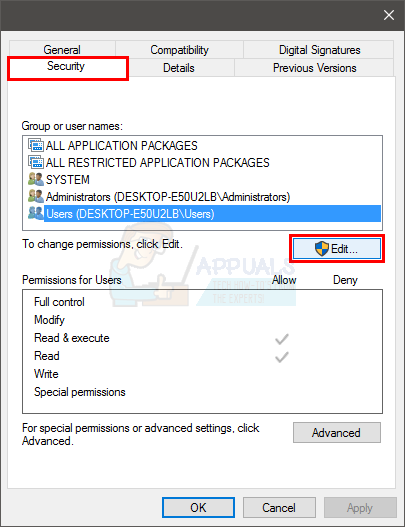
- Select Users from the Group or user names: section
- Check all the boxes in the Allow column in Permission for Users section
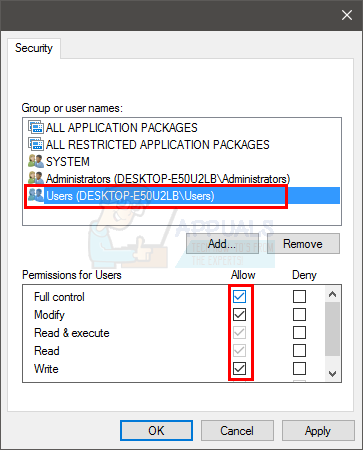
- Repeat steps 7 and 8 for Administrators as well
- Click Apply then select Ok
Reboot and check if the problem persists.
After doing step 26 I am now locked out of my user account because my pin password no longer works. I know with 100% certainty I am inputting the correct password but it is not working (I have even tried using the on screen keyboard to make sure). I am unsure what to do at this point.I read other articles saying that sometimes the issue is that it is not connected to the internet. That could possibly be the issue I need to solve but my router is directly plugged into my computer and the internet option at the bottom has no options for turning it on save for the airplane mode option. I have no idea what to do at this point and more help would be much appreciated.