Fix: QuickBooks Error Code H202
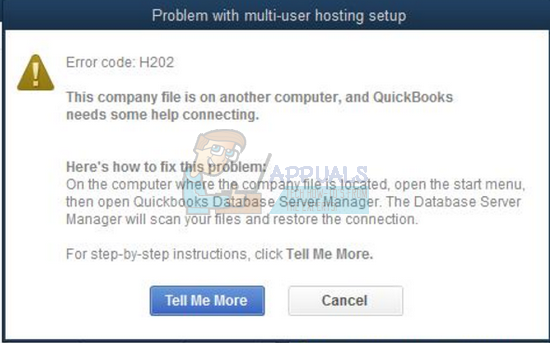
There are quite a few error codes related to error H202 and they share a somewhat similar cause and solution. This particular error may appear when users are trying to open their company file and this error prevents them from doing so.
Additionally, another situation where this error might appear is the multi-user environment especially if you are trying to work with a company file which is not located on your own computer. This error occurs if QuickBooks is trying to establish a connection to the company file but they are simply unable to do so because of many different reasons.
Make sure you follow the instructions presented in this article carefully in order to find out about a couple of useful methods for solving this problem.
Solution 1: Verify the Hosting Process
Since this error often occurs in the multi-user environment where one computer (the server) serves as a host, you absolutely need to make sure that only one computer has the hosting option enabled by following the steps below for each computer or workstation related to the project except for the hosting computer.
- Open QuickBooks by double-clicking its icon and navigate to File >> Utilities.
- You should be able to see Host Multi-User Access option on the list which appears which means that this computer is not hosting the company file and it’s safe to move on to the next computer. Make sure you don’t change anything if you see this option.
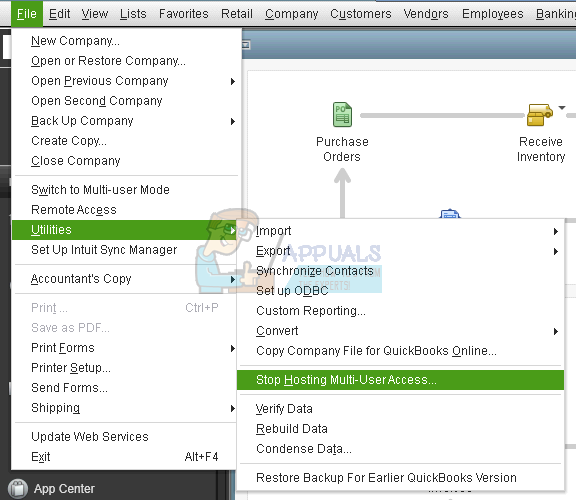
- If you click on File >> Utilities and you see the Stop Hosting Multi-User Access click on this option which will prevent this computer from being the host, leaving only the host computer.
- Repeat this process for all computers except for the real host.
Solution 2: Check to See if Proper Services are Running
This solution and the settings below which need to be tweaked are related to the server computer or the host which should have the option displayed in Solution 1 enabled. There are a couple of services which need to be running at all times on the server computer (QuickbooksDBXX and QBCFMonitorService) so let’s make sure they are.
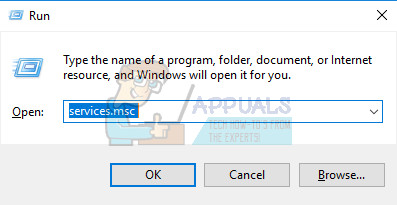
- If you are using a version of Windows older than Windows 10, the easiest way for you to access the services running on your PC is clicking on the Start button and navigating to the Run dialog box.
- Type “services.msc” in the dialog box and wait for the list of services to open.
- If you are using Windows 10, you can also access Services by using the Ctrl + Shift + Esc key combination in order to bring up Task Manager.
- Navigate to the Services tab in Task Manager and click on Open Services at the bottom of its windows, next to the gears icon.
After you have successfully open Services, follow the instructions below.
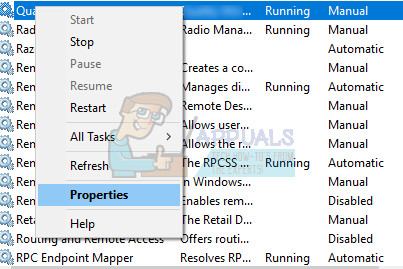
- Locate the QuickbooksDBXX by clicking on the Name column in order to sort the services in an alphabetical order.
- Right-click on the service and click on Properties.
- Navigate to the Startup type and set it to Automatic but make sure it’s service status is Running or Started.
- If the status says Stopped you will have to click on the Start button located in the Properties window before proceeding.
- Next, click on the recovery tab, locate the First failure option and choose Restart the Service. This option makes sure that the service will restart automatically if it fails. Do the same for Second Failure and Subsequent failures.
The service should start now and you won’t have any problems dealing with it in the future. However, you may receive the following error message when you click on Start:
“Windows could not start the QuickbooksDBXX service on Local Computer. Error 1079: The account specified for this service differs from the account specified for other services running in the same process.”
If this occurs, follow the instructions below to fix it.
- Follow the steps 1-4 from the instructions below in order to open service’s properties.
- Navigate to the Log On tab and click on the Browser… button.

- Under the “Enter the object name to select” box, type in your computer’s name and click on Check Names and wait for the name to become authenticated.
- Click OK when you are done and type in the administrator password in the Password box when you are prompted with it.
- Click OK and close this window.
- Navigate back to QuickbooksDBXX’ properties and click Start.
- Close everything and check to see if the service is running. Repeat the process for the QBCFMonitorService.
Solution 3: Open the Network Ports QuickBooks Uses to Transmit Data
Firewalls can prevent QuickBooks from accessing the Internet properly and that is a major concern. Different firewalls may be installed on your computer but it’s not recommended to use more than one. Let’s take a look at how to make sure QuickBooks files are not blocked by Windows Firewall:
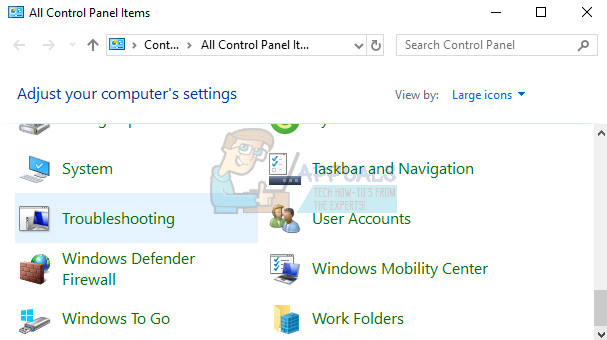
- Navigate to Control Panel by searching for it in the Start menu and click on System and Security >> Windows Firewall. You can also switch the view to Large or Small icons and click on Windows Firewall instantly.
- Select the Advanced settings options and highlight Inbound Rules in the left section of the screen.
- Right click on Inbound Rules and click on New Rule. Under the Rule type section, select Port. Select TCP from the first set of radio buttons (TCP is recommended) and switch the second radio button to “Specific local ports. You will need to add the following ports in order to fix QuickBooks updating functionality:
QuickBooks Desktop 2018: 8019, 56728, 55378-55382
QuickBooks Desktop 2017: 8019, 56727, 55373-55377
QuickBooks Desktop 2016: 8019, 56726, 55368-55372
QuickBooks Desktop 2015: 8019, 56725, 55363-55367
- Make sure you separate them by a coma right to the last one and click on Next after you have finished.
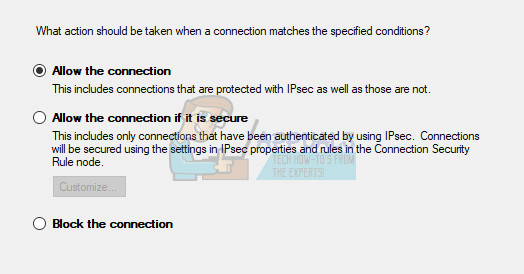
- Select the Allow the connection radio button in the next window and click Next.
- Select the network type when you want to apply this rule. If you switch from one network connection to another quite often, it’s recommended that you keep all of the options checked before clicking Next.
- Name the rule something which makes sense to you and click Finish.
- Make sure you repeat the same steps for Outbound Rules (choose Outbound rules in Step 2).
Solution 4: Editing the Host File on Windows
Sometimes it may be necessary to edit the Windows hosts file and add your Web server there in order to add this server to the whitelist. This is a somewhat advanced process and you should always make sure you follow the instructions carefully. You will need to have Administrator access in order to proceed so make sure you login with your administrator account.
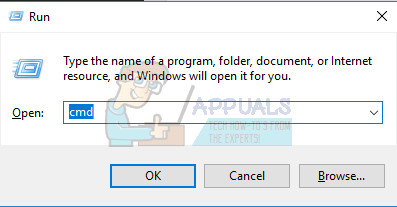
- On the server, use the Windows Key + R key combination to open the Run dialog box.
- Type “cmd” and press Enter to open the Command Prompt window.
- Type “ipconfig /all” (there is a space after ipconfig) and press Enter to run this command
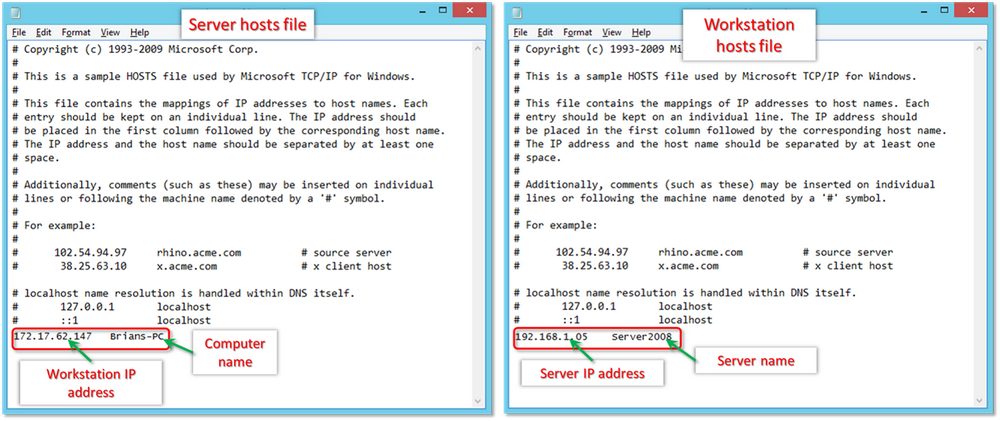
- Take note of the Host Name (computer name) and the IP Address (it will either be IP Address or IP Address v4). Make sure you repeat the process for all workstations and computers connect in the multi-user environment. Write these information on a piece of paper or save it in a text file.
The next thing we need to do is to simply edit the Windows Hosts file.
- Close QuickBooks and navigate to Start Menu >> This PC. Make sure you navigate to the following address:
C:\Windows\System32\Drivers\Etc OR
C:\Windows\Syswow64\Drivers\Etc.
Note: If you are not able to see the Windows folder in This PC >> Local Disk C, you will need to make sure you are able to view the hidden files and folders by following the steps below:
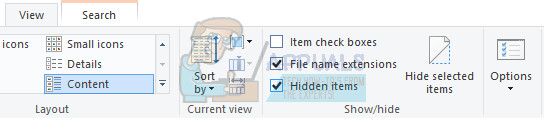
- Click on the “View” tab on File Explorer’s menu and click on the “Hidden items” checkbox in the Show/hide section. File Explorer will show the hidden files and will remember this option until you change it again.
- Right-click on the Hosts file in the folder choose Open with… and open the file with Notepad.
- Enter the IP address and type in the Computer Name (Server- will have workstation IP and computer name. Workstation- will have Server IP and computer name). While entering this information, use the Tab key instead of the space bar to separate IP address and computer name.
- After you finish, you can apply the changes and reopen QuickBooks in multi-user mode.
Through this blog, I can recover my QuickBooks error code H202 easily. The point that you have mentioned above about how to fix QuickBooks error code H202 in a clear form which is easy to understand. This is an informative post not only for me but also for those who are facing the same problem. Thanks for sharing this with us.