How to Fix QuickBooks Error Code 3371
Fixing QuickBooks errors can be quite a lengthy process since there is not a lot of information available online regarding each issue and users are pretty much left on their own. This error usually appears when there are problems with your QuickBooks license and there are quite a few different messages which you may encounter:
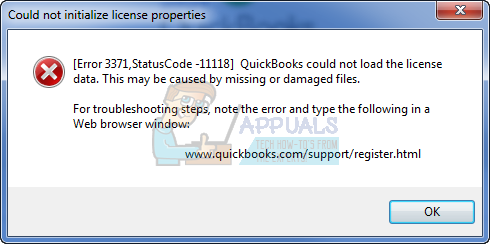
- Could not initialize license properties. Error 3371: QuickBooks could not load the license data. This may be caused by missing or damaged files.
- Could not initialize license properties. [Error 3371, Status Code -11118] QuickBooks could not load the license data. This may be caused by missing or damaged files.
- Could not initialize license properties. [Error: 3371, Status Code -1] QuickBooks could not load the license data. This may be caused by missing or damaged files.
That is why it’s important to realize what actually caused this to happen, making an assumption you purchased the software legally and installed it on your PC. The error may be caused by the corruption of several important files such as QBregistration.dat and similar. Follow the steps below in order to solve this problem and get rid of this error for good.
Solution 1: Install the Latest Windows Updates
Having your PC updated to the latest build can do wonders for your PC and fix most of the errors you see on a daily basis. Sometimes the makers of a certain program assume you are using the newest version of Windows and they implement certain features which may not fork on older versions. Follow the steps below in order to check for updates.
Windows 10 usually updates itself automatically but, if there was something wrong with this process, you can always check for updates manually.
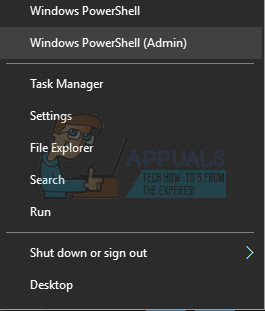
- Hold the Windows Key and press X in order to open this special context menu. You can also right-click on the Start menu. Choose Windows Powershell (Admin).
- In the Powershell console, type cmd and wait for Powershell to switch to the cmd-like environment.
- In the “cmd” console, type in the following command and make sure you click Enter afterwards:
wuauclt.exe /updatenow - Let this command run for at least an hour and check back to see if any updates were found and/or installed successfully.
Solution 2: Reinstall Using A Clean Install
A clean install is usually done when one of the program’s features are damaged and need repair and also when the usual reinstall fails to provide any comfort or a solution to the problem. In order to start the installation process make sure you have the installation CD or the setup file you downloaded from QuickBooks’ official site. You will also need your license number before you start.
- First of all, make sure you are logged in with an administrator account as you won’t be able to delete programs using any other account.
- Backup the data you want to save because deleting QuickBooks will remove it.
- Click on the Start menu and open Control Panel by searching for it. Alternatively, you can click on the gear icon in order to open settings if you are using Windows 10.
- In Control Panel, select to View as: Category at the top right corner and click on Uninstall a Program under the Programs section.
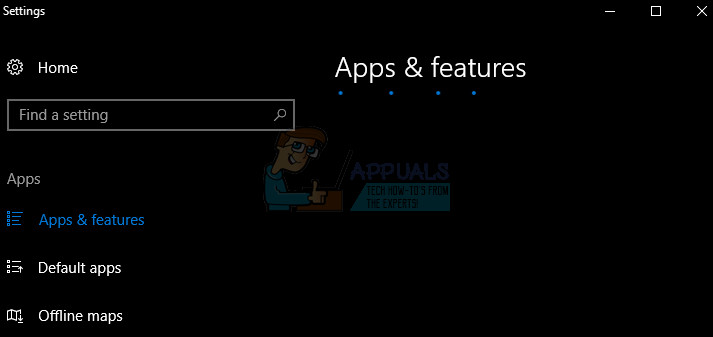
- If you are using the Settings app, clicking on Apps should immediately open a list of all installed programs on your PC.
- Locate Quickbooks in Control Panel or Settings and click on Uninstall.
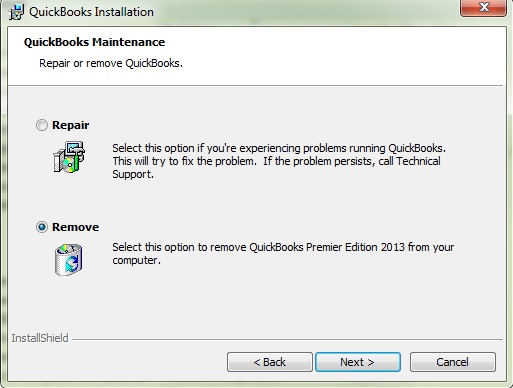
- QuickBooks’ uninstall wizard should open with two options: Repair and Remove. Select Remove and click Next in order to uninstall the program.
- A message will pop up asking “Do you want to completely remove QuickBooks for Windows?” Choose Yes.
- Click Finish when the uninstalled completes the process and restart your computer to see whether errors will still appear.
The next thing in the process is to rename the installation folders so that QuickBooks does not use the remaining files after you reinstall it. This is an easy task.
- Navigate to the C >> Windows folder on your computer by clicking on This PC option located at your desktop.
Note: If you are not able to see some of the folders we mention below, you will need to enable the Show Hidden Files and Folders option from within the folder.
- Click on the “View” tab on File Explorer’s menu and click on the “Hidden items” checkbox in the Show/hide section. File Explorer will show the hidden files and will remember this option until you change it again.

- Navigate to each of the folders displayed below and rename them by adding ‘.old’ to their name. This means that the new installation of QuickBooks won’t use these folders or the files located in them.
C:\ProgramData\Intuit\QuickBooks (year)
C:\Users\(current user)\AppData\Local\Intuit\QuickBooks (year)
C:\Program Files\Intuit\QuickBooks(year)
64-bit version C:\Program Files (x86)\Intuit\QuickBooks (year)
Note: You may end up receiving the “Access Denied” error when you try to rename these folders. This only means that one of the QuickBooks processes is running and it prevents you from modifying any of the files and folders these processes are using. Follow the steps below to fix this:
- Use the Ctrl + Shift + Esc key combination in order to bring up the Task Manager. Alternatively, you can use the Ctrl + Alt + Del key combination and select Task Manager from the menu. You can also search for it in the Start menu.
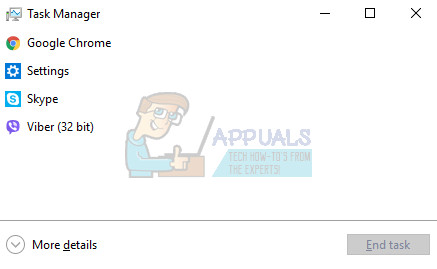
- Click on More details in order to expand the task manager and search for the entries displayed below on the list in the Processes tab of Task Manager, right-click on each one of them, and choose the End task option from the context menu which appears.
QBDBMgrN.exe
QBDBMgr.exe
QBCFMonitorService.exe
Qbw32.exe
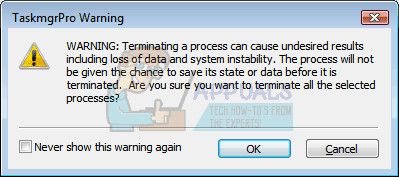
- Click Yes to the message which is going to be displayed: “WARNING: Terminating a process can cause undesired results including loss of data and system instability….”
- Now you are ready to reinstall QuickBooks Desktop by running the file you downloaded earlier. The link is at the very start of this Solution. Follow the instructions which appear on screen and check to see if the same error appears.
Alternative: If the clean uninstall doesn’t work for some reason, you can always try and repair the installation by choosing the Repair option in Step 7 of this Solution. After the process finishes, try to see if the error message still appears.
Solution 3: Re-create Damaged EntitlementDataStore.ecml File to Solve License and Registration Issues
This file is usually problematic when the error 3371 appears since this file is encrypted to keep these important information. If this file gets damaged, it automatically means that your license information are not so safe anymore. However, you can try and fix this file by following the steps provided below carefully.
- Close QuickBooks completely, including the process it may leave behind.
- Use the Ctrl + Shift + Esc key combination in order to bring up the Task Manager. Alternatively, you can use the Ctrl + Alt + Del key combination and select Task Manager from the menu. You can also search for it in the Start menu.
- Click on More details in order to expand the task manager and search for QBW32.EXE entries on the list in the Processes tab of Task Manager, right-click on each one of them, and choose the End task option from the context menu which appears.
- Click Yes to the message which is going to be displayed: “WARNING: Terminating a process can cause undesired results including loss of data and system instability….”
- Navigate to the folder displayed below where the file should be located by clicking on the Start menu and searching for “Run”.
- When the Run dialog box opens, paste the following location in it and click Enter:
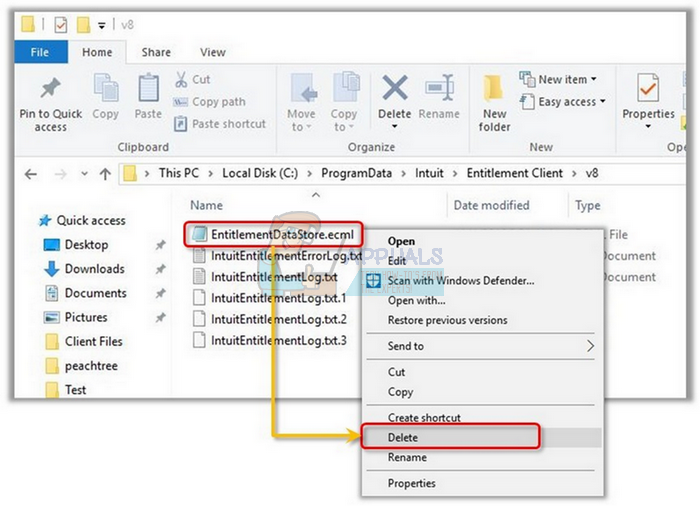
C:\ProgramData\Intuit\Entitlement Client\v8
- Locate the EntitlementDataStore.ecml, right-click on it, and choose Delete.
- After you have successfully deleted the file, reopen QuickBooks Desktop, open your company file and re-register the application using the same information you used for the previous registration.