Fix: Quick Access Menu Not Working on Windows
Some users have been reporting that the Quick Acces function of Windows 10 has suddenly become unusable on Windows 10. While some users report that this issue occurred immediately after they finished installing the Creators Update, other users have been unable to find no apparent trigger for the issue.
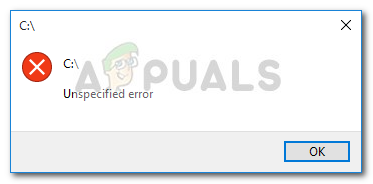
The symptoms of this particular issue are the disappearance of the access items from the Quick access menu of File Explorer. Even more, affected users report that they also lost the ability to pin anything to the Quick Acess menu. Most users report that clicking on the Quick access menu in order to expand it will return a “parameter is incorrect” error. Other users report that expanding the Quick access menu triggers an Unspecified error or that the quick access menu in the Navigation Pane is completely empty.
If you’re currently struggling with the same symptoms, this article is exactly what you’re looking for. Below you have a collection of methods that other users have used to resolve the issue and fix the Quick access menu. Please follow the methods below in order until you encounter a fix that fixes the problem in your particular scenario. Let’s begin!
Method 1: Removing the contents of AutomaticDestinations and CustomDestination
The most popular fix capable of resolving an issue with the Quick Access menu is to empty the contents of two folders: AutomaticDestinations and CustomDestination. Apparently, these two folders hold store data files responsible for maintaining the Quick Access menu. In this case, deleting the contents of AutomaticDestinations and CustomDestination is the equivalent of reinitiating the quick access menu.
You have two different ways of clearing the contents of AutomaticDestinations and CustomDestination. Either you browse to the two locations manually or you use an elevated command prompt.
If you wish to browse to the location manually, here’s a quick guide through the whole thing:
Note: If you’re looking for a quicker (but more technical way) of removing the contents of the two folders, jump directly to the second guide.
- Open File Explorer and click on the View tab in the ribbon at the top. Then, make sure the box associated with Hidden items is checked.
- Paste the following location into the navigation bar and press Enter to navigate to the location of the AutomaticDestinations folder:
%AppData%\Microsoft\windows\recent\automaticdestinations
- In the AutomaticDestinations folder, delete every single file until you are left with an empty folder.
- Once the first folder has been taken care of, paste the following location into the navigation bar and press Enter to open the CustomDestination folder:
%AppData%\Microsoft\windows\recent\customdestinations
- In the CustomDestination folder, hit Ctrl+ A to select everything there, then choose Delete (or press the Delete key) to remove everything.
- Once all files have been removed from both folders, reboot your computer. At the next startup, open File Explore again. You should find that the Quick Access menu has been reinitiated and is working properly.
Another way to remove the contents of the CustomDestination and AutomaticDestinations folders is via an elevated Command Prompt. Here’s a complete guide on how to do this:
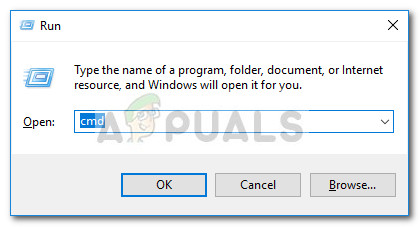
- Press Windows key + R to open up a Run box. Then, type “cmd” and press Ctrl + Shift + Enter and hit Yes at the UAC (User Account Control) to open up an Elevated Command Prompt.
- In the Elevated Command Prompt, insert the following commands in whichever order and press Enter after each one to empty their contents automatically:
del /F /Q %APPDATA%\Microsoft\Windows\Recent\AutomaticDestinations\*
del /F /Q %APPDATA%\Microsoft\Windows\Recent\CustomDestinations\*
- Close the Elevated Command Prompt and restart your computer. At the next startup, see whether the Quick Access menu has been reinitiated and you are able to use it correctly.
If you’re still encountering issues with the Quick Access menu, move down to Method 2.
Method 2: Clearing Privacy Options
If the first method was a bust, you can follow the example of other users that have managed to resolve the issue by cleaning the privacy options cache of File Explorer. Users in a similar situation have managed to resolve the issue after cleaning the Privacy cache and changing some additional settings
Here’s a quick guide on clearing the Privacy option cache of File Explorer in order to reset the Quick Access menu:
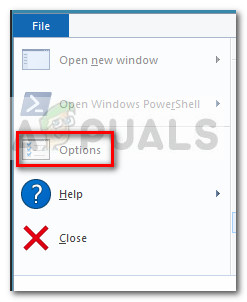
- Open File Explorer and go to File > Options to open the Folder Options screen.
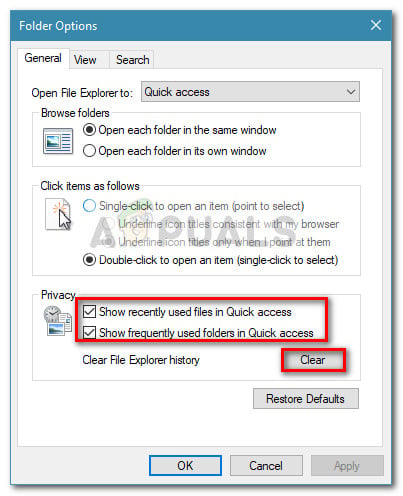
- Inside Folder Options, go to the General tab and enable the checkboxes associated with Show recently used files in Quick access and Show frequently used folders in Quick access under Privacy.
- With the two checkboxes enabled, click the Clear button under Privacy.
- Close File Explorer and restart your computer. At the next startup, you should find that the Quick Acess menu is working correctly again.


