Fix: PUBG Memory Could Not be Read
PUBG is one of the global emerging games in the Battle Royale category. It is a direct competitor of Fortnite which exhibits similar gameplay but a difference in publishers. Users experience the full error message listed below when they are trying to launch the popular game:
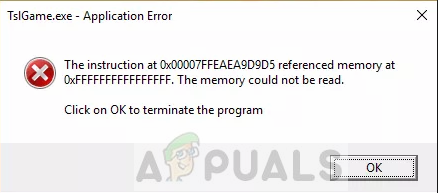
The error message might contain different addresses on each computer because the memory used is usually present in unique locations in different PC’s.
This error message emerged in mid-2017 and has been present in user’s devices since. In some cases, it automatically gets resolved when an update rolls out for the game. In other cases, you have to manually troubleshoot and fix the error message.
What causes the Error message ‘Memory Could Not be Read’ in PUBG?
This error message can be traced back to a number of different reasons ranging from simple corruptions in application to issues from overclocking. Some reasons why the error message ‘memory could not be read’ occurs in PUBG are but not limited to:
- Issues in Steam Game Files: PUBG is handled through the publisher Steam which accesses all the game files and the necessary updates. If any of these files are missing, you might not be able to launch the game.
- Overclocking: Even though Overclocking provides means to boost any game, it might also induce problems in it. A simple workaround for this issue is to disable overclocking.
- Background Applications: Third-party applications running at the background might also be responsible for conflicting with PUBG and will cause an error like the one under discussion.
- Old Video Cards: If you are using old video cards on your system, it might be possible that the requirements of the game do not get fulfilled by your video card.
Before we start with the solutions, make sure that you have an active open internet connection without any proxy servers. Furthermore, you should also have administrator access on your computer.
Solution 1: Verifying Integrity of Game Files
Steam has an inbuilt feature where you can easily verify the integrity of your game files. Game files getting corrupt or not usable has been a problem of Steam for quite some time and is recurrent in different games. The verifying process checks the game files against a manifest of files which is fetched at runtime from the server.
- Open your Steam application and click on Games from the top bar. Now select Player Unknown Battlegrounds (PUBG) from the left column, right-click it and select Properties.
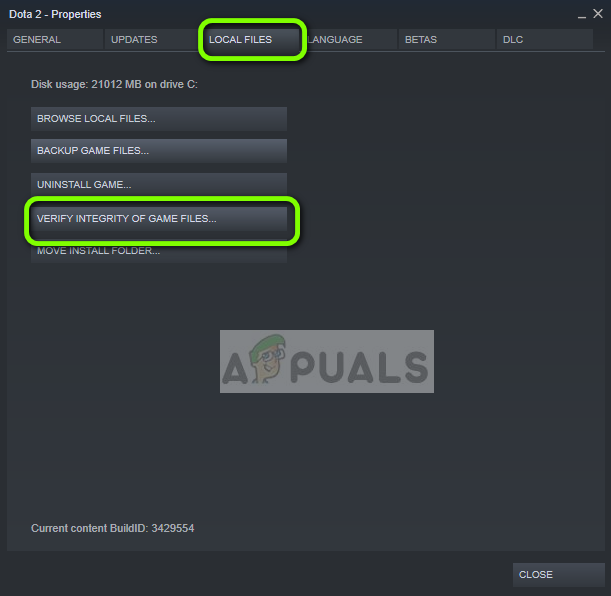
- Once in Properties, click on Local Files category and select Verify Integrity of Game Files.
- Now, wait until the process is complete. Restart your computer after the verification is complete and launch PUBG again. Check if the error message is resolved.
Solution 2: Disabling Overclocking
Majority gamers tend to build their computer systems around overclocked hardware (CPU + RAM). This allows them to get better performance while also paying a small price tag as compared to expensive hardware. Overclocking is the act of temporarily increasing the clock cycles of your hardware until it reaches a threshold temperature. Once it reaches this temperature, it is returned to stock speed so it is cooled again before overclocking again.
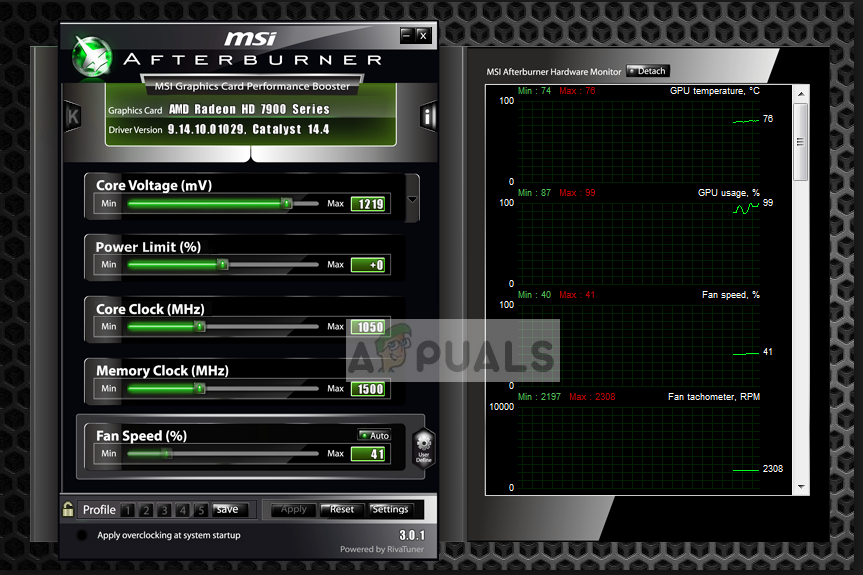
- Make sure that you are not overclocking any of your hardware including RAM’s, CPU and Graphics card.
- Disable any refresh rate forcing programs running on your computer.
- You can also disable uninstall 3rd party video or audio codecs which are running on your computer. These include K-Lite Codec packs etc.
- If you have an ATI Graphics card, please uninstall ATI-ACE, ATI-SMART, Trueform and Catalyst AI – Disable VPU Recover for testing.
Restart your computer after performing the above methods and check if the error message went away.
Solution 3: Reinstalling Graphics Card Drivers with DDU
If both the above methods don’t work on your computer and you still receive the error message, it can signify that there is a problem with your Graphics Drivers and VRAM. Both are important in ensuring a smooth operation of your game since they are very modules running your game.
Make sure that you download the drivers beforehand before you uninstall the drivers. You can also make sure of Device Manager when uninstalling the drivers.
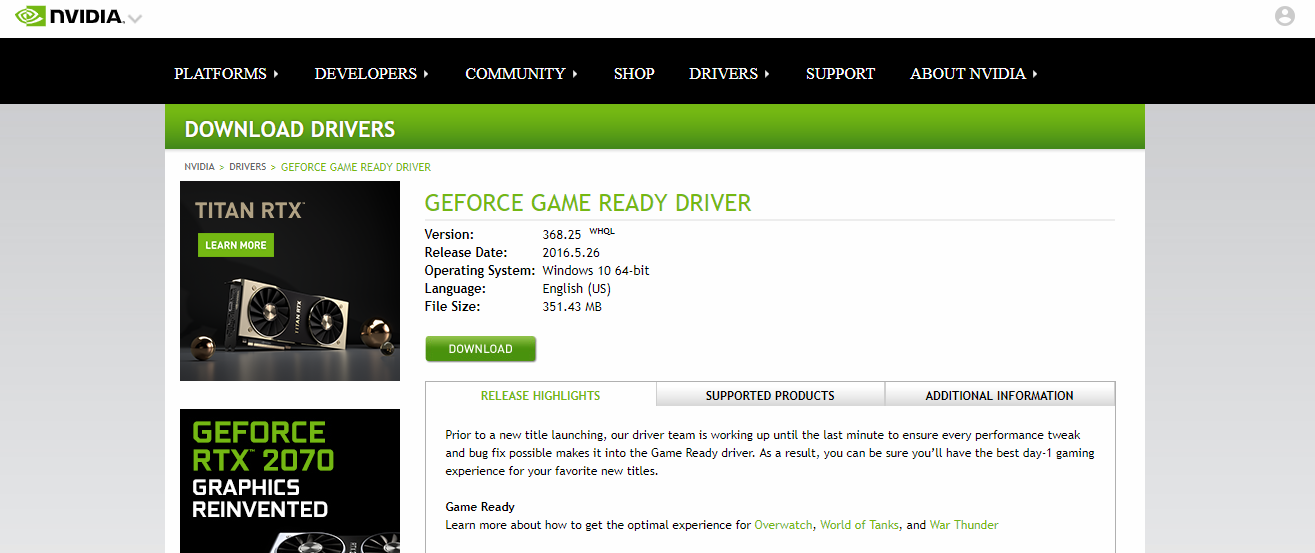
- Navigate to NVIDIA’s official website and download the latest drivers for your graphics card.
- After you have downloaded the drivers to an accessible location, download the DDU utility.
- After installing Display Driver Uninstaller (DDU), launch your computer in safe mode. You can check our article on how to boot your computer into safe mode.
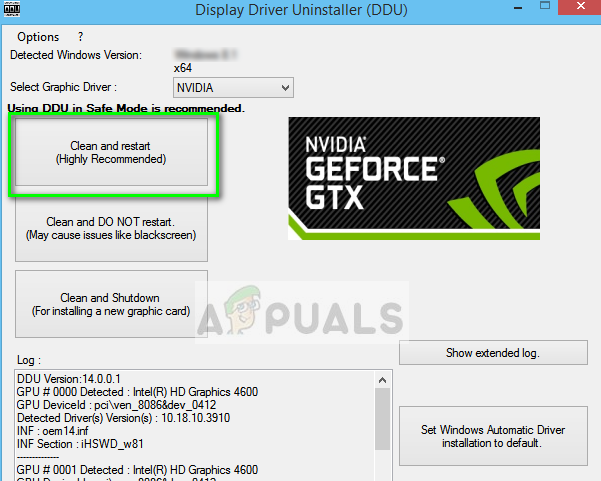
- After launching the DDU, select the first option “Clean and restart”. This will uninstall the current drivers completely from your computer.
- Now install the drivers we just downloaded and restart your computer again. Now launch GeForce Experience and check if the error message is resolved.


