Fix: PS4 Error CE-42555-1
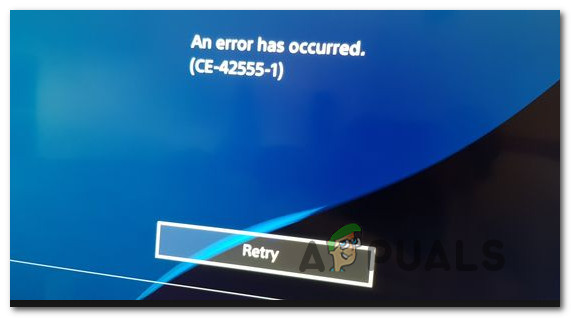
Some PS4 gamers have been getting the “CE-42555-1 Error” when trying to upload a video or screenshot to Facebook via the Share function on PlayStation4. Most user reports state that the upload bar loads completely, but the error eventually occurs during the processing stage. Upon checking the log of the event, the revealed error is CE-42555-1.
What is causing the CE-42555-1 error on PS4?
We investigated this particular issue by looking at various reports and the repair strategies that were commonly used to fix this problem. As it turns out, there are several different reasons why this error code might get thrown by your PS4:
- Notification tab is full – Several affected users have been able to resolve the issue just by clearing the notification bar. It’s been speculating that this issue might occur whenever the Navigation tab is full of items.
- Glitched Facebook account – This issue might also be encountered if the Facebook account that is currently linked with your PSN account is glitched. Removing the link and adding it again should resolve the issue in this case.
- PSN Authorisation has expired – PSN authorization on Facebook is only for a limited period of time. As per the latest Facebook changes, you might need to access your Facebook settings from a desktop device and Renew Access to the PlayStation app in order to resolve the issue.
- Used screenshot format is PNG – If you changed the default Sharing settings for screenshots to PNG, you will encounter this issue with images that are too large to be uploaded on Facebook. In this case, changing the screenshot format back to JPEG will resolve the issue.
If you’re currently looking for a way to get past the CE-42555-1 error and upload your PS4 gameplay footage on Facebook, this article will give you some troubleshooting ideas.
Method 1: Clearing all notifications
Some affected users have reported that they managed to resolve the issue after they cleared the notification queue entirely. After doing this and restarting their PS4 console, some users have reported that the issue was no longer occurring and they were able to upload the footage on Facebook normally.
Here’s a quick guide on how to clear the notifications on your PS4 console:
- On the main Dashboard, use the ribbon menu above your games to navigate to the Notifications bar.
- Once you get there, press the triangle button once to enter into the Delete mode, then select each item and press X one to check the box associated with each notification. You can also use the Select all feature if you have many notifications to select them all at once.
- Once each notification is selected, select the Delete button and press the X button once.
- Confirm at the next prompt to clear your Notification bar completely.
- Restart your PS4 console and see if the issue has been resolved.
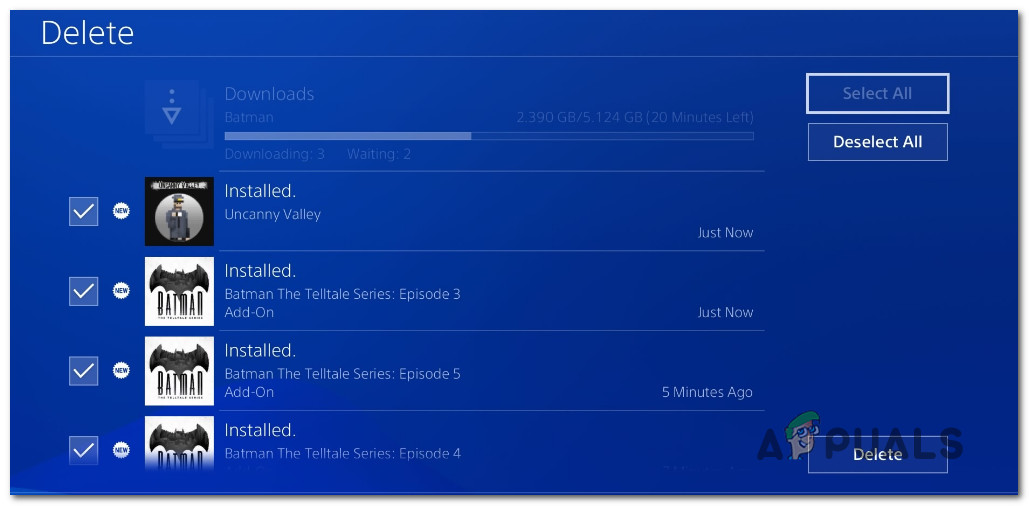
Deleting the Notifications on PS4
Method 2: Clearing the Facebook account from Account Management
Other affected users have reported that the issue was only resolved after they accessed the Account Management settings and removing the Facebook account from there. After doing this, restarting the console and re-adding the Facebook account, the uploading process was able to complete without the CE-42555-1 error.
Here’s a quick guide on how to do this:
- From the main Dashboard menu, use the ribbon bar at the top to reach the Settings option, then click X to access the menu.
- From the Settings menu, go to PlayStation Network / Account Management.
- Then, from the newly entered menu select Link with Other Services.
- From the Link with Other Services menu, select Facebook and press the X button once again.
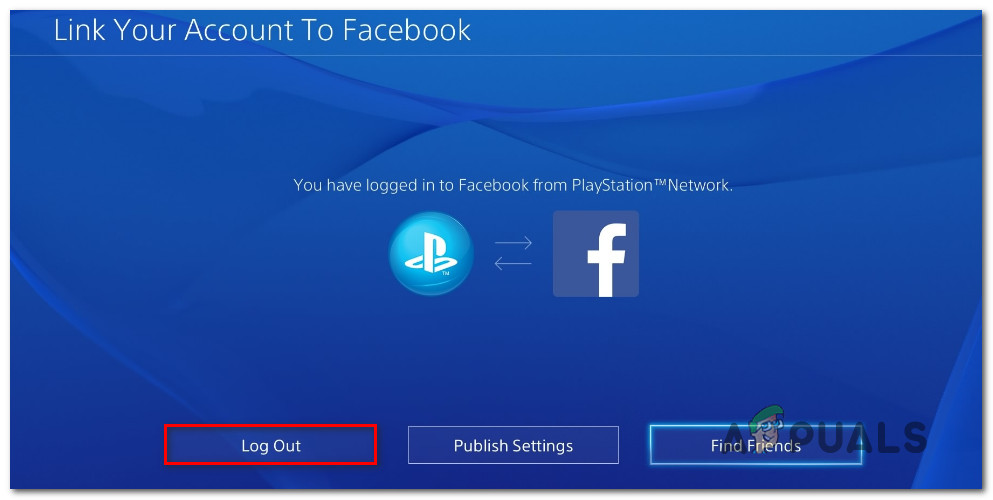
- Once you reach the Link Your Account to Facebook Menu, select the Log Out menu and press the X button once again.
- At the final confirmation prompt, select the Log Out button and press X once again.
- Restart your console, then return to the PlayStation Network / Account Management menu. Then, select Link with Other Services, choose Facebook from the list and insert your user credentials.
See if this method allowed you to upload PS4 footage to Facebook without encountering the CE-42555-1 error. If you’re still encountering the same error message during the processing stage, move down to the next method below.
Method 3: Re-authorising PSN from Facebook
Some affected users have reported that the issue was resolved after they accessed Facebook’s settings and re-authorizing the PlayStation app. If this particular scenario is applicable, the issue occurs because the authorization has expired, so PlayStation no longer has the necessary permissions to publish directly on Facebook, which ends up triggering the CE-42555-1 error.
If this scenario is applicable, here’s what you can do to fix it:
- Visit Facebook from a PC and log in with your account.
- Click the drop-down menu in the top-right corner and choose Settings from the list.
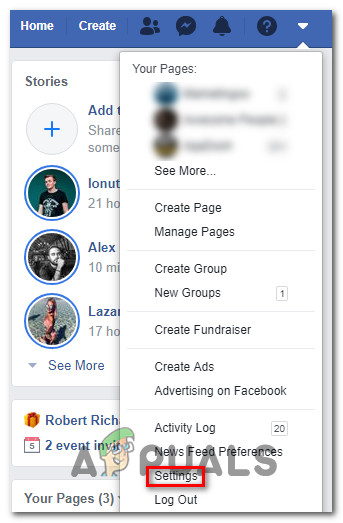
Accessing the Settings menu of Facebook - Inside the Settings screen, go to the Apps and Website tab.
- Then, move over to the right-hand menu, go over to the Expired tabs and see if you can find PlayStation app there.
- If you do, simply click on Renew Access at the bottom of the prompt.
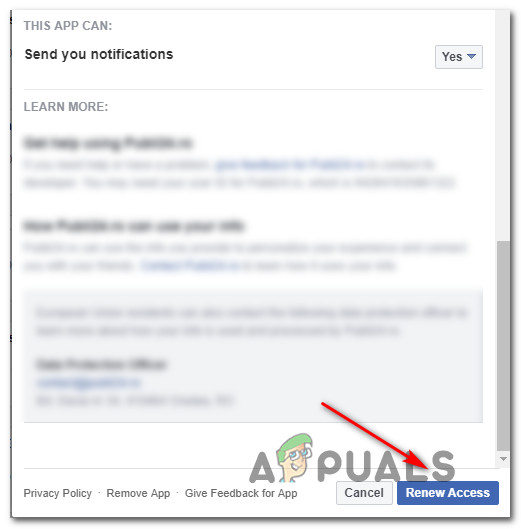
Renewing access of the PlayStation app Once you’ve re-authorized PSN with your Facebook account, return to your console and see if you’re able to upload the footage without receiving the CE-42555-1 error. If you’re still seeing the same issues, move down to the next method below.
Method 4: Changing Screenshot format to JPEGs
Some affected users have reported that the issue was no longer occurring once they switched the Share Settings back to JPEGs. At the end of 2018, Sony released an update that was supposed to improve the quality of the shared screenshots by allowing the users to change the format to PNG.
But the problem with this preference is that PNG screenshots tend to get pretty large and Facebook is not a big fan of large PNG files. Several users that previously encountered the CE-42555-1 error have reported that the issue was resolved after they adjusted the Share Settings on PS4 to save the screenshots in a JPEG format.
Here’s a quick guide on how to do this:
- From the main menu of your PS4 (from the Dashboard), navigate to the Settings (using the ribbon bar above your items) and press the X button.
- Inside the Settings menu, scroll down and access the Sharing and Broadcasts menu.
- From the Sharing and Broadcasts menu, select Screenshot Settings.
- Inside the ScreenShot Settings, choose Image Format from the list and change it to JPEG.
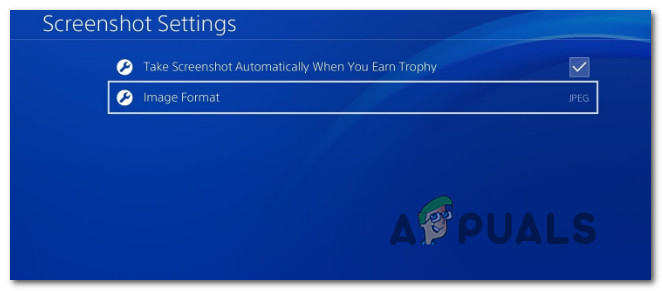
Screenshot settings back to JPEG Once you’ve made this modification, attempt to upload a JPEG screenshot to Facebook. You should no longer be encountering this issue.
If you’re still encountering the issue, move down to the next method below.
Method 5: Saving the footage in ShareFactory
If you’ve come this far without a result, there’s one workaround that a lot of affected users have been using successfully to upload PS4 footage to Facebook. But it involves some additional steps…
ShareFactory is a Playstation utility that allows you to edit video content directly from your console.
As it turns out if you save the video/screenshot in ShareFactory and attempt to share them from the application itself, the chances of getting the CE-42555-1 error are virtually non-existent.
Here’s a quick guide on how to save your sharing media in ShareFactory:
- First things first, you need to download the ShareFactory app from the PSN store. Don’t worry, it’s free.
- Next, open ShareFactory, and choose the Video / Photos tab (depending on what type of footage you want to share) and select My Gallery.
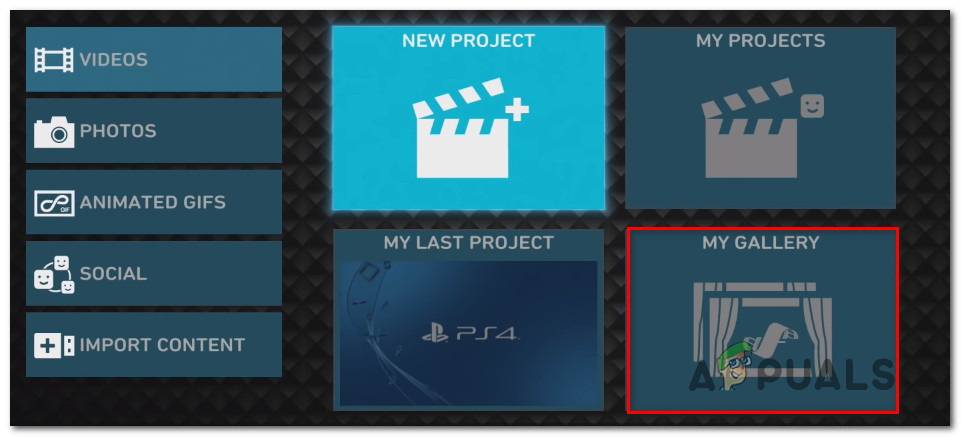
Opening the footage in ShareFactory - Once the footage is loaded, press the triangle button to bring up the Share menu.
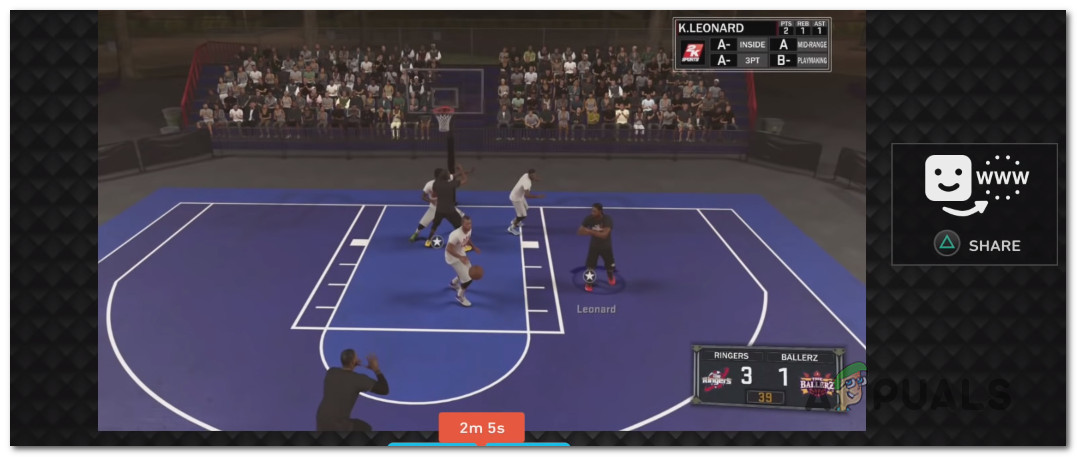
Opening the Share menu from ShareFactory - When the Share menu appears, select Facebook from the list of available platforms and upload your content.
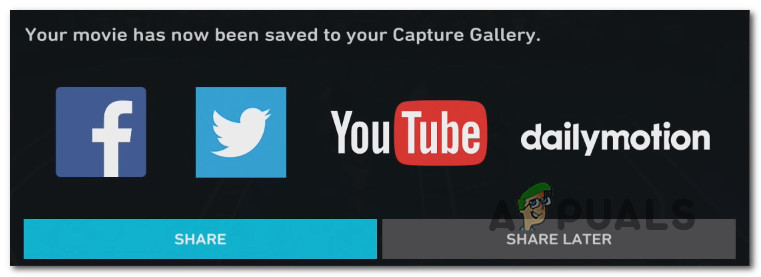
Sharing the content on Facebook You should no longer encounter the Error-CE-42555-1 if you do it from inside this menu.


